


Kodiak Bogan Build A Long
 07-05-2009 | 09:13 AM
#1
Thread Starter
Giant Nontypical
Joined: Feb 2003
Posts: 6,455
Likes: 0
From: Burleson TX USA
Well seeing things are a little slow on here.
Howzabout I try and livin the place up some.
What Rob decided on was a Tigerwood riser, Redheart and Yew limbs with Ebony weges and limb butt overlays with Antler tips.
While most of the gear is not here yet, hopefully the postman should bring most of it tomorrow.
I have done all I can for now to the riser.
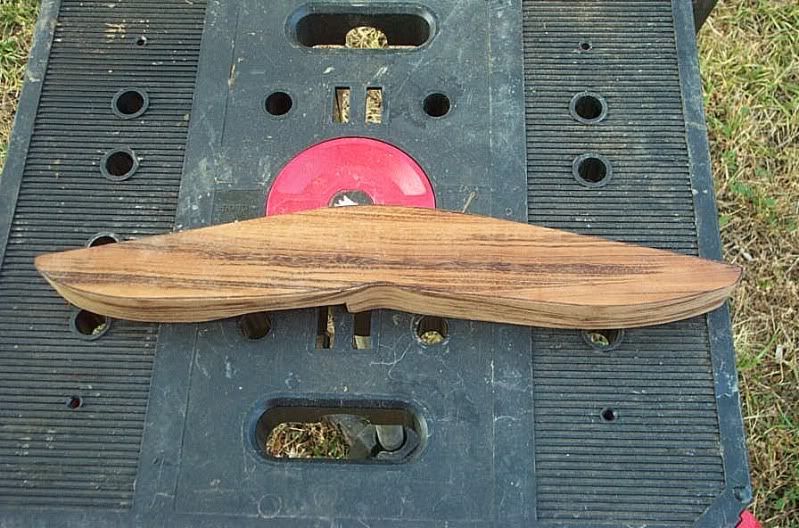

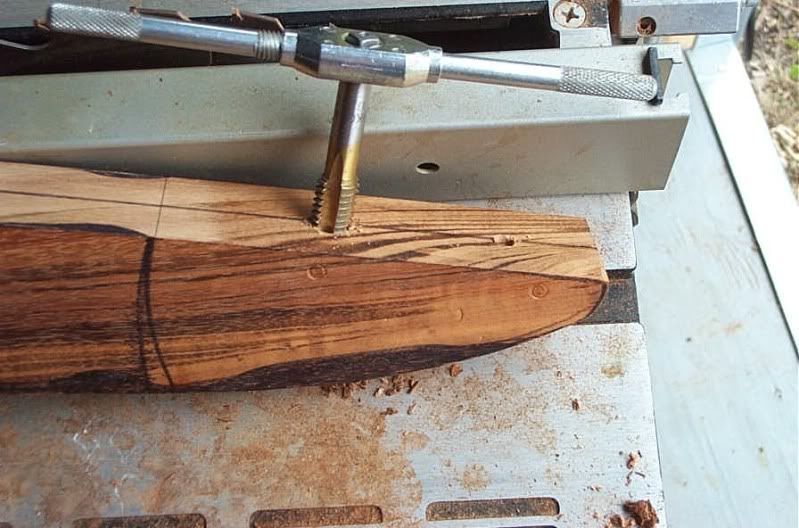
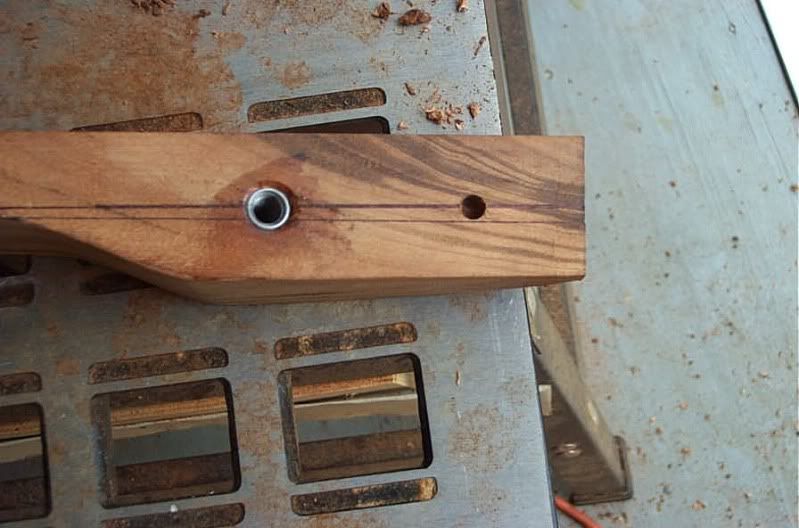
I also have the tip overlays all but done.
They where a little on the pourus (sp) side so what I done was mix up some epoxy and let gravity take it's course to fill the pours.
Once the epoxy had set I sanded them back and epoxied them onto some Phenolic.

The pours where not that deep so when I do the string grooves all you are gonna see is the antler.
Apart from the rest of the gear for Robs bow I am still waiting on some bandsaw blades they should be here in the next couple of days aswell.
More to come.
Howzabout I try and livin the place up some.
What Rob decided on was a Tigerwood riser, Redheart and Yew limbs with Ebony weges and limb butt overlays with Antler tips.
While most of the gear is not here yet, hopefully the postman should bring most of it tomorrow.
I have done all I can for now to the riser.
I also have the tip overlays all but done.
They where a little on the pourus (sp) side so what I done was mix up some epoxy and let gravity take it's course to fill the pours.
Once the epoxy had set I sanded them back and epoxied them onto some Phenolic.
The pours where not that deep so when I do the string grooves all you are gonna see is the antler.
Apart from the rest of the gear for Robs bow I am still waiting on some bandsaw blades they should be here in the next couple of days aswell.
More to come.
 07-05-2009 | 04:37 PM
#4
Thread Starter
Giant Nontypical
Joined: Feb 2003
Posts: 6,455
Likes: 0
From: Burleson TX USA
Whose this bow for?
She's for Kodiakarcher ( Rob Swanson)

I forgot to put in what will hopefully be the specs.
66" 55lb @ 28"
Now as if it is gonna come in on weight or not I dont know as I have never used Yew before
Russ, how many bows you up to now? Has to be a lot.
I guarantee another gem In the making!!!
07-06-2009 | 08:13 AM
#5
Thread Starter
Giant Nontypical
Joined: Feb 2003
Posts: 6,455
Likes: 0
From: Burleson TX USA
Well both the postman and UPS man are sneaky buggers neither of them rang the door bell.
I walked out the front door to get something out of the truck to find these.

So like a little kid I just had to open the boxes even tho I knew what was inside them.
Here is what we have.
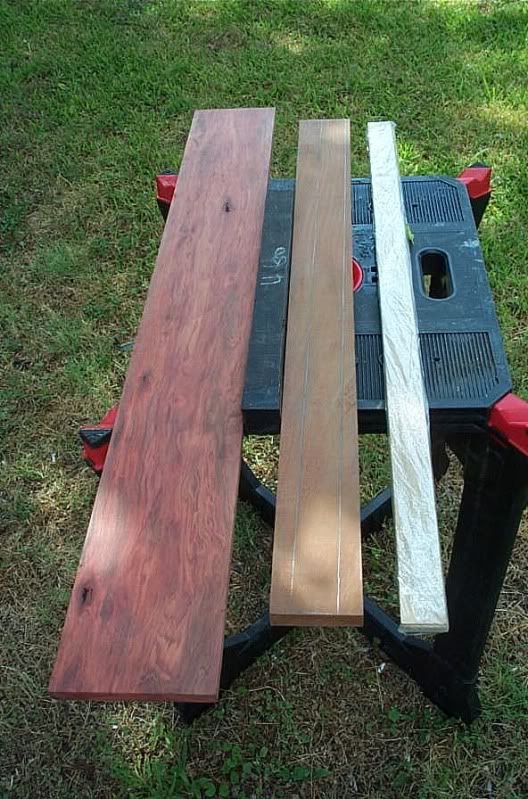
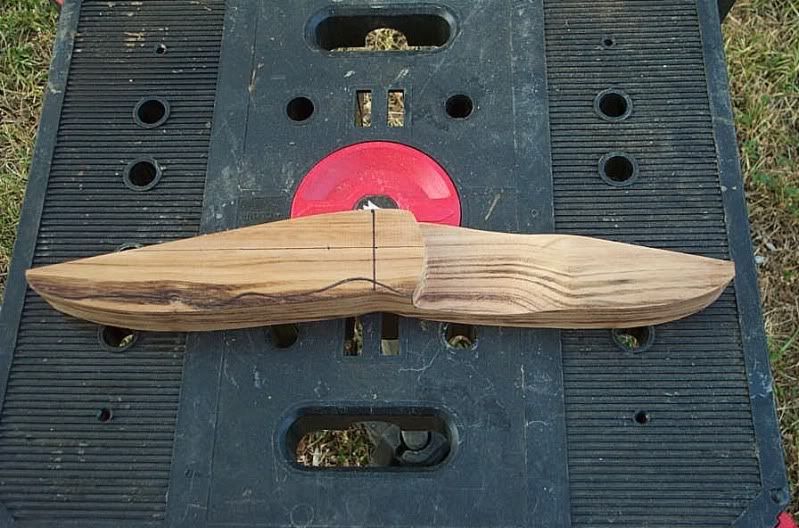
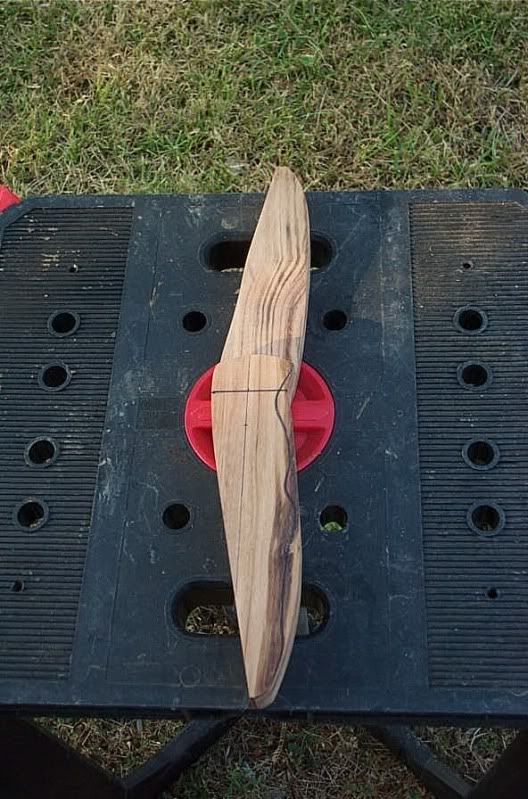
Rob I take it you want me to use the section you have marked on the Yew?
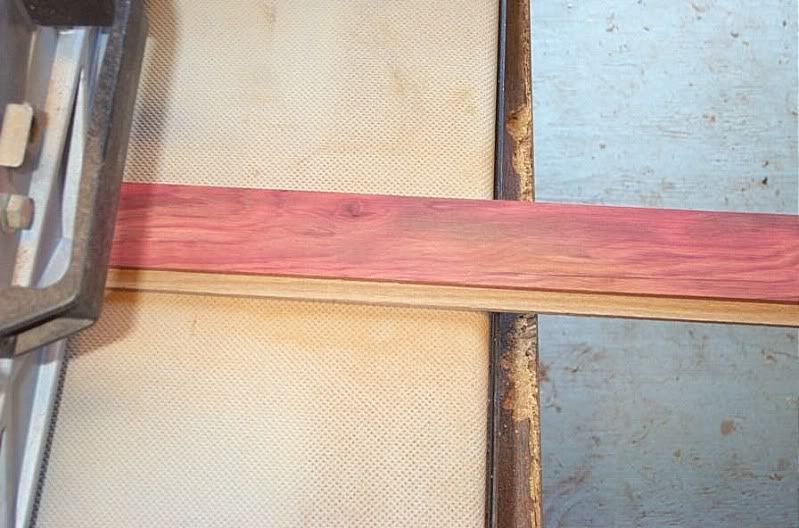
Unfortunately the bandsaw blades did not show up so there is not much I can do for now apart from use the table saw to rip the redheart to width.
The redheart has a couple of real ugly knot holes and some worm holes but I still should be able to get the limb lams from it.
I walked out the front door to get something out of the truck to find these.
So like a little kid I just had to open the boxes even tho I knew what was inside them.
Here is what we have.
Rob I take it you want me to use the section you have marked on the Yew?
Unfortunately the bandsaw blades did not show up so there is not much I can do for now apart from use the table saw to rip the redheart to width.
The redheart has a couple of real ugly knot holes and some worm holes but I still should be able to get the limb lams from it.
07-07-2009 | 07:45 AM
#7
Thread Starter
Giant Nontypical
Joined: Feb 2003
Posts: 6,455
Likes: 0
From: Burleson TX USA
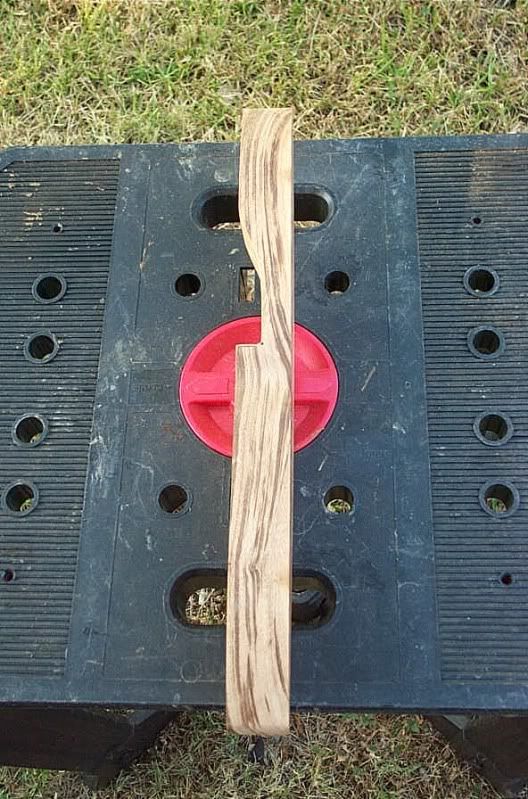
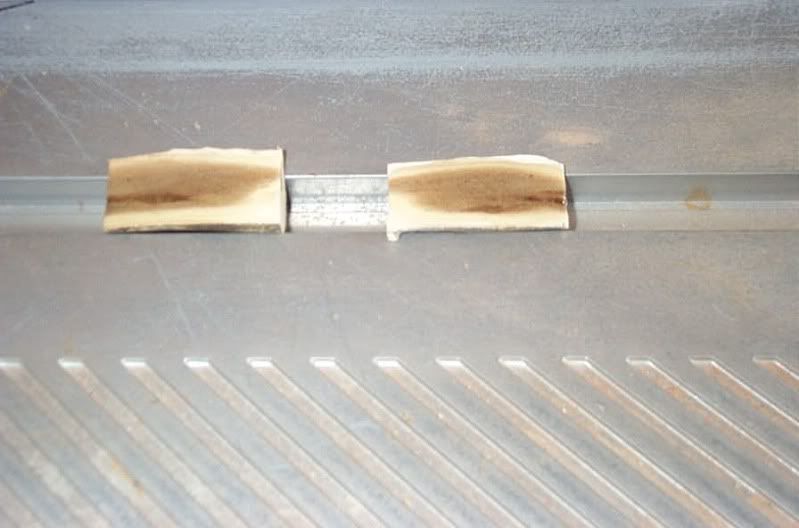
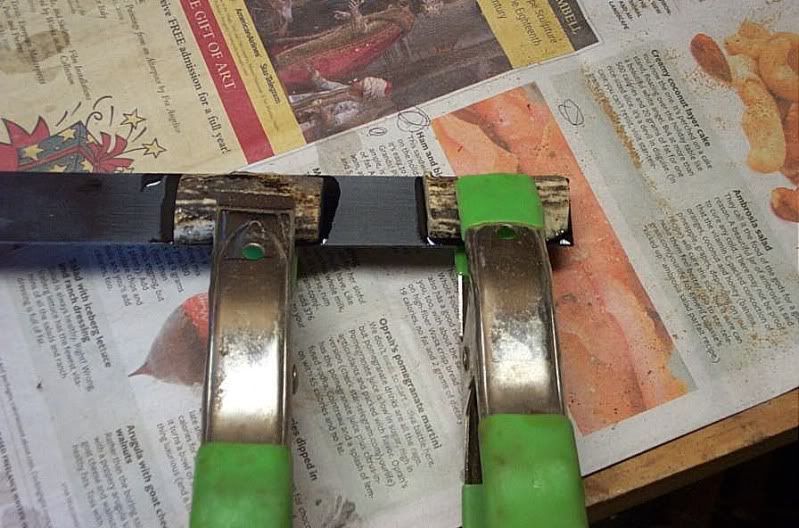
Alright we are cookin with Porta-gas now.
The wedges are done.
Started off with these.

Then onto the belt sander making sure I had a solid backing.
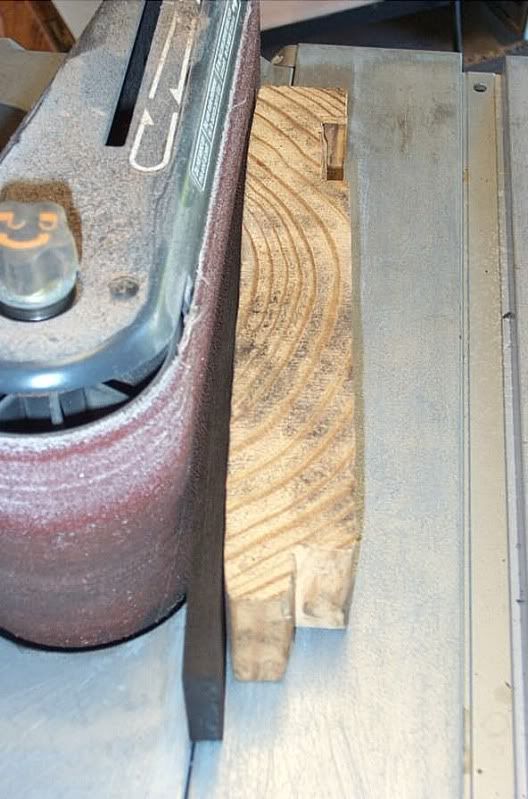
Then after an hour of careful sanding I had these.
I will add you have to get the tapered ends paper thin so a lot of care is needed as they will break if you look at them wrong.:d
Now it's cuppa time then back out and finish grinding the lams.
The wedges are done.
Started off with these.
Then onto the belt sander making sure I had a solid backing.
Then after an hour of careful sanding I had these.
I will add you have to get the tapered ends paper thin so a lot of care is needed as they will break if you look at them wrong.:d
Now it's cuppa time then back out and finish grinding the lams.
07-07-2009 | 08:47 AM
#8
Thread Starter
Giant Nontypical
Joined: Feb 2003
Posts: 6,455
Likes: 0
From: Burleson TX USA
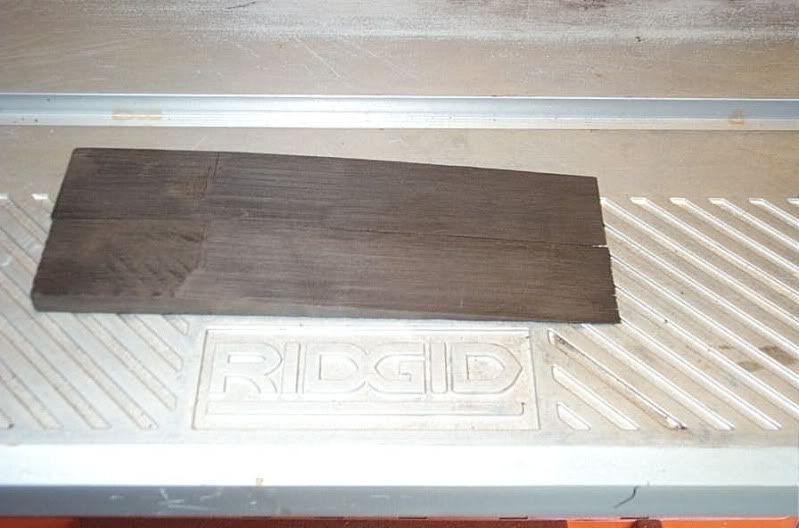
Well I only have to grind .025" off the first set of lams.
Here is the Yew making a pass.

Now the Redheart.
I will get these finished today and do the glue up when I get home from work tomorrow.
Here is the Yew making a pass.
Now the Redheart.
I will get these finished today and do the glue up when I get home from work tomorrow.
07-07-2009 | 09:53 AM
#9
Thread Starter
Giant Nontypical
Joined: Feb 2003
Posts: 6,455
Likes: 0
From: Burleson TX USA
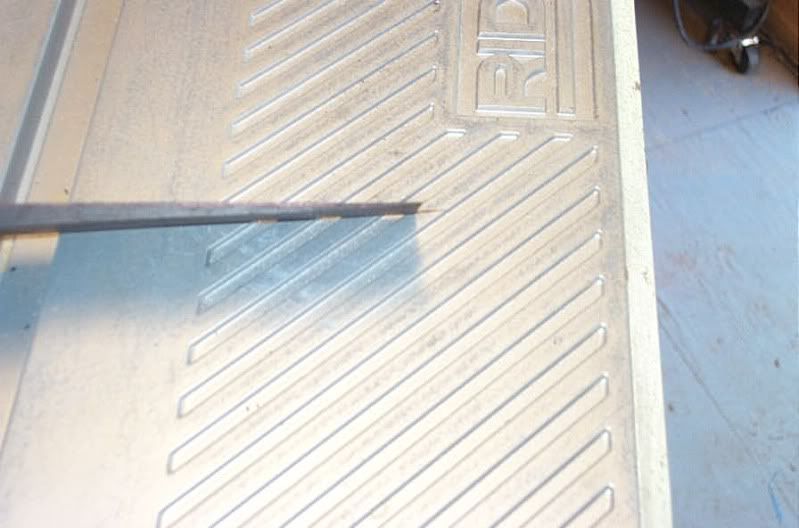
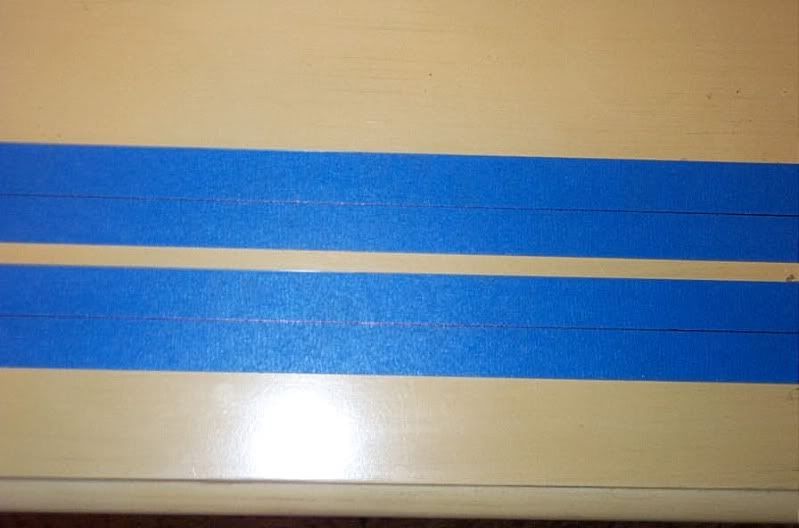
The first set of lams are to thickness .295" so now it's back in the house (where there is AC:d and I can stay )
Now it's time to tape up and mark the center line on the glass.
Thats all for today it is already 100 out side and about 110 in the shop.
When I get home from work tomorrow I will glue up the first limb and while it's cooking I will grind the lams for the 2nd limb.
)Now it's time to tape up and mark the center line on the glass.
Thats all for today it is already 100 out side and about 110 in the shop.
When I get home from work tomorrow I will glue up the first limb and while it's cooking I will grind the lams for the 2nd limb.
07-08-2009 | 06:46 AM
#10
Thread Starter
Giant Nontypical
Joined: Feb 2003
Posts: 6,455
Likes: 0
From: Burleson TX USA
Got through work early today
So when I got home I put the limb material in the heat box for an hour to totally dry them out.
While they where in the box I prepared the form, by giving it a good coat of paste wax and covering with plastic wrap.
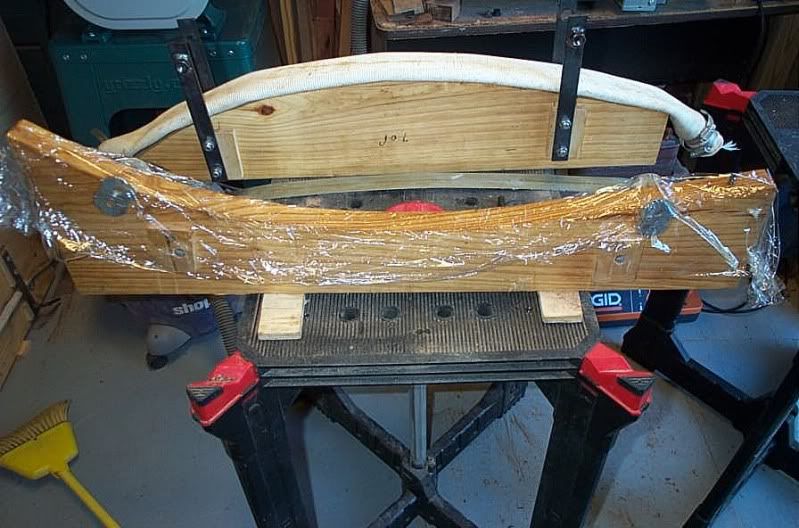
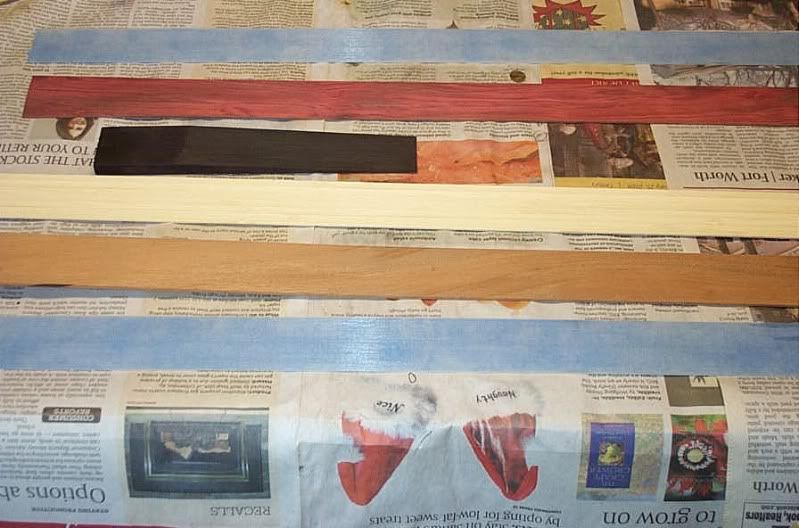
Then took the material out of the box and placed them on the bench in order they will be used in the lay up.
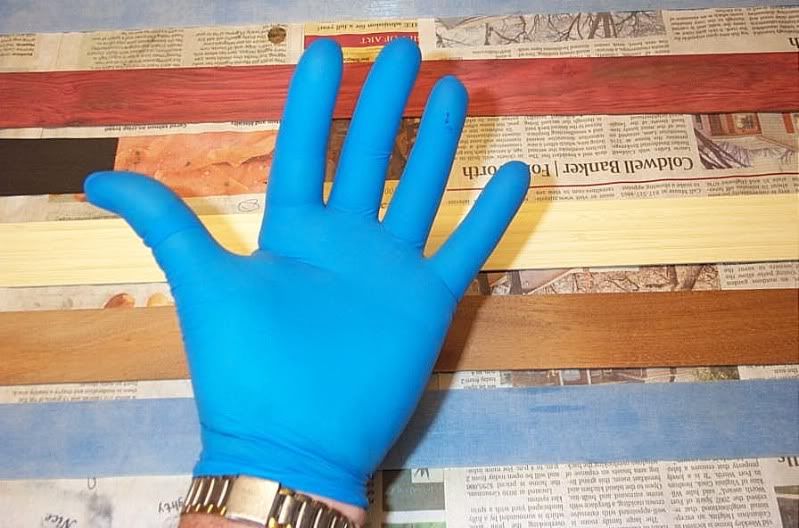
Putting on rubber gloves to stop the transfeer of bugs to our patient.:d
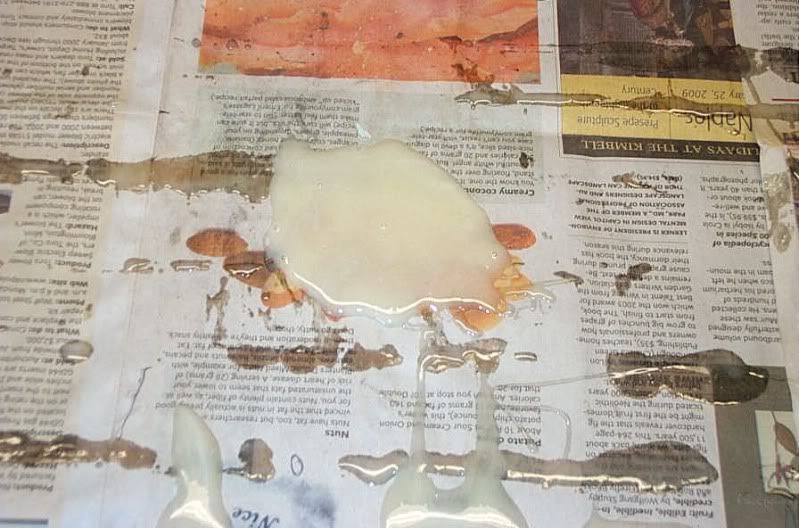
It's time to mix the epoxy.
I use Areomarine 400 it has a stronger bonding strenght than Smooth On and 1/2 the cost, but it is runny so I have to add about a teaspoon on Cabosil to thicken it up.
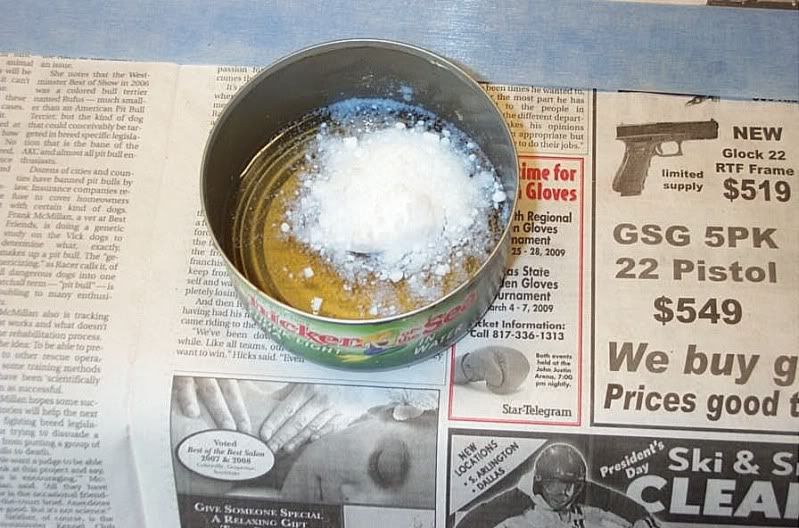
The Cabosil does turn the epoxy white but it will dry clear.
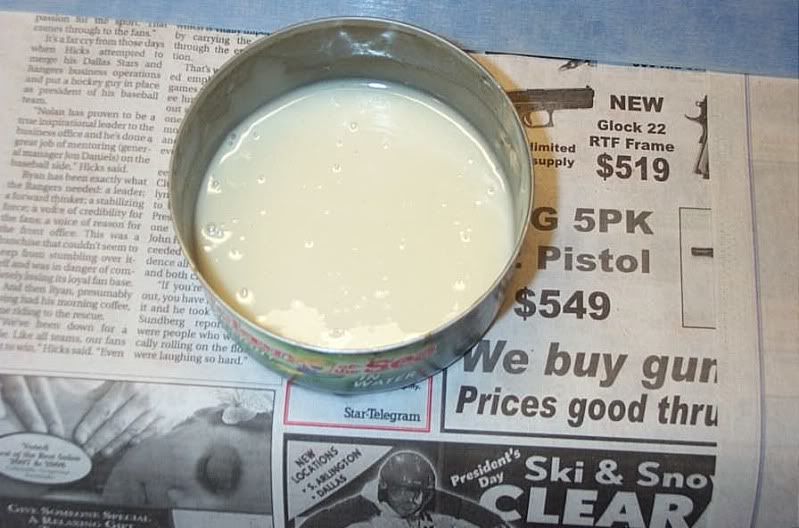
So once we have the epoxy thoughly mixed it's time for the screw up opps I mean glue up
Applying epoxy to all joining surfaces.
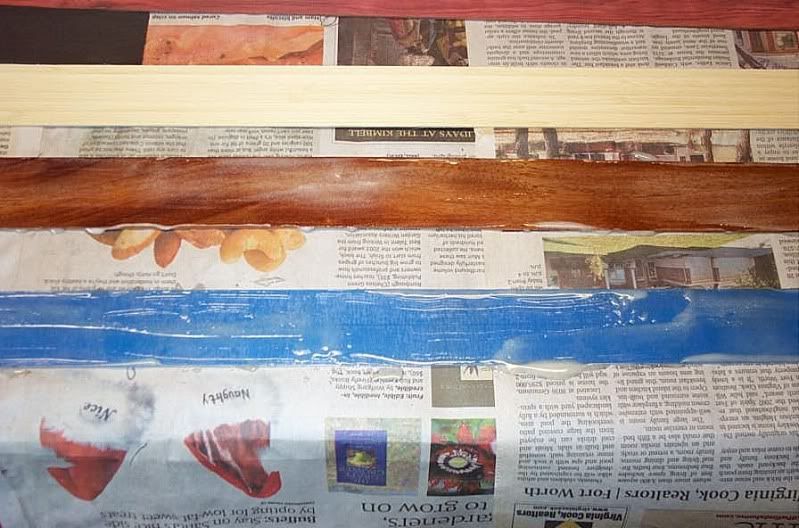
then flip them onto one another making sure it's epoxy to epoxy.
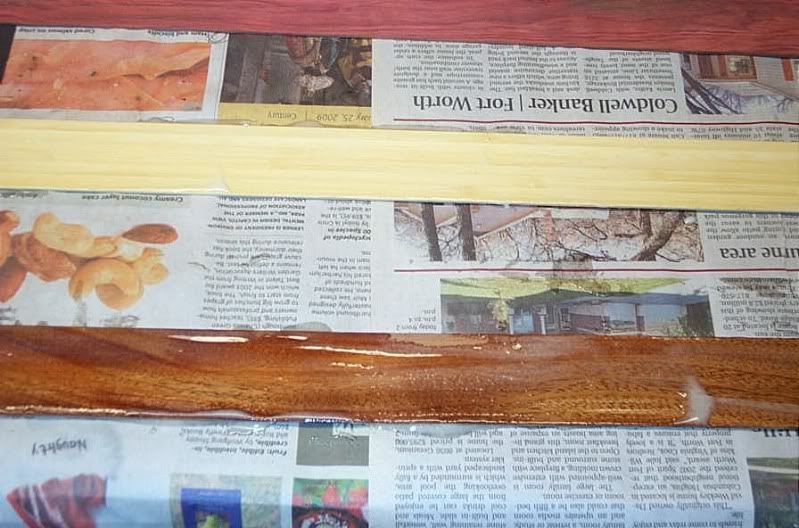
Now add the bamboo and wedge.
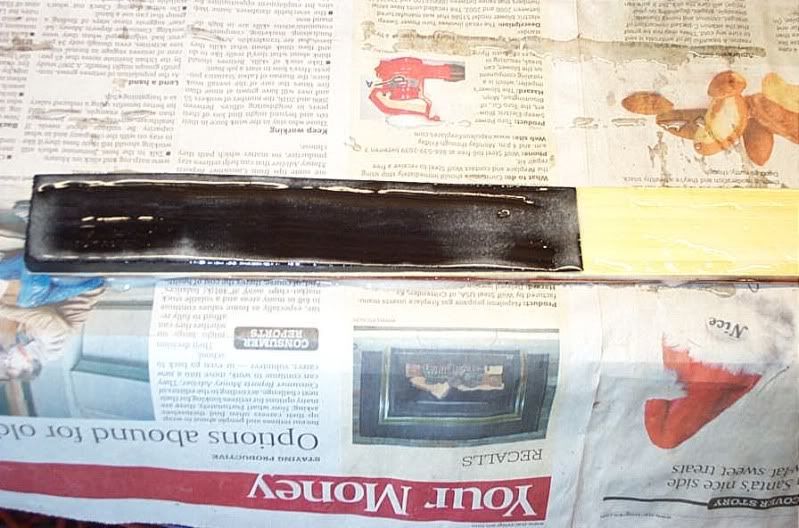
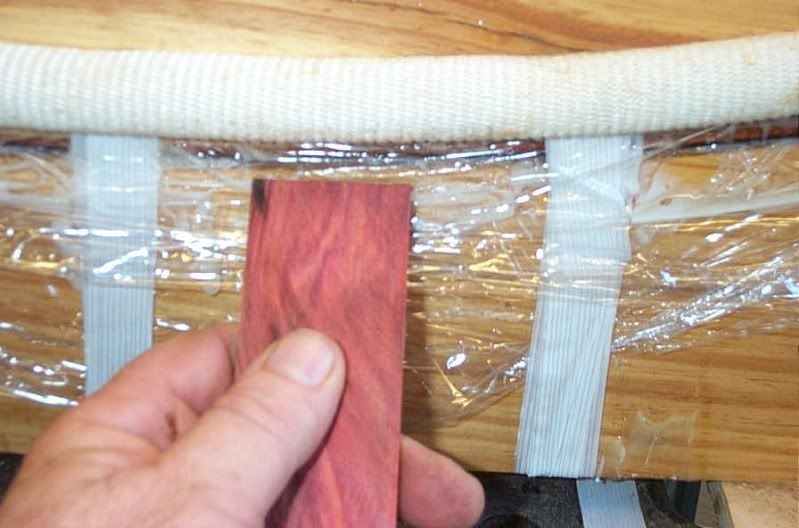
Next comes the Readheart notice I did not apply any epoxy, simple reason for this is if I did then ya'll would get an idea of what it's gonna look like under the glass but ya gonna have to wait.
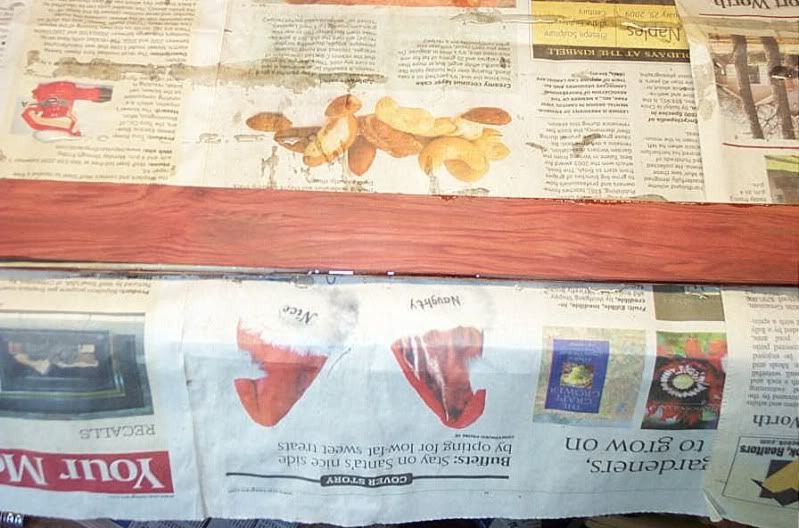
Now add the final clear glass.
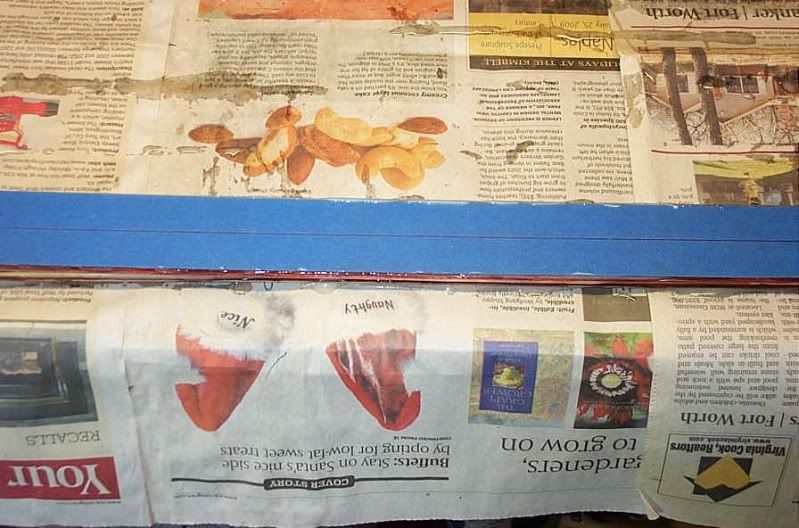
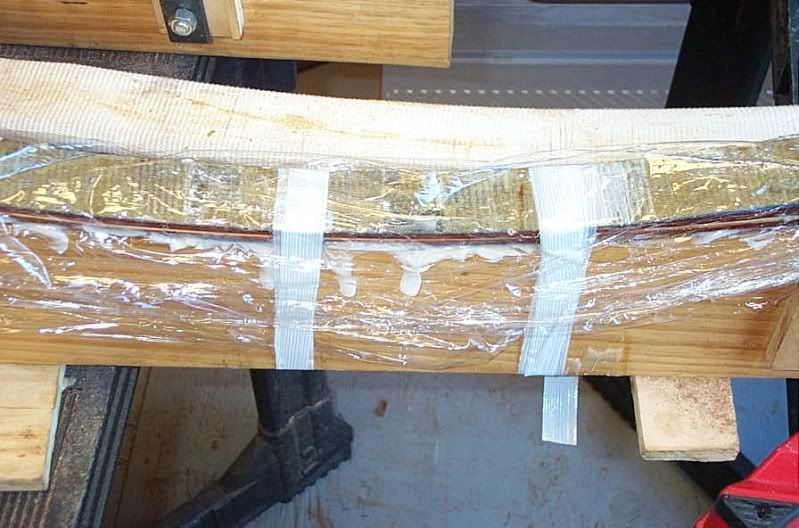
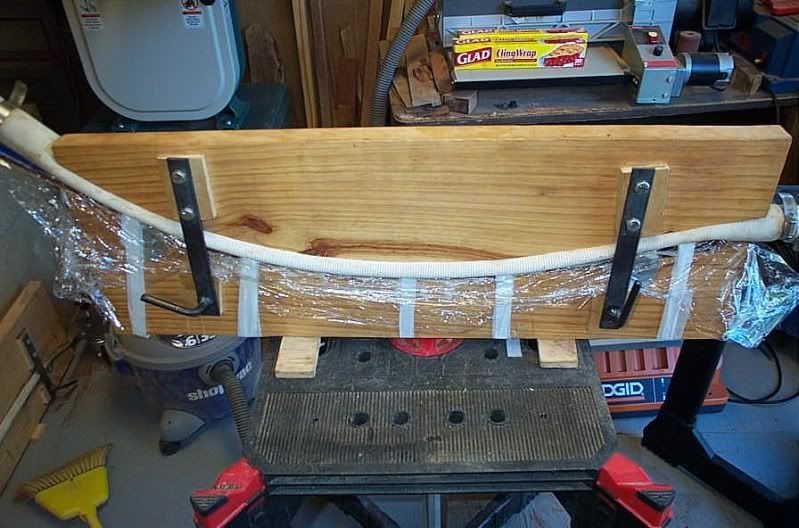
Transfeer the stack to the form add the pressure strip and secure with filement tape.
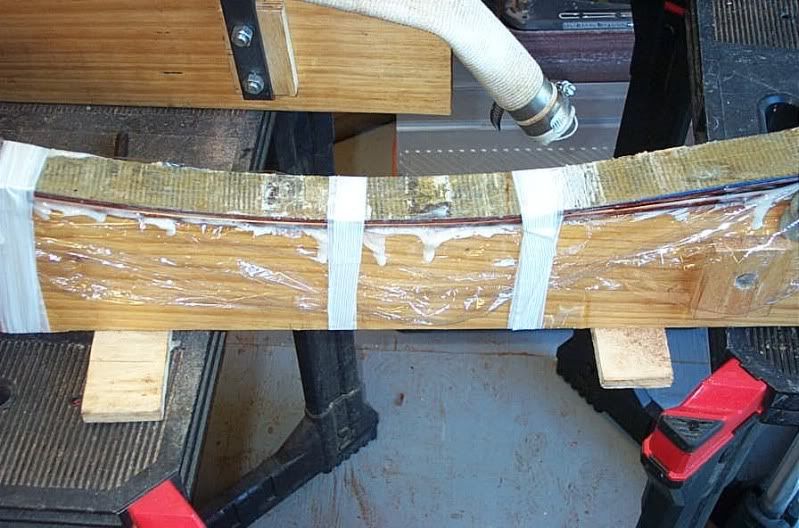
Then add another layer of plastic wrap, the air hose and the top of the form and secure the bolts.
I use a hand pump for the pressure and add pressure in 3 stages first to 20 psi wait a few minutes then to 40 psi wait a few mins then finally to 60 psi.
The reason I do this is to allow any trapped air bubbles to escape. I also check to make sure nothing has moved at each stage.
Once I have the 60 psi I again double check and make sure nothing has moved.
I then scrap the excess epoxy down away from the laminations, while doing this I check again to make sure nothing has moved it also makes it easier to break off the excess once the limb come out of the heat box.
Once I am sure nothing has moved I place the form in the heat box and take note of the time as it will be in there for the next 4 hours, once the 4 hours are up I turn the heat box off, leave the form in the box for a slow cool down.
Now all thats left is the clean up as you can see I as per usual mixed up more than needed but I would rather have too much than not enough.
Now for a little break and a cold drink and it's back out there to grind the other lams to thickness.
So when I got home I put the limb material in the heat box for an hour to totally dry them out.
While they where in the box I prepared the form, by giving it a good coat of paste wax and covering with plastic wrap.
Then took the material out of the box and placed them on the bench in order they will be used in the lay up.
Putting on rubber gloves to stop the transfeer of bugs to our patient.:d
It's time to mix the epoxy.
I use Areomarine 400 it has a stronger bonding strenght than Smooth On and 1/2 the cost, but it is runny so I have to add about a teaspoon on Cabosil to thicken it up.
The Cabosil does turn the epoxy white but it will dry clear.
So once we have the epoxy thoughly mixed it's time for the screw up opps I mean glue up
Applying epoxy to all joining surfaces.
then flip them onto one another making sure it's epoxy to epoxy.
Now add the bamboo and wedge.
Next comes the Readheart notice I did not apply any epoxy, simple reason for this is if I did then ya'll would get an idea of what it's gonna look like under the glass but ya gonna have to wait.
Now add the final clear glass.
Transfeer the stack to the form add the pressure strip and secure with filement tape.
Then add another layer of plastic wrap, the air hose and the top of the form and secure the bolts.
I use a hand pump for the pressure and add pressure in 3 stages first to 20 psi wait a few minutes then to 40 psi wait a few mins then finally to 60 psi.
The reason I do this is to allow any trapped air bubbles to escape. I also check to make sure nothing has moved at each stage.
Once I have the 60 psi I again double check and make sure nothing has moved.
I then scrap the excess epoxy down away from the laminations, while doing this I check again to make sure nothing has moved it also makes it easier to break off the excess once the limb come out of the heat box.
Once I am sure nothing has moved I place the form in the heat box and take note of the time as it will be in there for the next 4 hours, once the 4 hours are up I turn the heat box off, leave the form in the box for a slow cool down.
Now all thats left is the clean up as you can see I as per usual mixed up more than needed but I would rather have too much than not enough.
Now for a little break and a cold drink and it's back out there to grind the other lams to thickness.