Kodiak Bogan Build A Long

 07-10-2009, 08:14 PM
#12
Giant Nontypical
Thread Starter
Join Date: Feb 2003
Location: Burleson TX USA
Posts: 6,455
While the site was down for the upgrade I got a lot more done.
Here are the up dates.
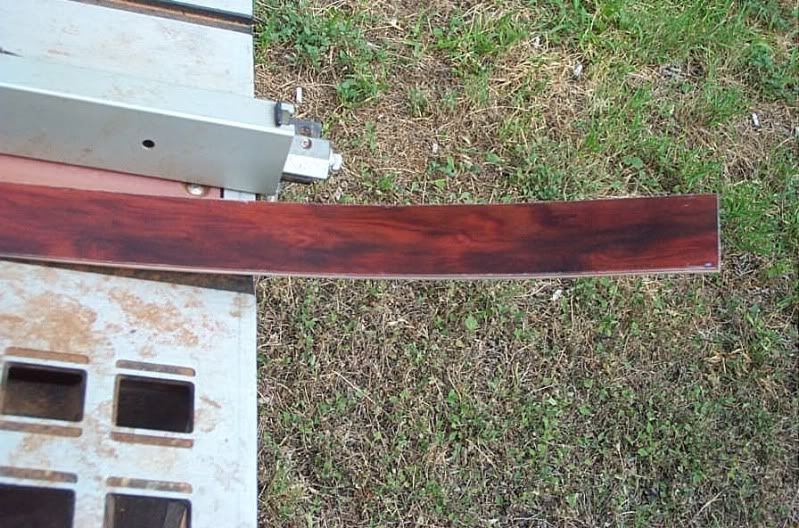
here is the first one out of the form cleaned up a bit.
I took the tape off to have a look
The belly.
Now the back.
Here are the up dates.
here is the first one out of the form cleaned up a bit.
I took the tape off to have a look
The belly.
Now the back.
 07-10-2009, 08:17 PM
#15
Giant Nontypical
Thread Starter
Join Date: Feb 2003
Location: Burleson TX USA
Posts: 6,455
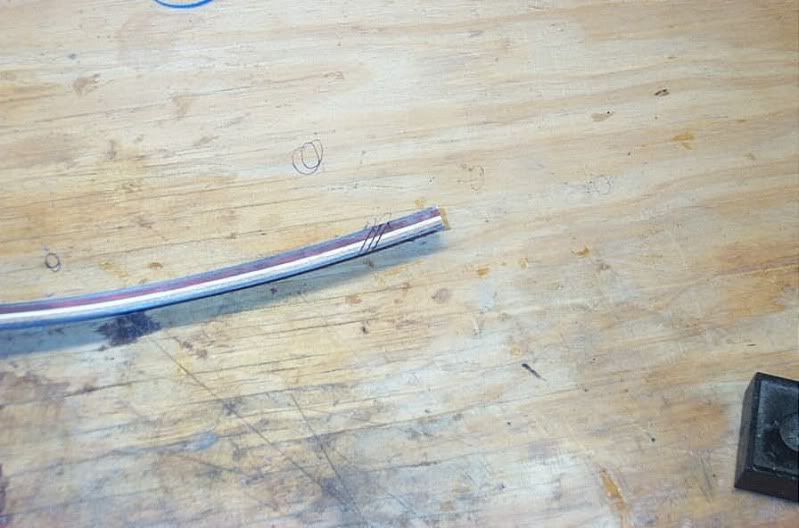
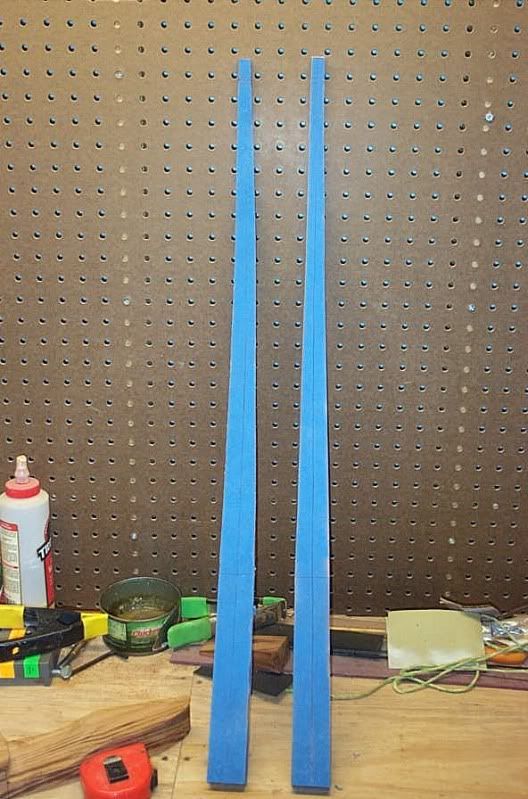
Finally the limbs are now a matching pair
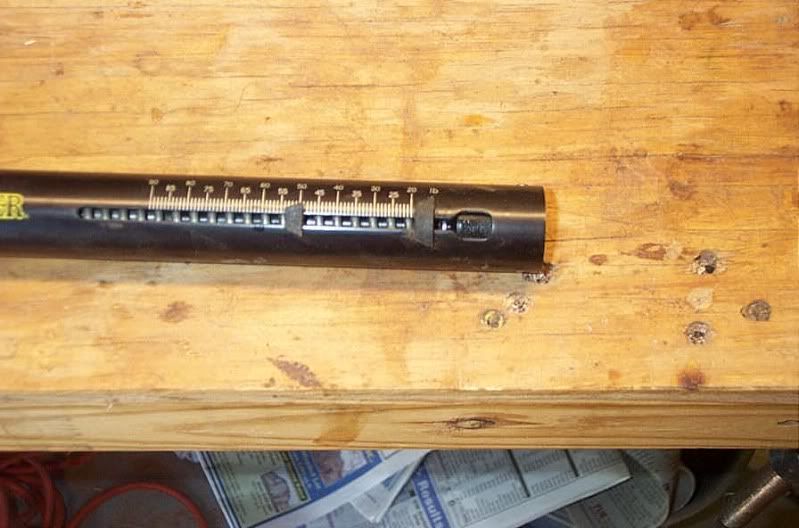
For those who might be interested this is how I grind them to shape.
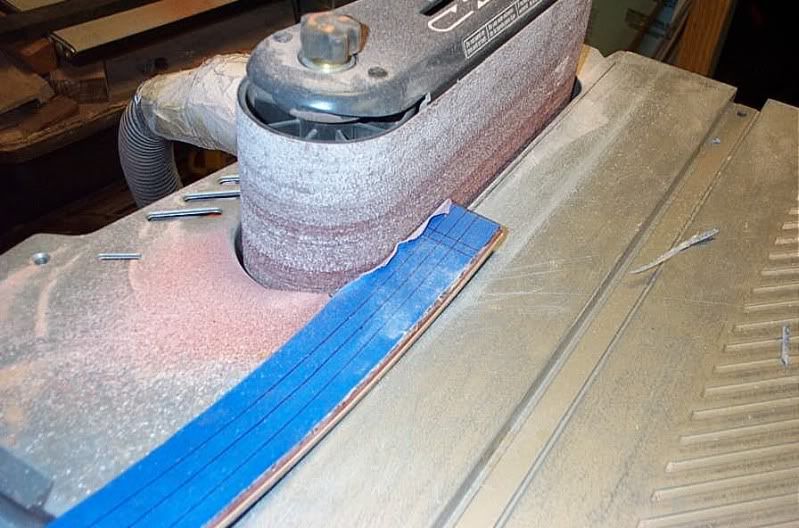
It takes longer than cutting them with the band saw but the band saw blades are expensive and fiberglass dulls the blades real quick.
Here they are.
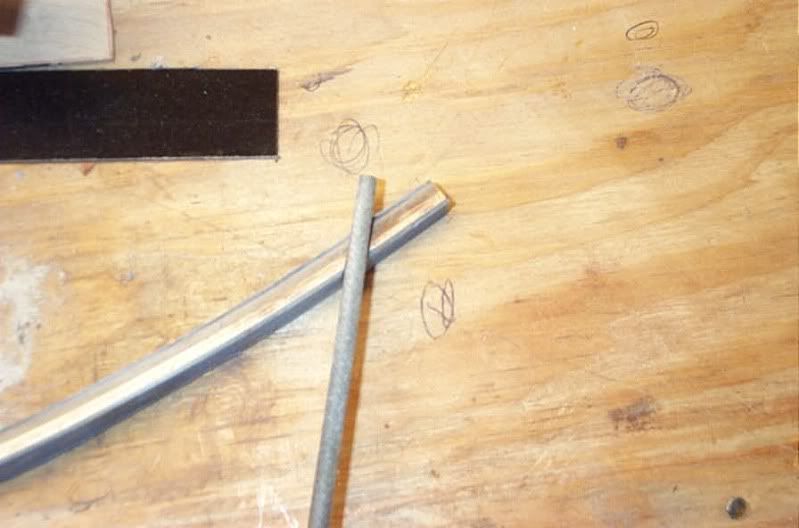
Here is the profile of the butt end of the limb.
The Ebony is gonna look great when it is finished.
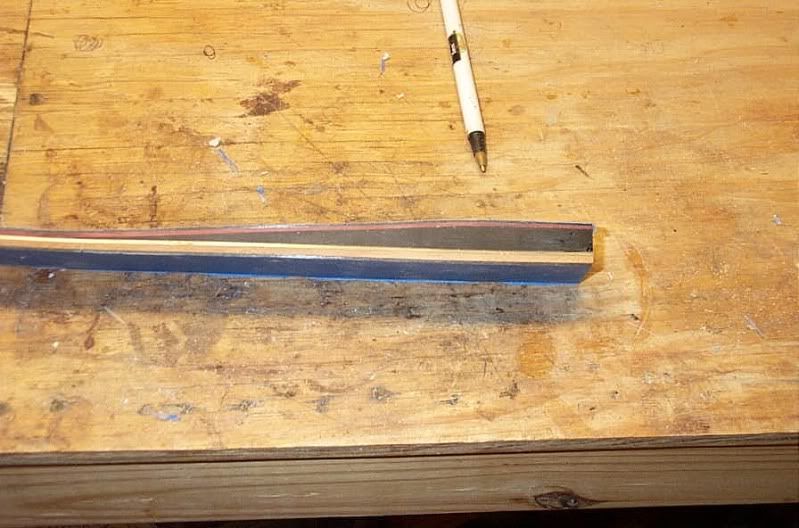
You can also see why you have to get the wedges paper thin.
I will add that before marking out the limb profile I did cut 1/4" off the butt end.
For those who might be interested this is how I grind them to shape.
It takes longer than cutting them with the band saw but the band saw blades are expensive and fiberglass dulls the blades real quick.
Here they are.
Here is the profile of the butt end of the limb.
The Ebony is gonna look great when it is finished.
You can also see why you have to get the wedges paper thin.
I will add that before marking out the limb profile I did cut 1/4" off the butt end.
07-10-2009, 08:18 PM
#16
Giant Nontypical
Thread Starter
Join Date: Feb 2003
Location: Burleson TX USA
Posts: 6,455
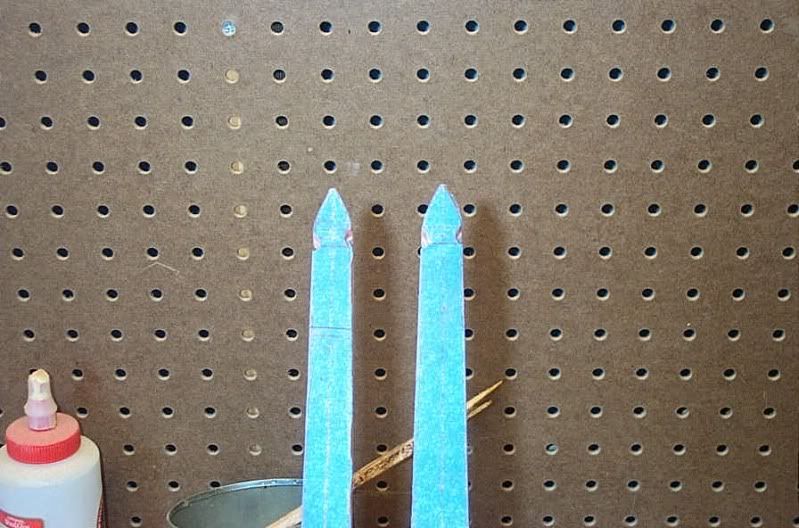
Ok string grooves done.
These are not Rob's limbs but it's how I do the grooves.
I start off with a triangle file to do a guide groove.
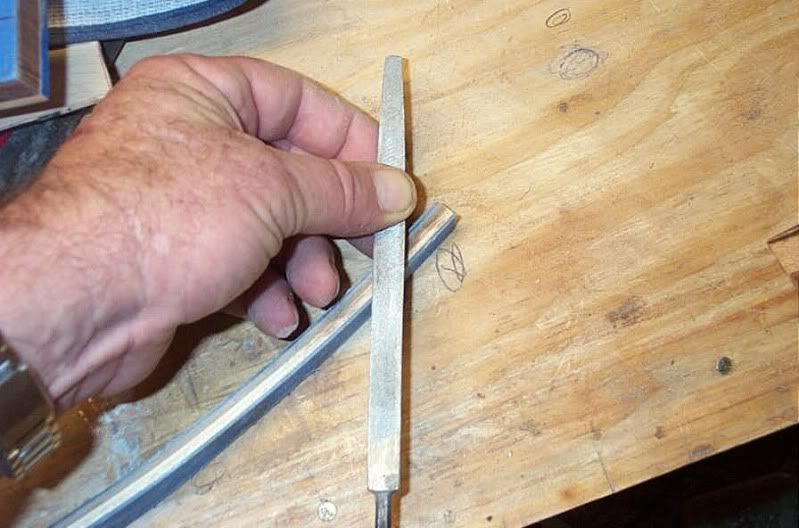
Then using a round file complete the groove.
Now for the holes.
Using the drilling jig.
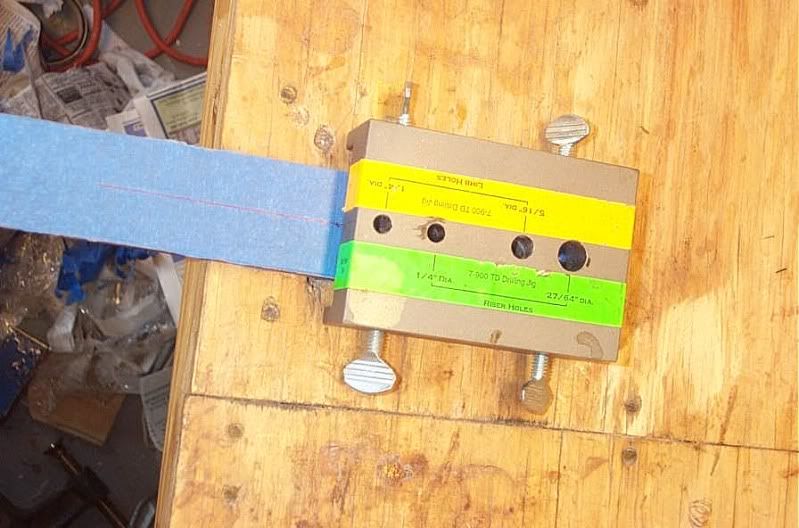
Drill the holes.
These are not Rob's limbs but it's how I do the grooves.
I start off with a triangle file to do a guide groove.
Then using a round file complete the groove.
Now for the holes.
Using the drilling jig.
Drill the holes.
07-10-2009, 08:19 PM
#17
Giant Nontypical
Thread Starter
Join Date: Feb 2003
Location: Burleson TX USA
Posts: 6,455
Here she is together for the first time.
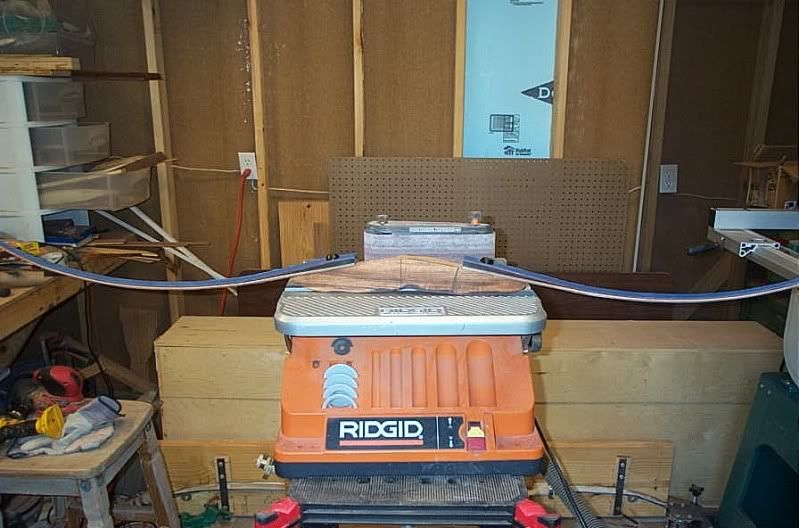
At brace.
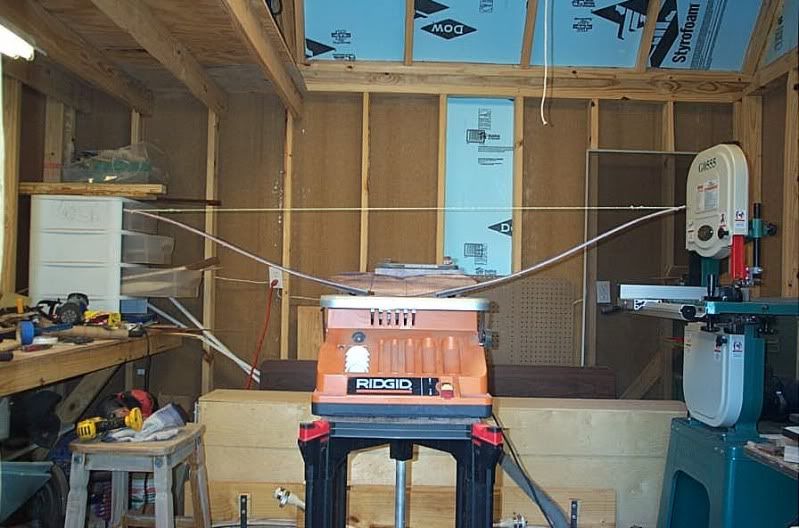
Now lets see how she tillers.
Well I hate to brag BUT I nailed it dont have to do a thing they are pulling even with no twist.
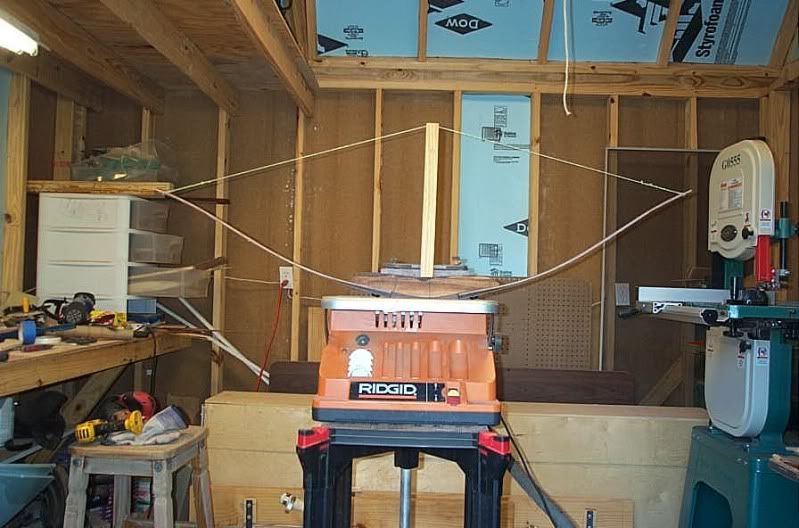
Well so much for the good news.
The bad news she is under weight. I blame the Sham Wow guy for this.
She is 49lb @ 28"
To get her up to weight ( 55lb @ 28 ) I will have to pike the limbs an inch but wont do that till I hear from Rob.
Taking an inch off each limb should give me 7lb.
At brace.
Now lets see how she tillers.
Well I hate to brag BUT I nailed it dont have to do a thing they are pulling even with no twist.
Well so much for the good news.
The bad news she is under weight. I blame the Sham Wow guy for this.
She is 49lb @ 28"
To get her up to weight ( 55lb @ 28 ) I will have to pike the limbs an inch but wont do that till I hear from Rob.
Taking an inch off each limb should give me 7lb.
07-10-2009, 08:20 PM
#18
Giant Nontypical
Thread Starter
Join Date: Feb 2003
Location: Burleson TX USA
Posts: 6,455
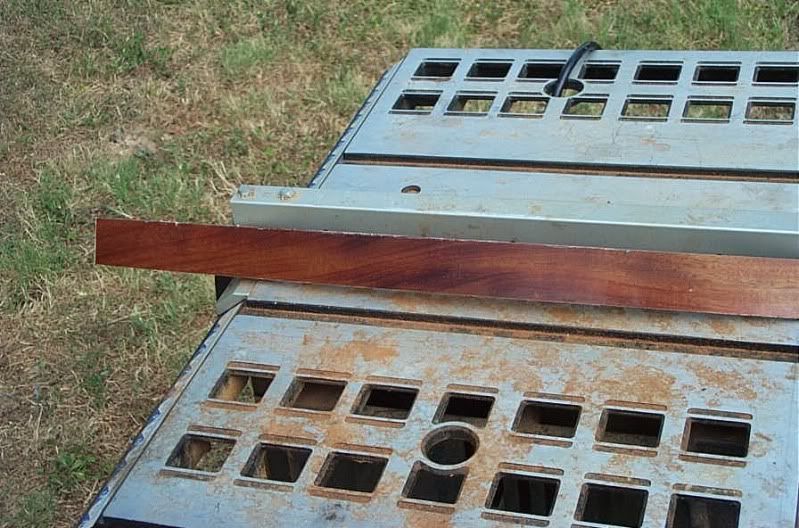
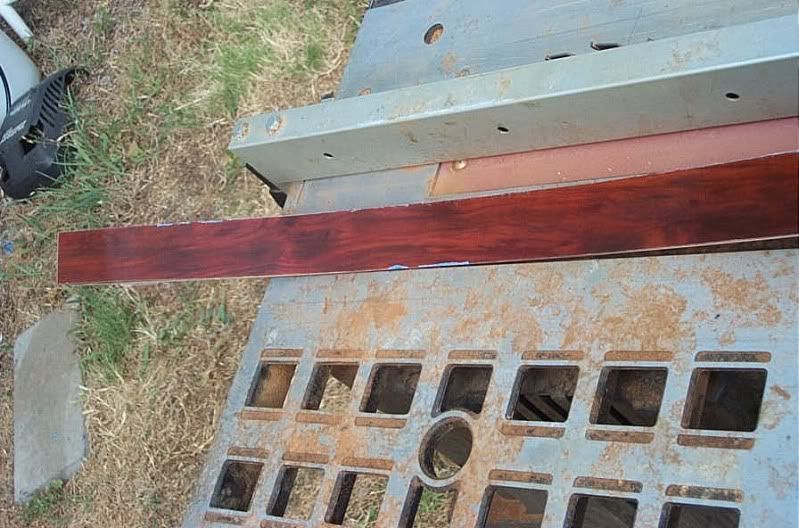
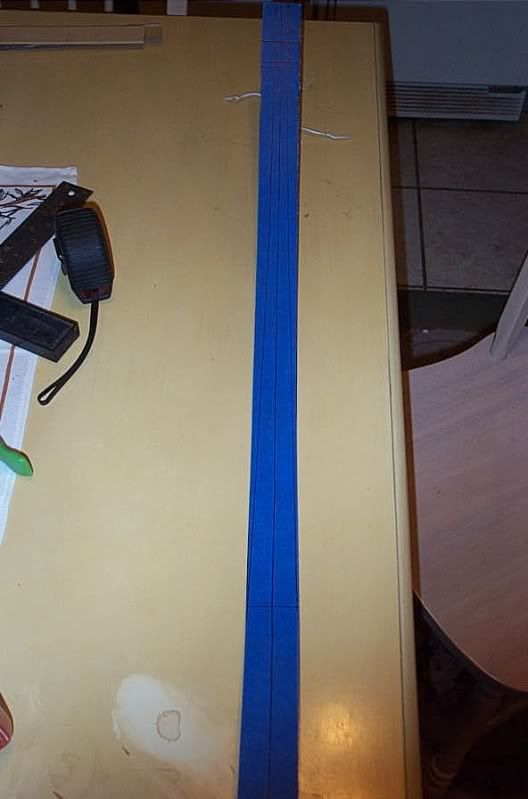
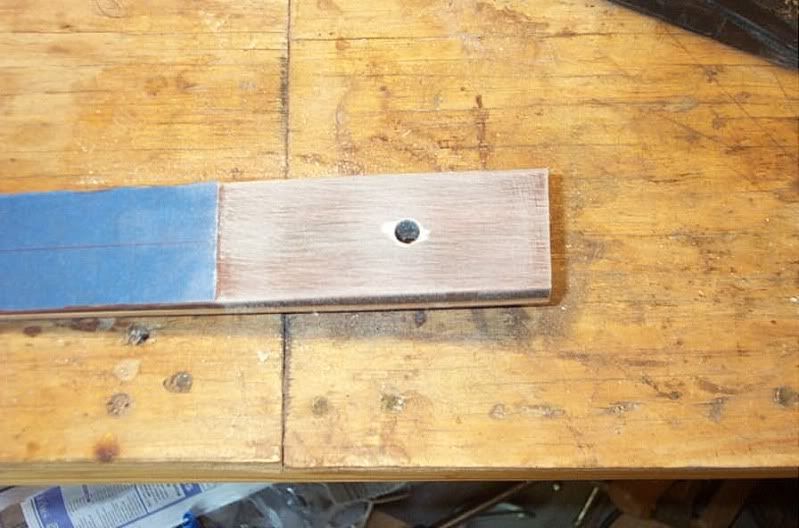
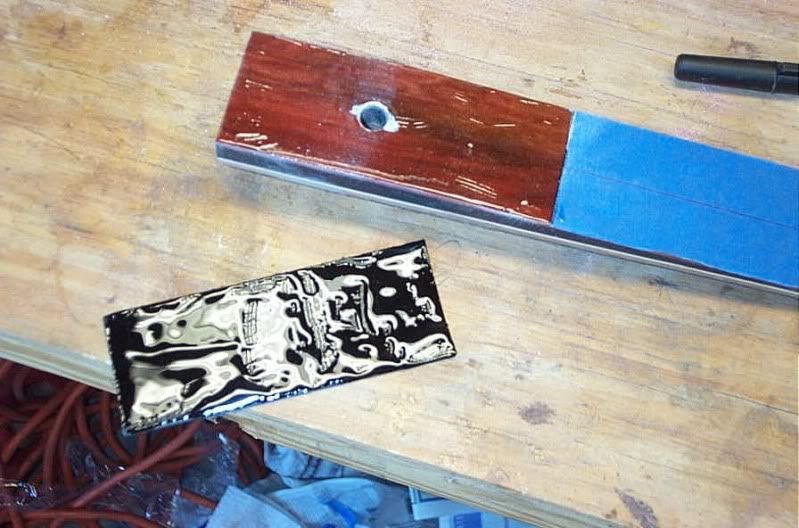
About all I can do till I hear back from Rob is cut the butt over lays and get the tip over lays ready to eopxy onto the limbs.
First off I tapered the the tip over lays.
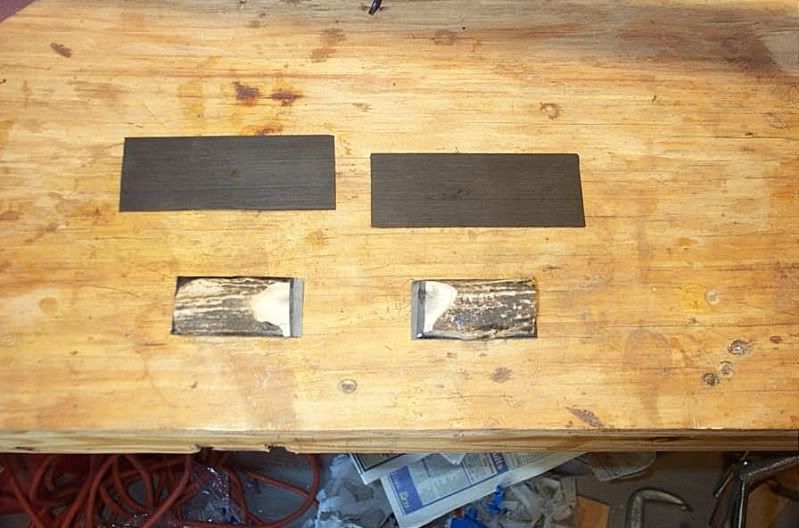
Then roughed up the phenolic.
Note the Ebony strips they will be the butt over lays.
First off I tapered the the tip over lays.
Then roughed up the phenolic.
Note the Ebony strips they will be the butt over lays.
07-10-2009, 08:21 PM
#19
Giant Nontypical
Thread Starter
Join Date: Feb 2003
Location: Burleson TX USA
Posts: 6,455
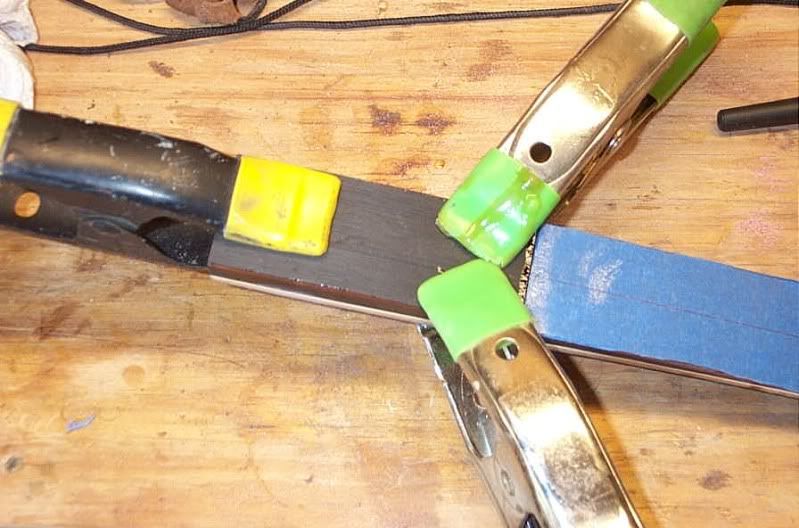
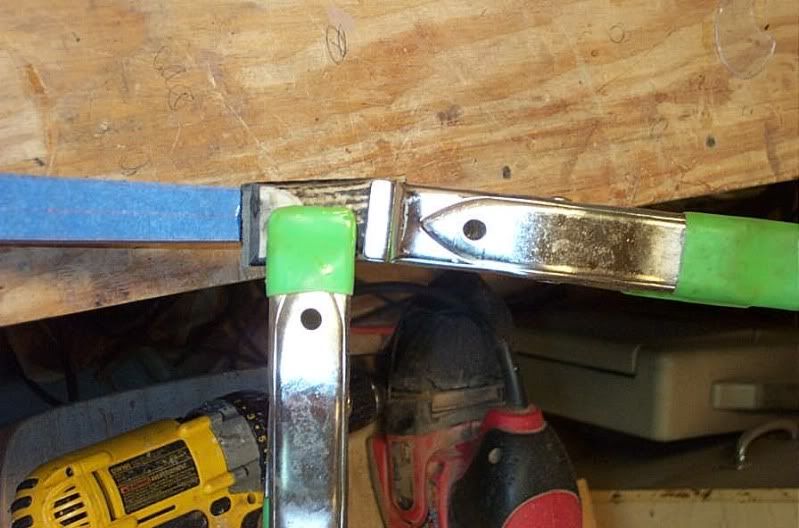
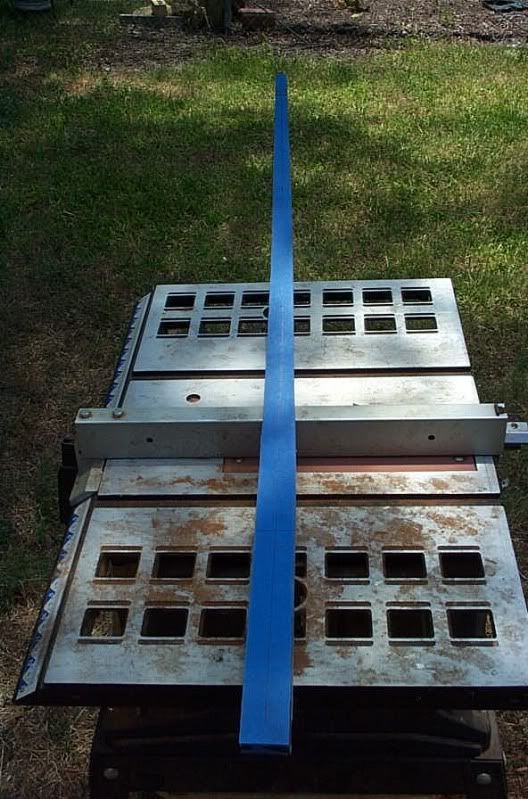
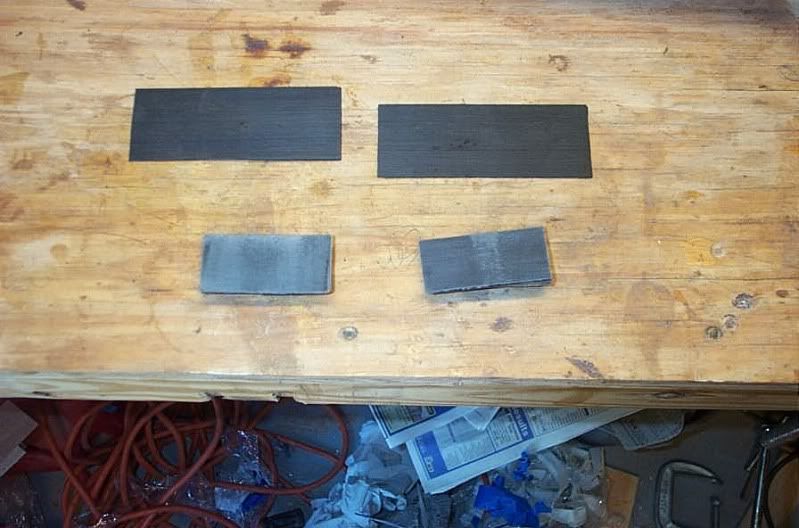
Ok now it's time to shape the tips.
Cut off some of the tape to expose the glass where we are going to add the overlays.
Rough them up.
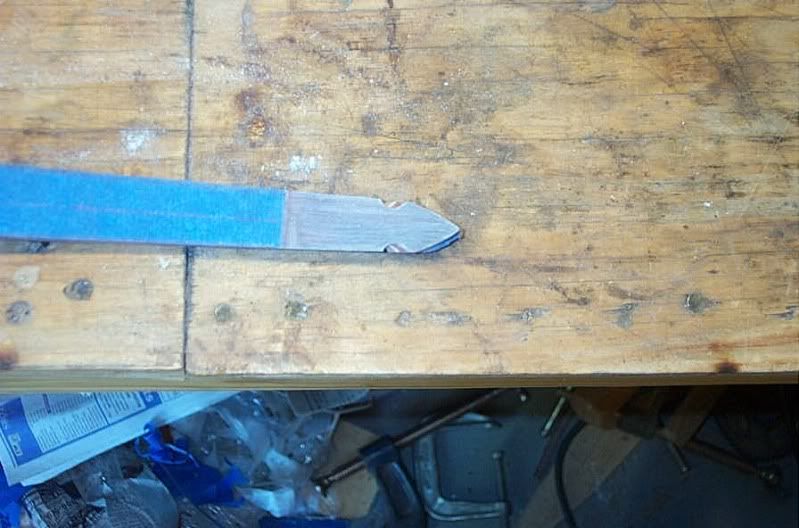
Mix up some epoxy, some bowyers use super glue for this but I prefer to use epoxy.
Apply epoxy to all joining sections.
Cut off some of the tape to expose the glass where we are going to add the overlays.
Rough them up.
Mix up some epoxy, some bowyers use super glue for this but I prefer to use epoxy.
Apply epoxy to all joining sections.