


Making your own plastic grips/handles/butt plates (w pics)
 02-19-2014 | 09:18 AM
#1
Thread Starter
Typical Buck
Joined: Jan 2014
Posts: 921
Likes: 0
So you want to make your own shotgun or rifle butt plate in the style, shape and color you want rather than what’s available on the market. Or you want to make your own custom pistol grip side plates or your own compound bow grip or a custom knife handle, musical instrument parts and all of these in the color, texture, patterns and style of your design and liking. Well buddy have I got a deal for you.
As my handle states, Im a DIY’r that loves making stuff rather than buying it and I like doing it with limited or modest tools and with things found around the house and hardware store.
I am custom knife maker, bow maker, hard leather worker (sheaths and holsters) soft leather worker (mitten, moccasin) custom butcher/sausage maker, gun restorer, etc. Im a shadetree DIY’r that loves to pass along DIY tips.
I’ll show you the steps used in making your own plastic parts (as mentioned above) for some knives I made but it takes very little imagination to apply these tips to pistol grips, butt plates, bow handles, etc. The sky is really the limit. Lets begin.
For knife handles this is known as layered micarta and can be done with cloth, fabrics, papers, wood (very, very thin wood) or any medium that will absorb the binder/resin.
Lets say you want to make a part for your knife, bow, gun, etc out of an old pants/shirt, feed sack, paper, carbon fiber, fiberglass, ect because the color or texture appeals to you. Lets begin.
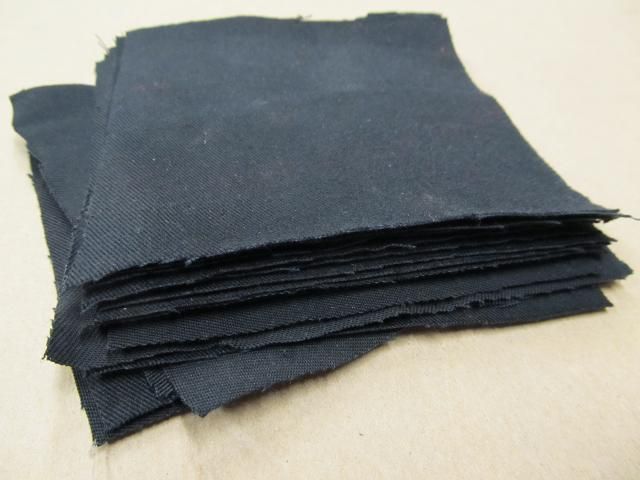
In this case I want a black handle and red handle spacers so I’m making it out of an old pair of black dress pants that had a busted zipper and an old red T-shirt. I cut squares that were 4 ˝ by 4 ˝ so that I can get a matched set of handle scales.
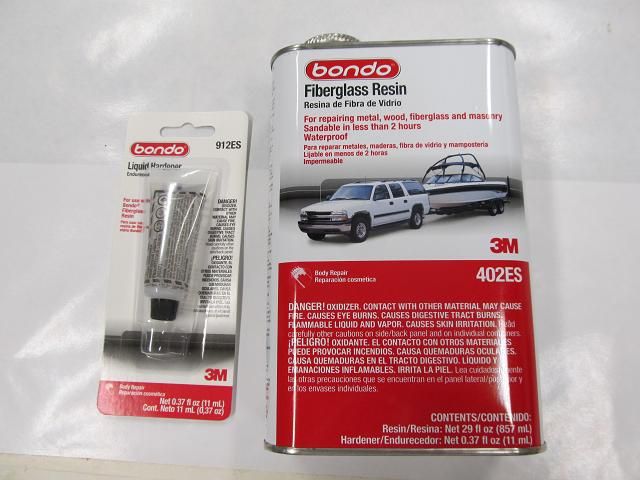
This is messy work and I wear rubber gloves that quickly were covered in resin so not many pics were taken during the actual assembly of layers. I got the resin and hardener from Walmart but it can be found at hardware stores or DIY big box stores.
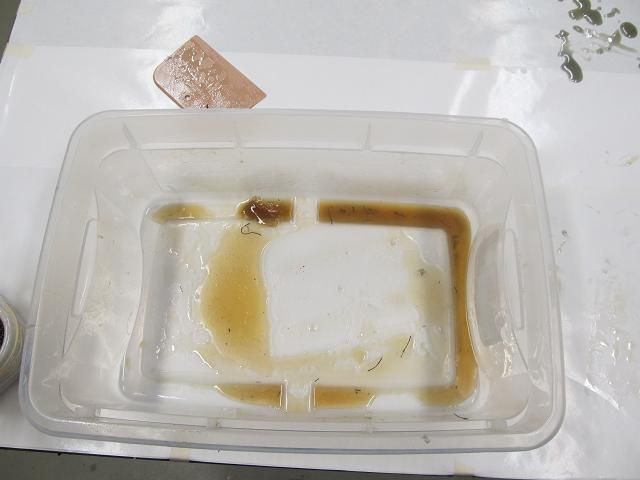
I used a plastic bin to coat each square and a squeegee (old credit card or hotel room key card) to spread and saturate the cloth.
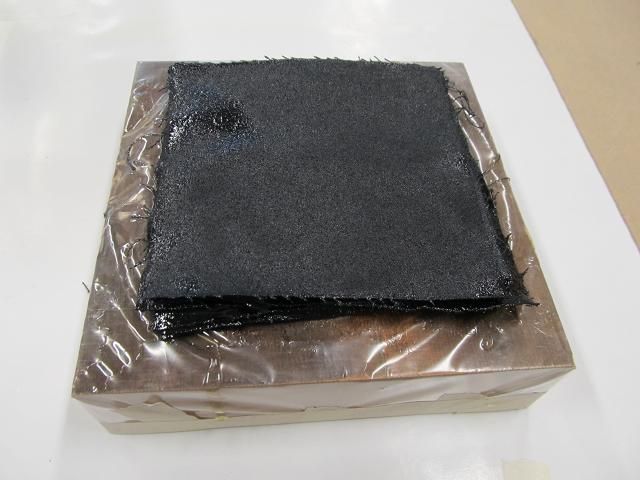
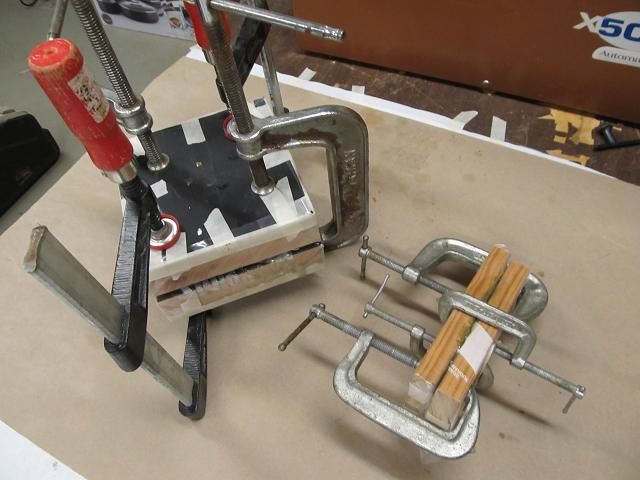
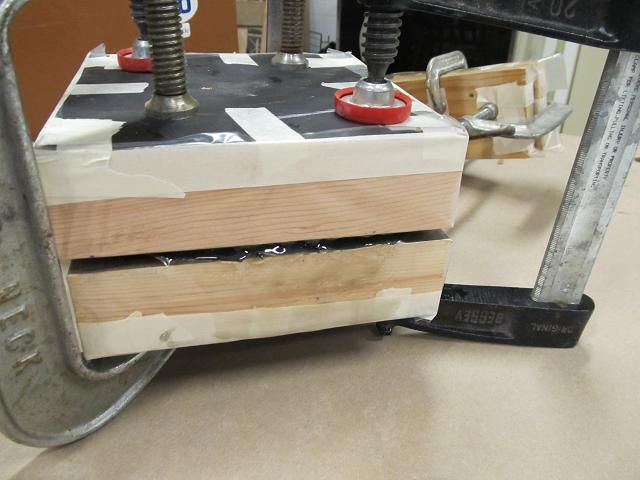
I would be clamping the stack between two wood slabs. I cut apart a large Ziploc bag and taped it to the blocks to keep them from sticking to the fabric squares.

16 layers thick. Notice how the Ziploc bag material is no longer smooth and tightly stretch over the block. This stuff gets really hot. I could not hold the mixing container due to the heat.
Then I clamped them together as tightly as I could. I also made a set of thinner pieces out of a red T-shirt. I will use them for spacers. They are only 2 layers thick.
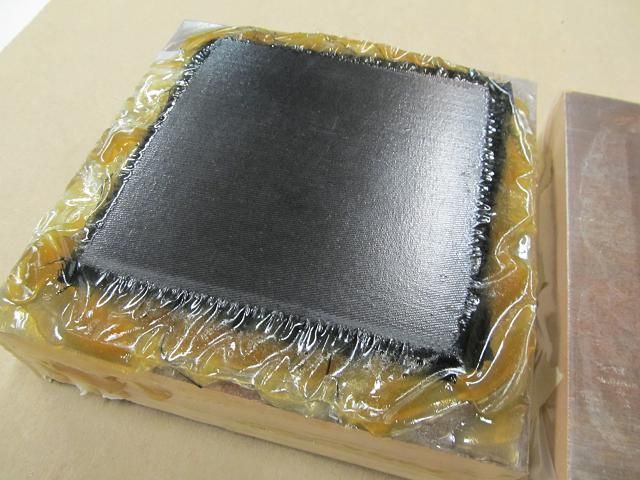
I let them set for 24 hours even though the container said it would be cured in 2 ˝ .
After prying the blocks apart.
After sawing off the excess.
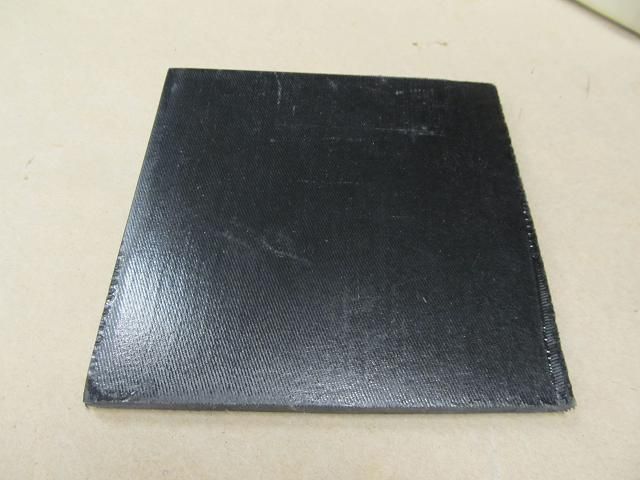
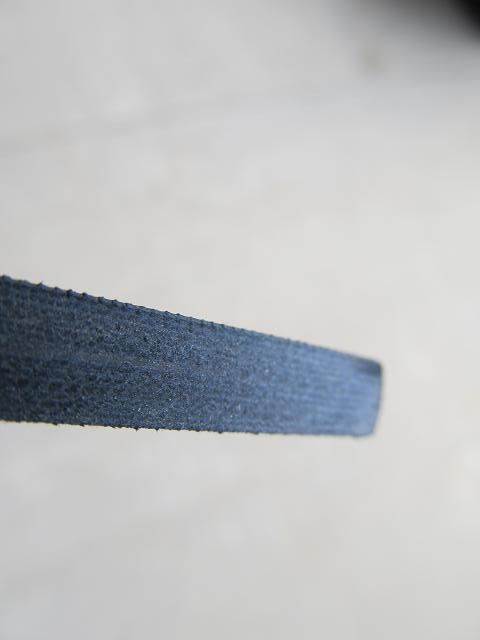
All that pressure did a good job of making a very solid and heavy chunk of resin impregnated cloth.
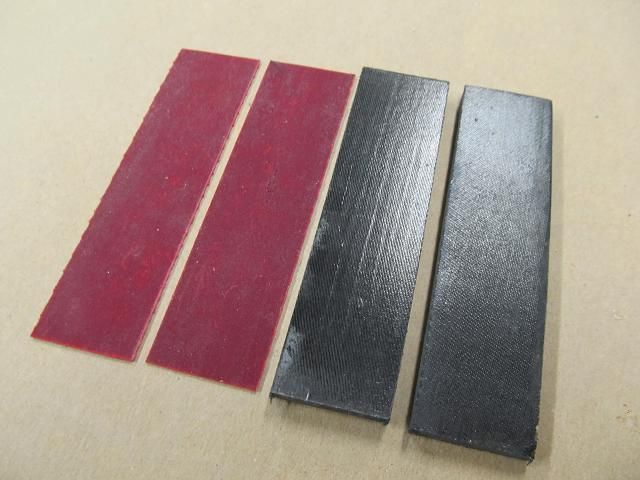
Here are the scales and spacers I cut for the knife.
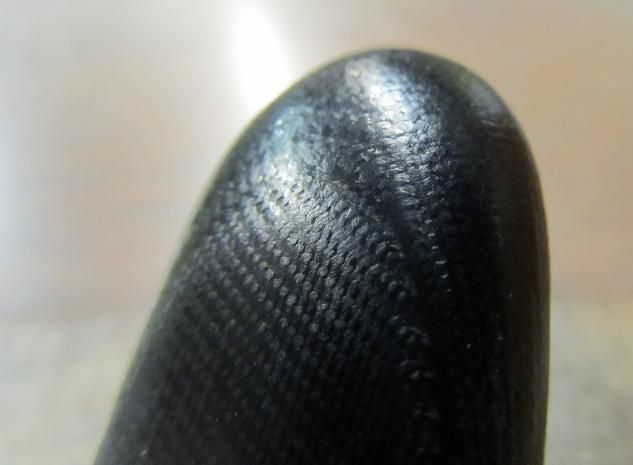
I took a piece of scrap and rounded and polished it to see what the surface would look like without applying any kind of finish. I polished it on a flannel buffing wheel with Tripoli compound. It even looks a little like carbon fiber.
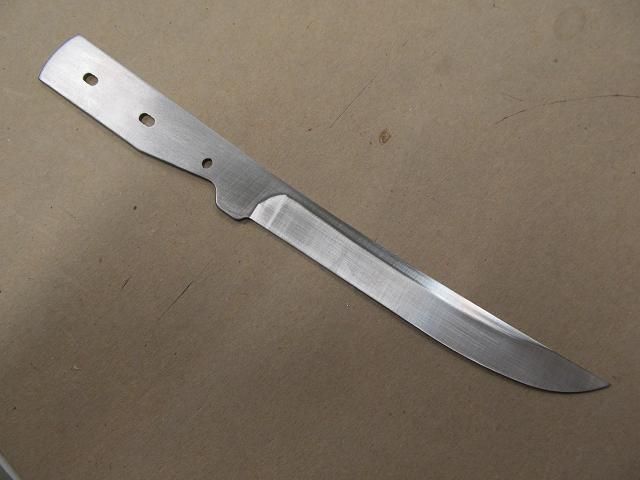
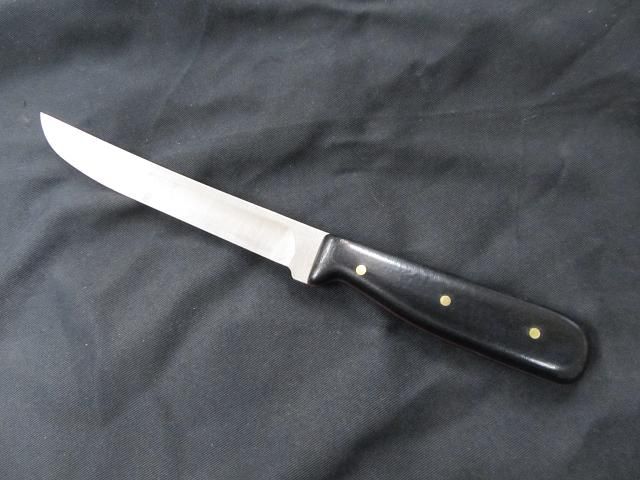
Since this is just an example of how this process works, I am using one of the Chicago Cutlery factory 2nds I have on hand. I’m not sure what about them makes them 2nds but they sell them at a good price. This is just a basic kitchen knife and perfect for this sort of explanation.
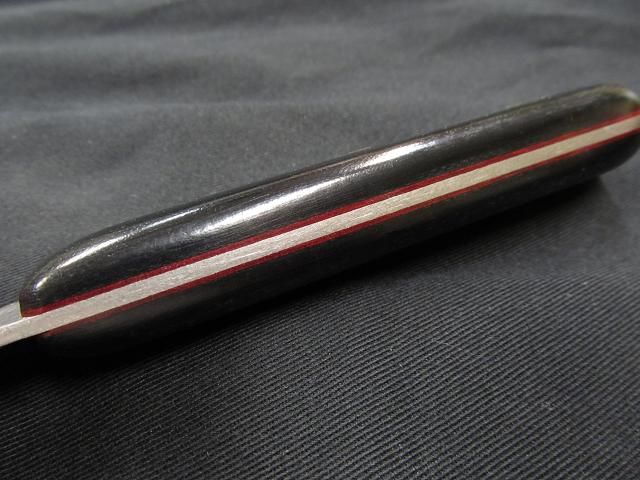
I used brass pins and my regular slow cure epoxy to attach the handle parts. I used a belt sander and palm sander to shape. I went from 50 grit to 400 grit sandpaper and then 000 steel wool and finally the flannel buffing wheel. Here is the finished handle made from a pair of pants and an old T-shirt.

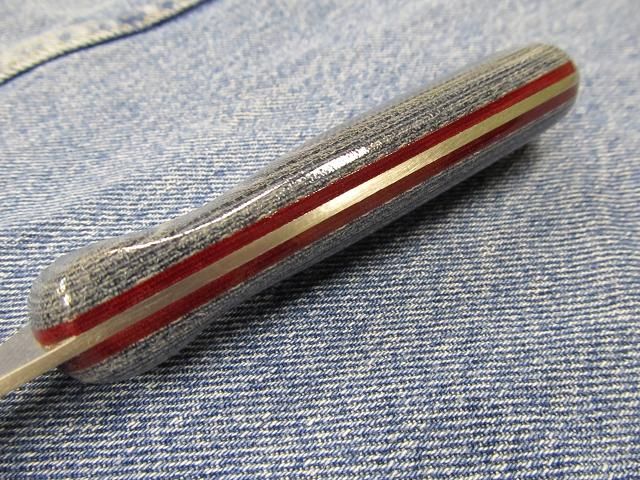
Interesting patterns can be made by using different colored cloth layers.
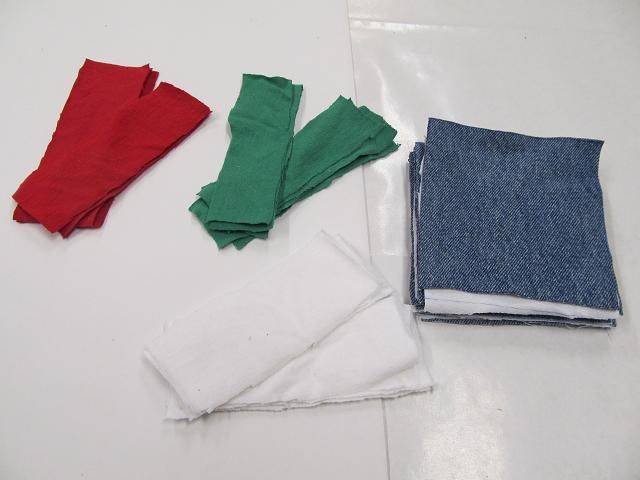
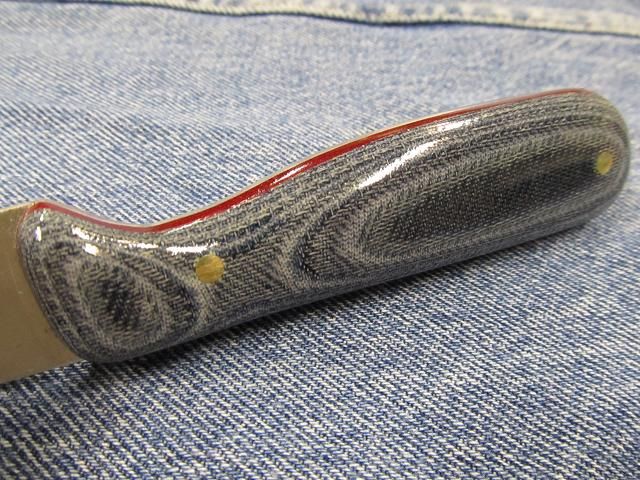
I thought I would give denim a try. And a few other colors of cloth as well as construction paper.
I used another Chicago Cutlery blade.

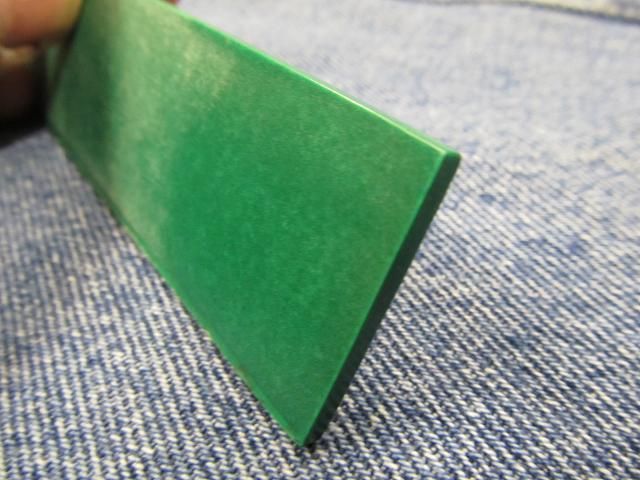
10 layers of green construction paper. This stuff has great potential and comes in a wide variety of colors (and is cheap)
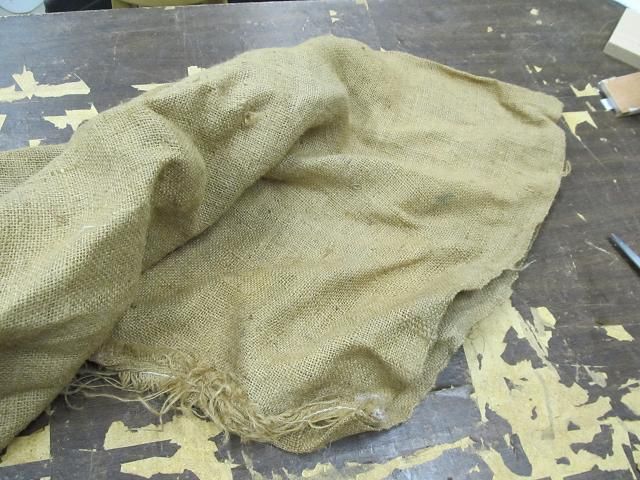
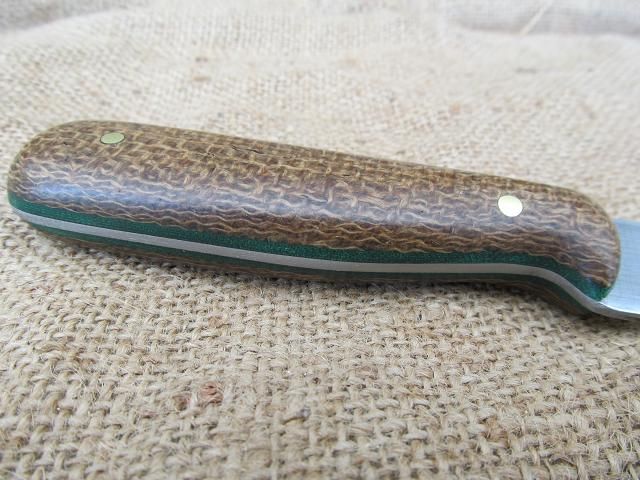
How about Burlap and green T-shirt?
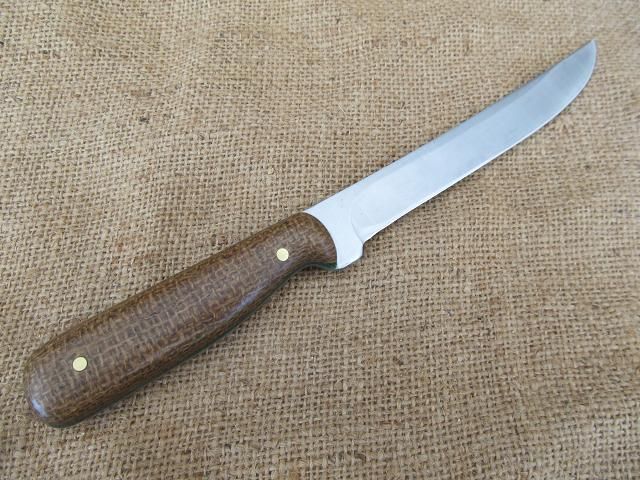
Are you coming up with ideas? Is the local goodwill store filled with an endless supply of cheap medium in a variety of colors and textures for your next project??
The cured micarta works like very hard wood and basic woodworking tools are all that is needed. It can be drilled and tapped and does not require a finish coat although more gloss can be had by applying a super glue finish or any of the spray on coatings.
I hope this sparks your creative side. Enjoy.
As my handle states, Im a DIY’r that loves making stuff rather than buying it and I like doing it with limited or modest tools and with things found around the house and hardware store.
I am custom knife maker, bow maker, hard leather worker (sheaths and holsters) soft leather worker (mitten, moccasin) custom butcher/sausage maker, gun restorer, etc. Im a shadetree DIY’r that loves to pass along DIY tips.
I’ll show you the steps used in making your own plastic parts (as mentioned above) for some knives I made but it takes very little imagination to apply these tips to pistol grips, butt plates, bow handles, etc. The sky is really the limit. Lets begin.
For knife handles this is known as layered micarta and can be done with cloth, fabrics, papers, wood (very, very thin wood) or any medium that will absorb the binder/resin.
Lets say you want to make a part for your knife, bow, gun, etc out of an old pants/shirt, feed sack, paper, carbon fiber, fiberglass, ect because the color or texture appeals to you. Lets begin.
In this case I want a black handle and red handle spacers so I’m making it out of an old pair of black dress pants that had a busted zipper and an old red T-shirt. I cut squares that were 4 ˝ by 4 ˝ so that I can get a matched set of handle scales.
This is messy work and I wear rubber gloves that quickly were covered in resin so not many pics were taken during the actual assembly of layers. I got the resin and hardener from Walmart but it can be found at hardware stores or DIY big box stores.
I used a plastic bin to coat each square and a squeegee (old credit card or hotel room key card) to spread and saturate the cloth.
I would be clamping the stack between two wood slabs. I cut apart a large Ziploc bag and taped it to the blocks to keep them from sticking to the fabric squares.
16 layers thick. Notice how the Ziploc bag material is no longer smooth and tightly stretch over the block. This stuff gets really hot. I could not hold the mixing container due to the heat.
Then I clamped them together as tightly as I could. I also made a set of thinner pieces out of a red T-shirt. I will use them for spacers. They are only 2 layers thick.
I let them set for 24 hours even though the container said it would be cured in 2 ˝ .
After prying the blocks apart.
After sawing off the excess.
All that pressure did a good job of making a very solid and heavy chunk of resin impregnated cloth.
Here are the scales and spacers I cut for the knife.
I took a piece of scrap and rounded and polished it to see what the surface would look like without applying any kind of finish. I polished it on a flannel buffing wheel with Tripoli compound. It even looks a little like carbon fiber.
Since this is just an example of how this process works, I am using one of the Chicago Cutlery factory 2nds I have on hand. I’m not sure what about them makes them 2nds but they sell them at a good price. This is just a basic kitchen knife and perfect for this sort of explanation.
I used brass pins and my regular slow cure epoxy to attach the handle parts. I used a belt sander and palm sander to shape. I went from 50 grit to 400 grit sandpaper and then 000 steel wool and finally the flannel buffing wheel. Here is the finished handle made from a pair of pants and an old T-shirt.
Interesting patterns can be made by using different colored cloth layers.
I thought I would give denim a try. And a few other colors of cloth as well as construction paper.
I used another Chicago Cutlery blade.
10 layers of green construction paper. This stuff has great potential and comes in a wide variety of colors (and is cheap)
How about Burlap and green T-shirt?
Are you coming up with ideas? Is the local goodwill store filled with an endless supply of cheap medium in a variety of colors and textures for your next project??
The cured micarta works like very hard wood and basic woodworking tools are all that is needed. It can be drilled and tapped and does not require a finish coat although more gloss can be had by applying a super glue finish or any of the spray on coatings.
I hope this sparks your creative side. Enjoy.

