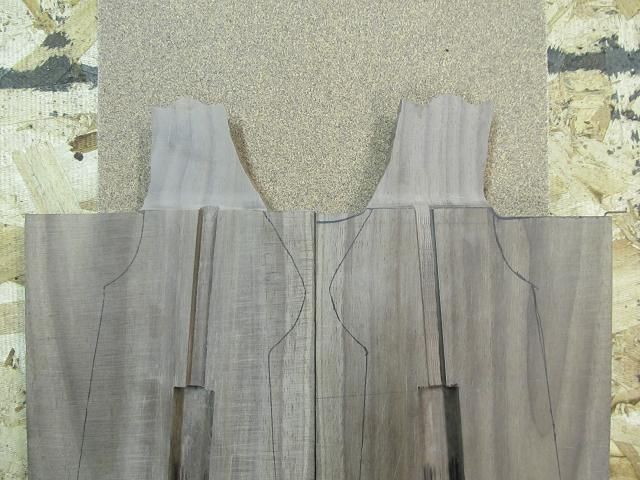
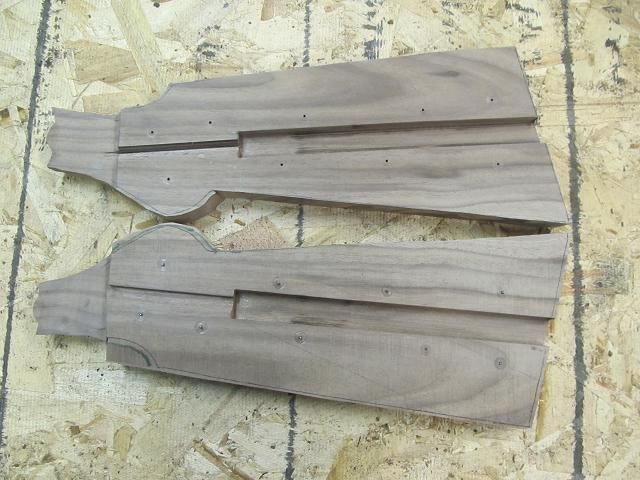
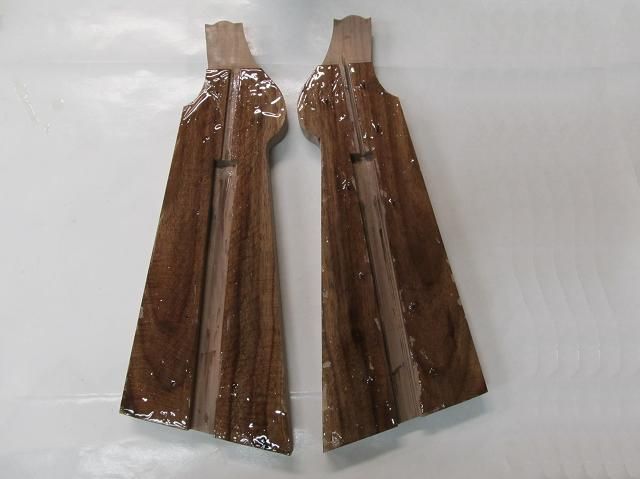
Both halves of the receiver joint are complete then the halves are rough cut to the shape I need.
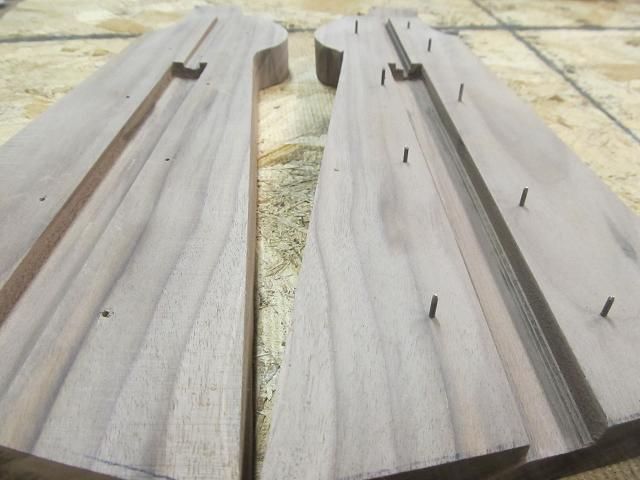
For added strength and for alignment I will use 9 hardened steel pins hidden within the stock. This will add to the epoxies shear and tensile strength but it also ensures the flat for the washers on both halves lines up during the slippery clamping process
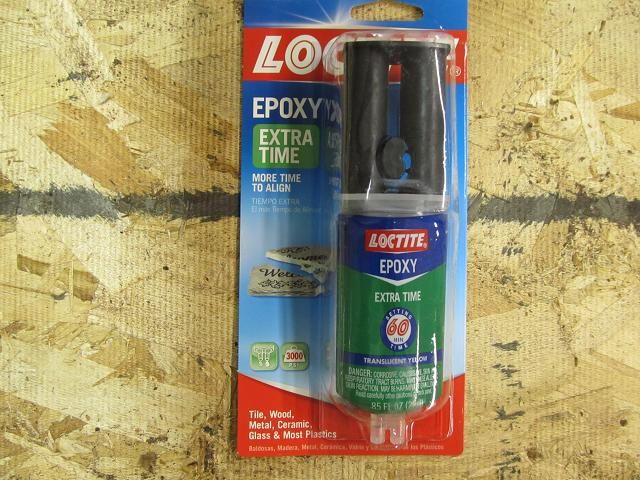
This slow cure epoxy has a 3,000 PSI tensile rating, can be drilled and tapped, is waterproof and heat resistant and does not shrink. It also has a good wetting property (since its slow cure). Their data sheet shows a 1,345 PSI shear strength on maple to maple. As have stated I have used this many times in the past on wood laminations with incredible success.
Epoxy likes rough surfaces so before I applied the epoxy I roughed up both halves with a bandsaw blade by bending a blade into a “u” shape and raking the teeth across the wood. Its important to coat both surfaces for the best adhesion. It uses more glue (which oozes out during clamping) but you can be sure you wont have any dry spots starved of epoxy.
Light clamping pressure is all that is needed to ensure you don’t squeeze out the epoxy. After 24 hours the epoxy will be fully cured the it will be one solid piece. I used flattened stick to make sure to scrape out the epoxy the oozed into the channel for the bolt. While the epoxy was still curing I lowered the large washer down into the hole so it stays with the stock. Only the lock washer will be removed with the bolt during disassembly in the future.
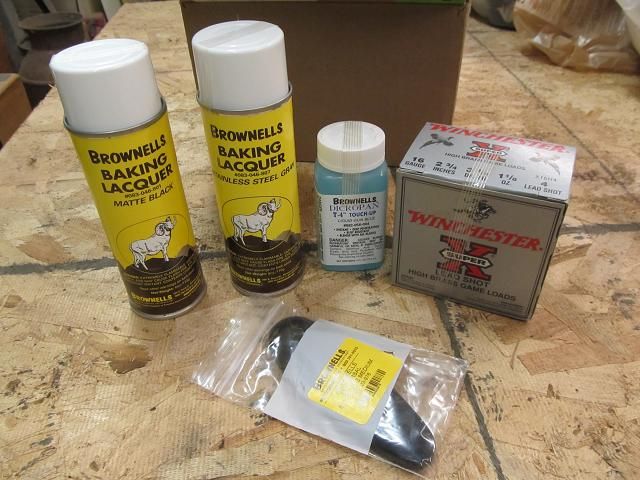
The Brown truck made a delivery to the house .
To be continued…………………..