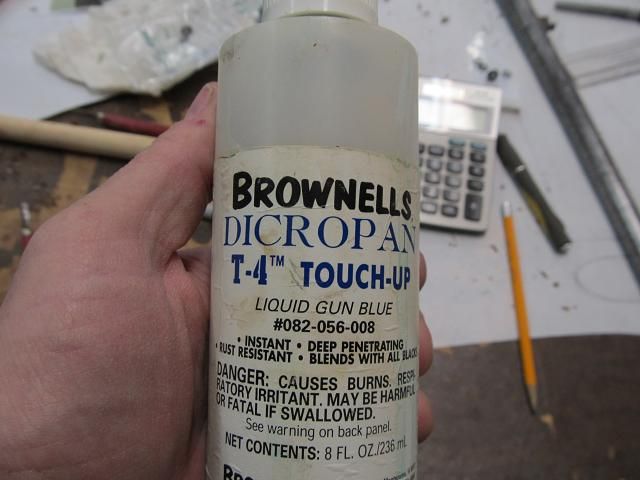
The next step is to make sure the spring mechanism fits and the spring can move freely. The spring mechanism is held by a single screw. That screw was missing so I need to replace it. No doubt the original screw was black in color (blued) My local hardware store does not carry machine screws in any color other than shiny zinc plated. No worries. I polished off all the plating by spinning the screw in a drill and using 800 grit sandpaper then blued the screw head with the last remains of my bottle of Brownells Dicropan cold bluing and then gave it a light oil coating. I have had good results with Dicropan in the past so I need to replenish my supply for the rest of the parts of this shotgun.
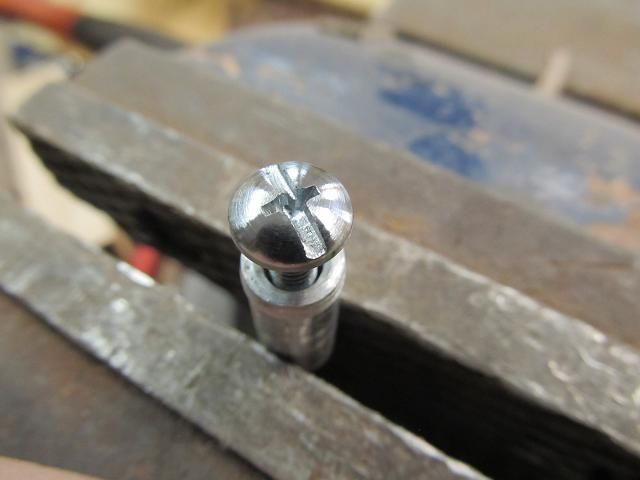
Here are the before and after pictures of the screw. After polishing
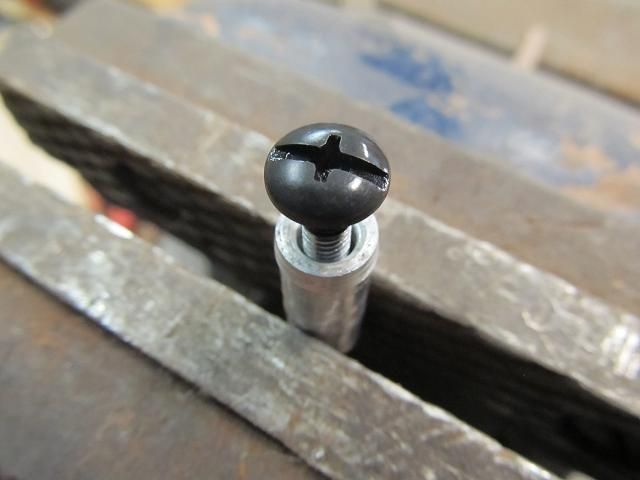
After bluing.
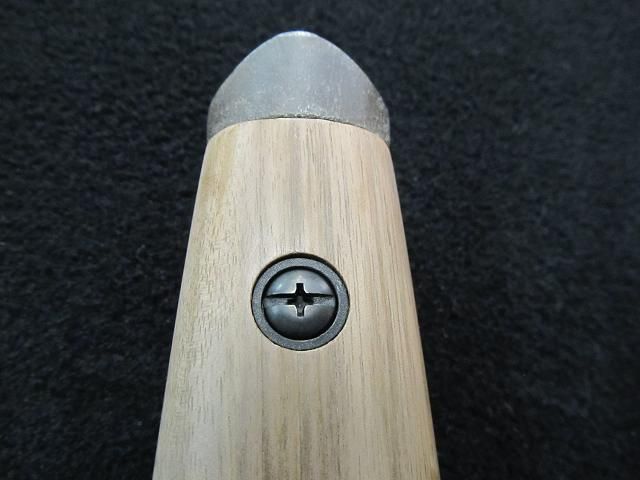
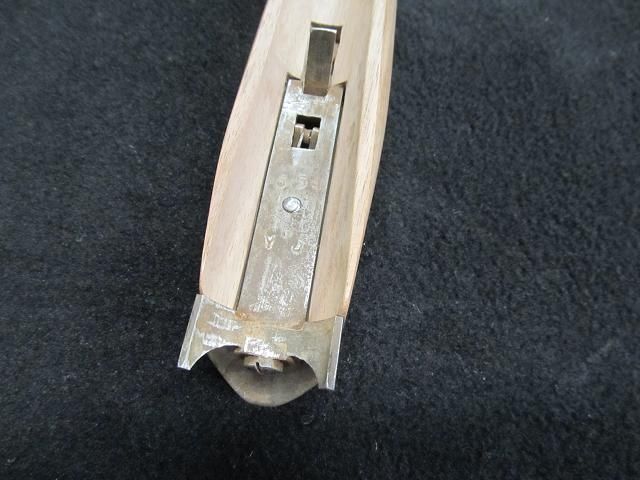
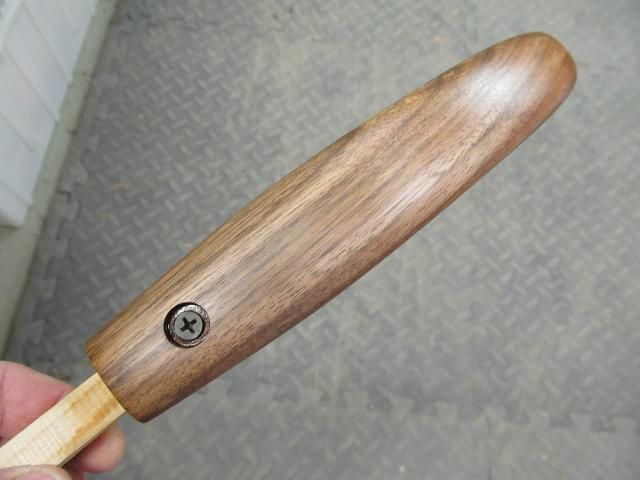
To dress up the appearance of the screw (since it has to be seen for removal) and to protect the wood from being crushed by the spinning of the screw head into the wood I drilled the hole slightly larger than the head and will use a cup and fiber washer from the hardware store to spread out the load on the wood. I like the look and the fit seems good.
The spring mechanism fits well in the chiseled out area.
Now for the real test, does it fit and does it work??
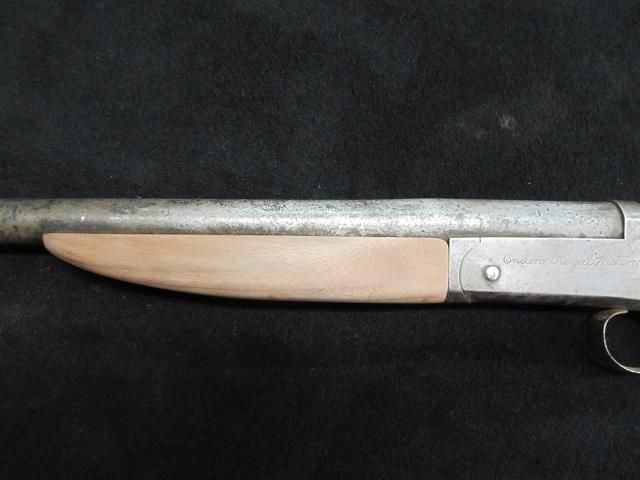
The broom handle gets an A+ for fit.
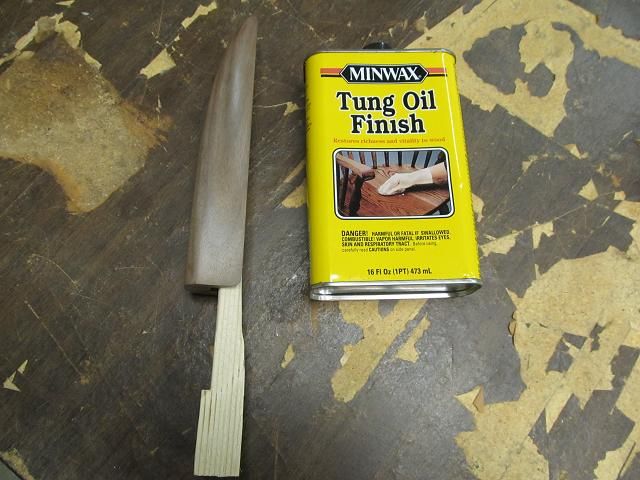
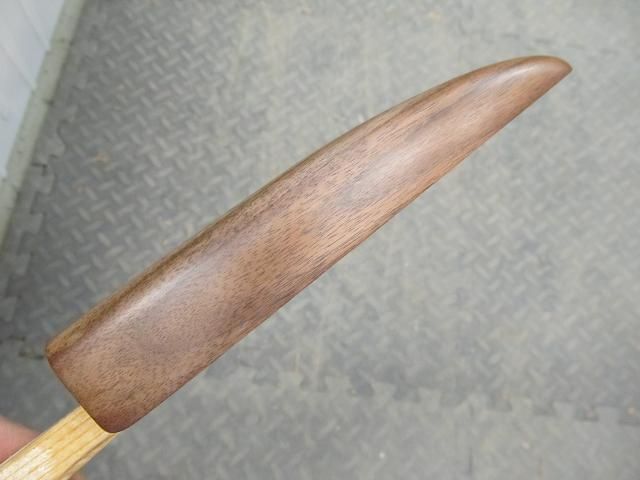
Im not sure what finish the original stock had back in the 1920’s but I can be sure it didn’t come out of a rattle can. It may have been some sort of shellac or varnish but more likely was been boiled linseed oil as that was a typical gun stock finish (and still is for high end guns) It may have also been tung oil which is still used as a gun stock finish. Both Boiled lindseed and Tung oil are available at the local hardware store and both are drying oils (unlike mineral oil that would be used on cutting boards). The major difference in tung and boiled linseed oils is the dry time. Linseed oil means 6 to 10 days between coats since its very slow drying. If I want to apply 6 to 8 coats, that would means months worth of waiting. Tung oil can be reapplied after 24 hours meaning the 8 coats will cost me just over a week so I will go with the tung oil. I added a makeshift handle to hold onto while doing the final sanding with 800 grit and for applying the tung oil.
A hand rubbed finish means just that. The brush I will use to apply the tung oil is one of a set of ten that I got from my parents on my first birthday and despite projects like this (and growing up on a farm) I still have all ten of those brushes after 50 years.
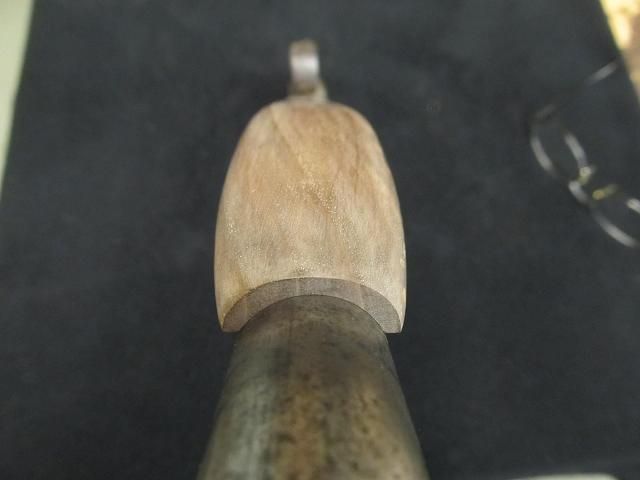
Here is the foregrip after the first of many coats. Not very impressive but that first coat was sucked in nice and deep by the thirsty wood and will lay down the base for the next 7 coats. Each coat will add a level of protection and gloss/shean.
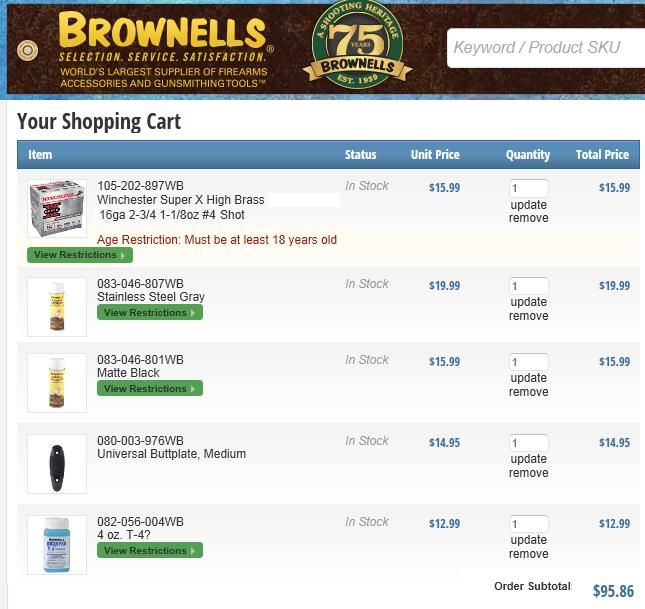
One stock piece (sort of) complete. Time to start the butt stock. In the meantime I placed an order for some needed supplies for this project. These supplies are about 10 times the cost of the original shotgun when new.
To be continued…………