Back in May I built a laminating heat box and thought I would share the build along with the guys here as I have not seen a build along on this site.
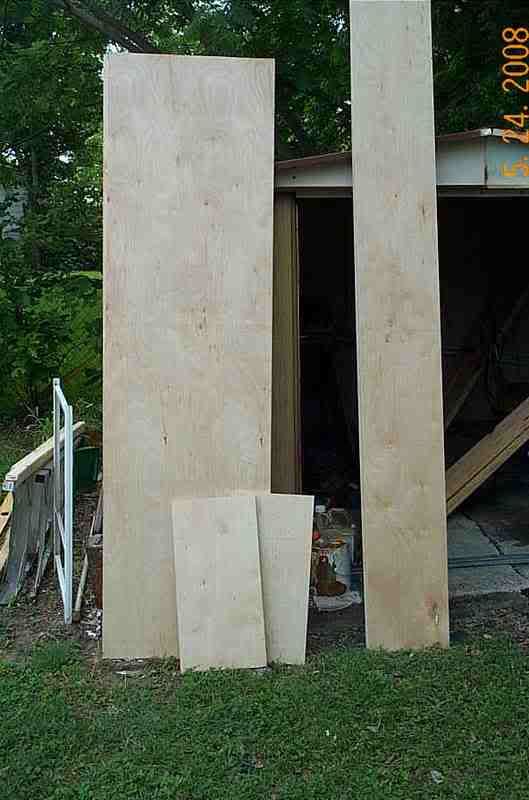
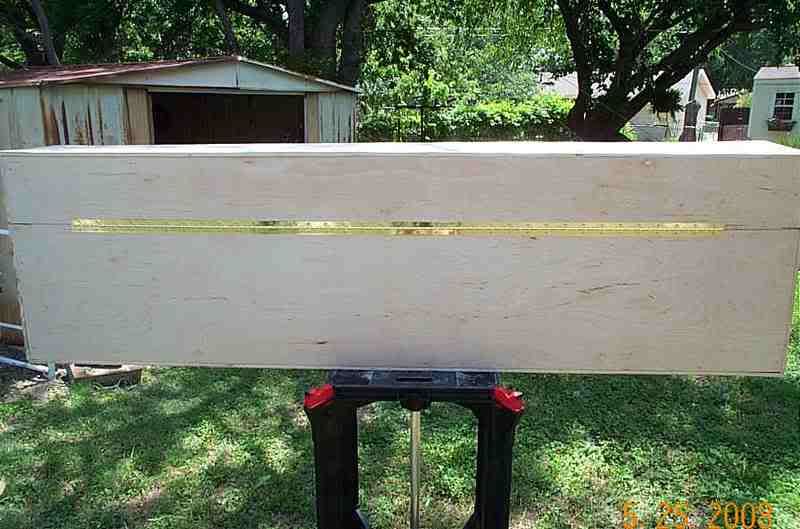
I brought 2 sheets of 8'x4' plywood got them to cut 1 in 1/2 to be the sides and the other sheet into 2 12" peices for the top and bottm I cut the remaining peice into 2 24"x12" for the ends.
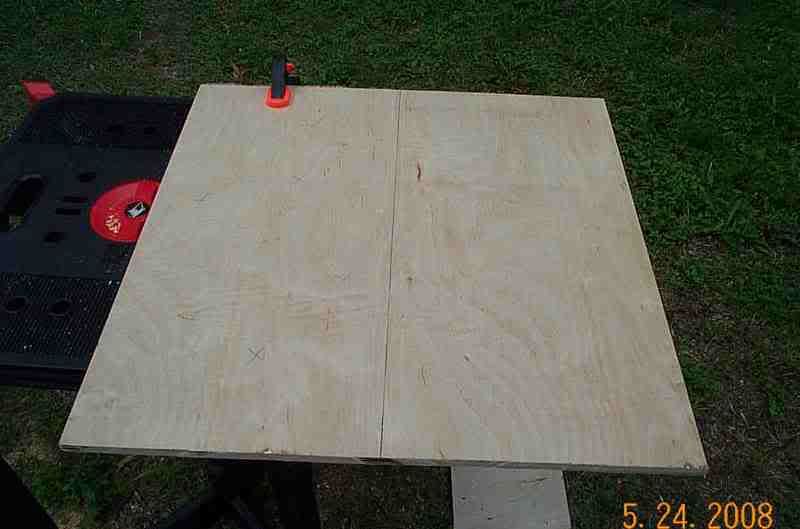
Now with all it all cut to specs with the exception of the top and bottom I will measure those lenghts when I get the ends and sides on.
It's time to start making the box, what I done was measure in 1/4" from the sides and drill pilot hole and started the screws. Easier to do it this way if you don't have help.
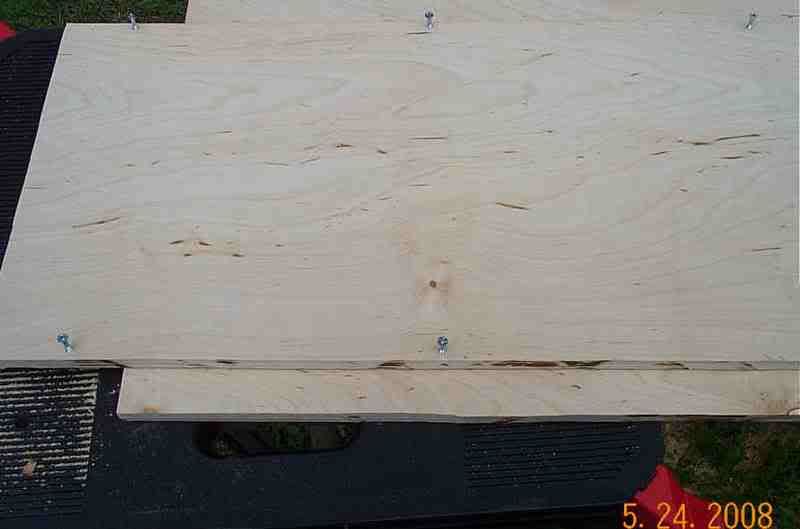
After I had the ends and sides glued and screwed I measured the lenght and cut the top and bottom.
Once again I drilled pilot holes and started the screws then glued and screwed the bottom on.
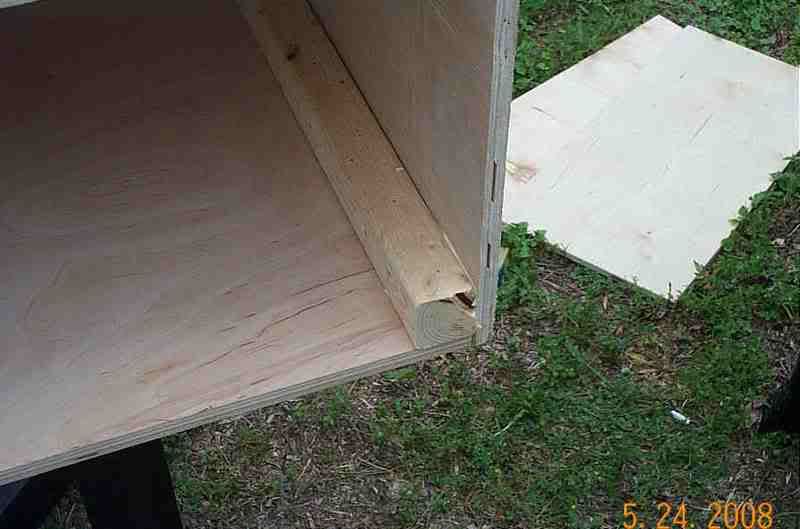
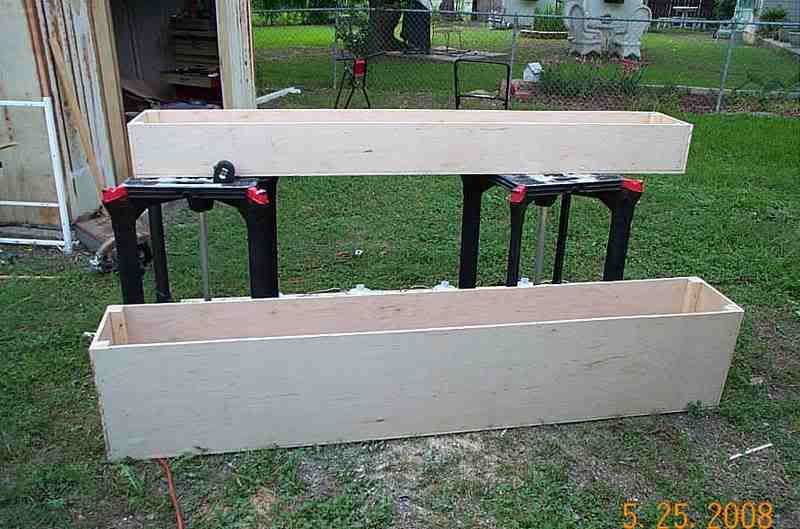
With that done it is starting to look like a box but a bit on the flimsy side so I got some 2"x2" glued and screwed those into the corners.
Time to put the top on and now who would believe it I have a box.
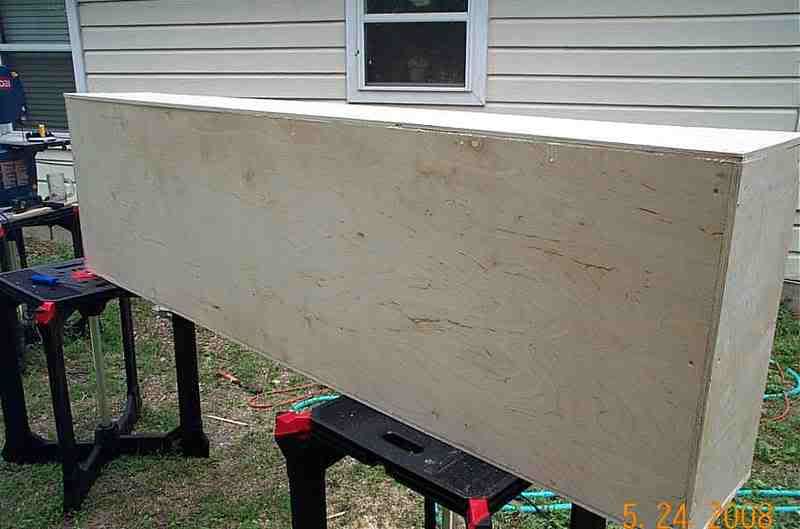
I really wanted to use the table saw for a more even cleaner cut but there was just no way I could manage a 88"x12"x24" box on my own with the table saw.
So I measured down from the top all the way around the box 8" and drew a cutting line.

Now I am not the best with a skill saw so I just took it nice and easy and made the cut took me a good 15 to 20 minutes but finally got the job done.

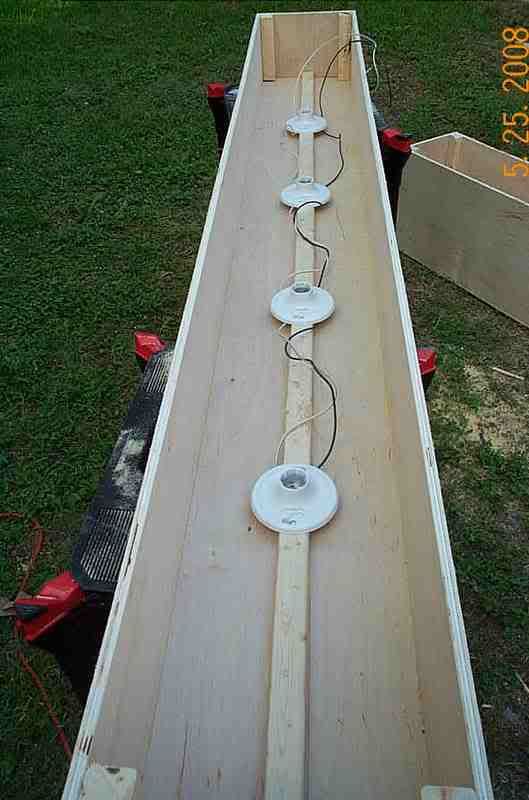
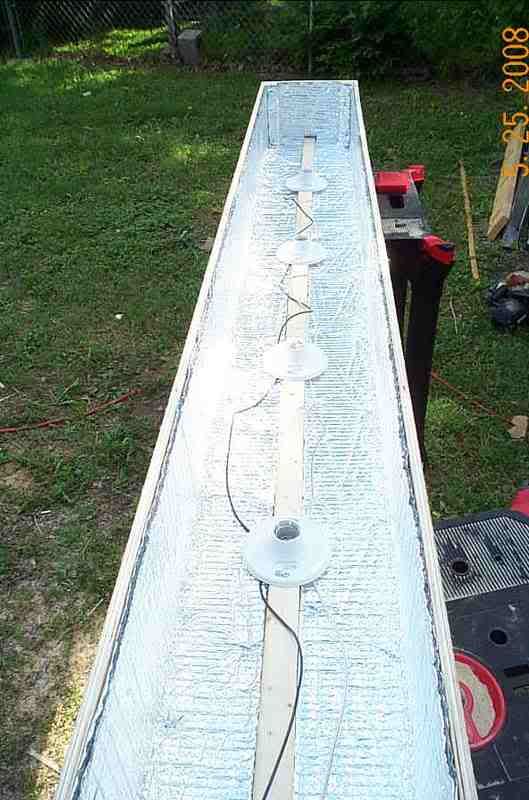
I decided to make up a light bar insted of mounting the light sockets direct to the top of the lid.
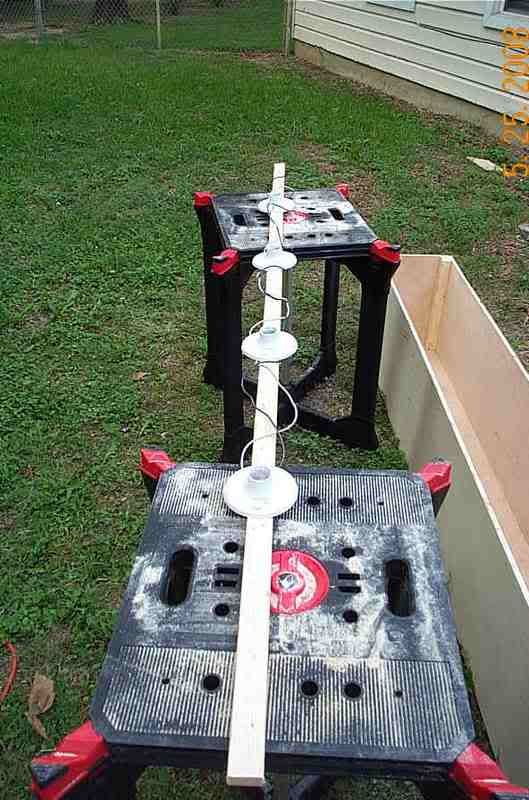
I did have to cut a small section out of the timber as the terminals where slightly touching the wood and I am not going to take any chances when it come to electricity.
I only screwed the lights to the lid just incase I have to take them out for some reason.
Now with that done it was time to put the reflective bubble insulation in.
For this I just used a staple gun.
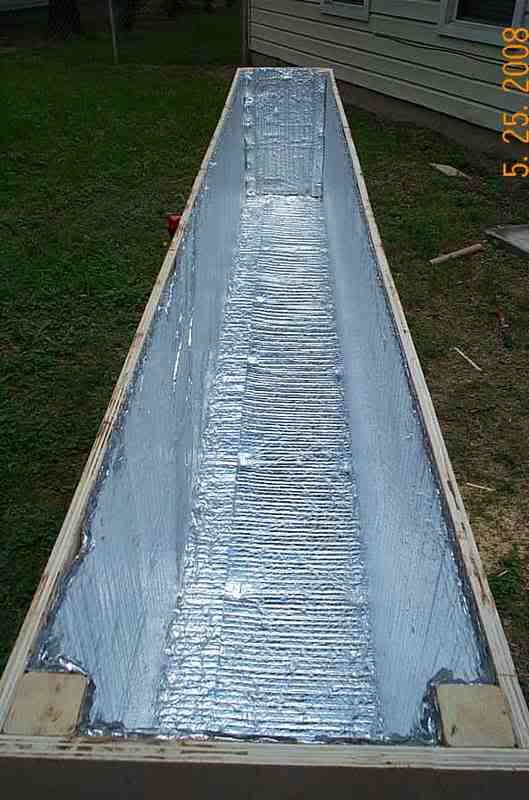
This is the lid.
Now the main body of the box I was lucky and only used 1 roll of the insulation with a little to spare.
Then I took the lid into the house as it was starting to get hot and humid outside to wire up the lights to the switch, install the thermostat and of course to see if they where going to work or I was going to blow up my house[8D]


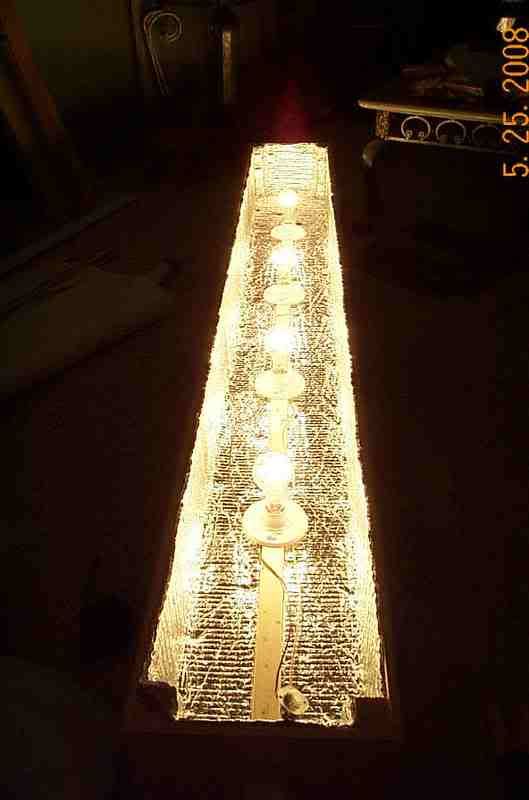
Well the lights came on and no breakers tripped so I gues I got the wiring right.
Now all I have to do is put on the paino hinge so back outside.
Now just 3 handles to put on and the heat box is finished
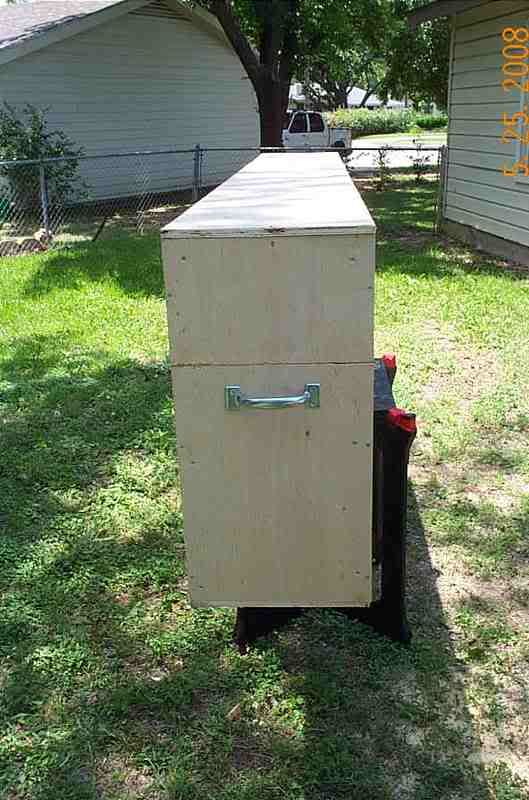
I put 1 handle on each end as carry handles and 1 on the lid so I can open and close it.
Oh the old shed in the pics is now longer there I had a 10'x12' lofted barn built so now I finally have a decent work shop and wont have to sweat it out in the hot Texas sun