


Trail Camera - How to
 06-15-2009 | 08:02 AM
#1
Thread Starter
Spike
Joined: May 2009
Posts: 5
Likes: 0
I just purchased a couple of Moultrie I-40s about three weeks ago and have been getting ok picutures, but nothing brilliant. I was wondering if anybody has ever posted a "Getting Started" guide to how to set cameras up. I have seen some great pictures in here andI am guessing that the communityhere hasamassed some knowledge that could be useful. I have a few good pics but many are blurry, I also get a large number of blanks. Some of the questions I have are:
What is the best distance to set the camera from the area you expect to see game?
What is the proper hight to aim the camera?
I am sure there are other tips and tricks. I have a few good pictures (can't figure out how to size them properly will post later), but i get a ton of blanks and/or blurry images that make it impossible to tell buck vs doe, much less assess the animals age etc...
Sorry to ask for help without contributing to the forum, I will figure out how to post some pics and try to rectify that!
 06-15-2009 | 09:11 AM
#2
Typical Buck
Joined: Feb 2003
Posts: 547
Likes: 0
From: Central Michigan
Congrats on the cams, join the club you're now addicted...
Don't have any commercial cams, mine are all homebrews so you might get better feedback from others who own the Moultries.
1. I put my cams as close as I can, anywhere from 3-8ft away from where I expect activity.
2. I put my cams from 6 inches to mid thigh off the ground, depending on the perspective I want.
3. Over scrapes my cams are usually 6-7 ft or as high as I can reach with out ladder help.
4. If you are getting blank pics try pointing your cams down, rather than across a runway. This may help a slow trigger.
5. Clear any thing that might blow in the wind, tall grass, small limbs, leavesetc, so the motion when windy doesn't trigger the cam.
6. Try to face the cams North or South. Should reduce whiteouts and false triggers
7. Be creative. There are no hard fast rules that I have found re: cam placement. I have gone as far as to mount a cam to a discarded Xmas tree if no tree was present and the spot was screaming for a trailcam.
8. Double and triple check to make sure your cam is set to take pics. If you haven't screwed up yet don't get cocky. I will happen trust me. If it doesn't you should start wearing sandals because you're perfect.
9.Keep your batterys fresh. Lots of strange things happen with weak batterys and trailcams.
10. Clean your glass each time you place your cam. Can help with blurry pics. Quick motion of the subject can also cause the pics to blur. Just part of the game.
You'll get a ton more suggestions which should help. These are just a few off the top of my head. Good luck and have fun.....don
06-15-2009 | 11:23 AM
#3
Nontypical Buck
Joined: Aug 2008
Posts: 3,372
Likes: 0
From: Indiana
ttugmc,
Welcome to the forums, it's always good to have fellow addicts in your addiction. I have 2 I-40s so I do have a little experience with them. First of all make sure you have the latest software downloads on them. You can do this by going to www.moultriefeeders.com. Another thing I've found with the moultries is they like their sunlight, so be sure, especially at this time of year with the thicker foilage, to try to put them in an area that gets decent sunlight. If not you will get a lot of b/w pics during the day and possibly some whiteouts. Also, since the moultrie is not the world's fastest cam, you may want to consider putting something for the deer to eat in front of the camera. Like Don said, point the camera up or down trails and not across them, also making sure to clear all the ground foilage. That way the camera has plenty of time to react. For deer, I usually place my cameras about waist high and about ten to fifteen yds. from where I expect the subject to be. You can place it further away in the colder months but now that it's hot, it needs to be closer. Maybe some of the rest will have some different ideas for you but those are the ones that I can think of right off the top of my head.
Blessings.....Pastorjim
06-15-2009 | 12:05 PM
#4
Thread Starter
Spike
Joined: May 2009
Posts: 5
Likes: 0
Thanks for the replies so far guys, it really is helpful! As promised here are few pics from my first couple of weeks out in the field:
The first couple are of the best looking buck I have captured so far. This pic was the best view to see his width.
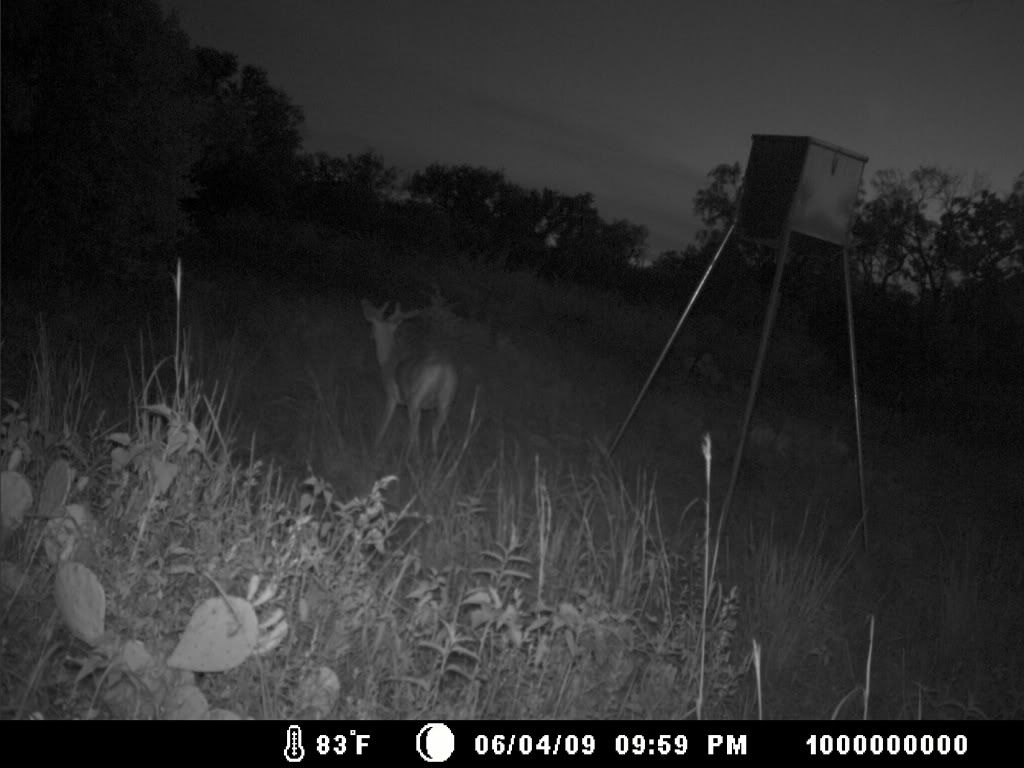
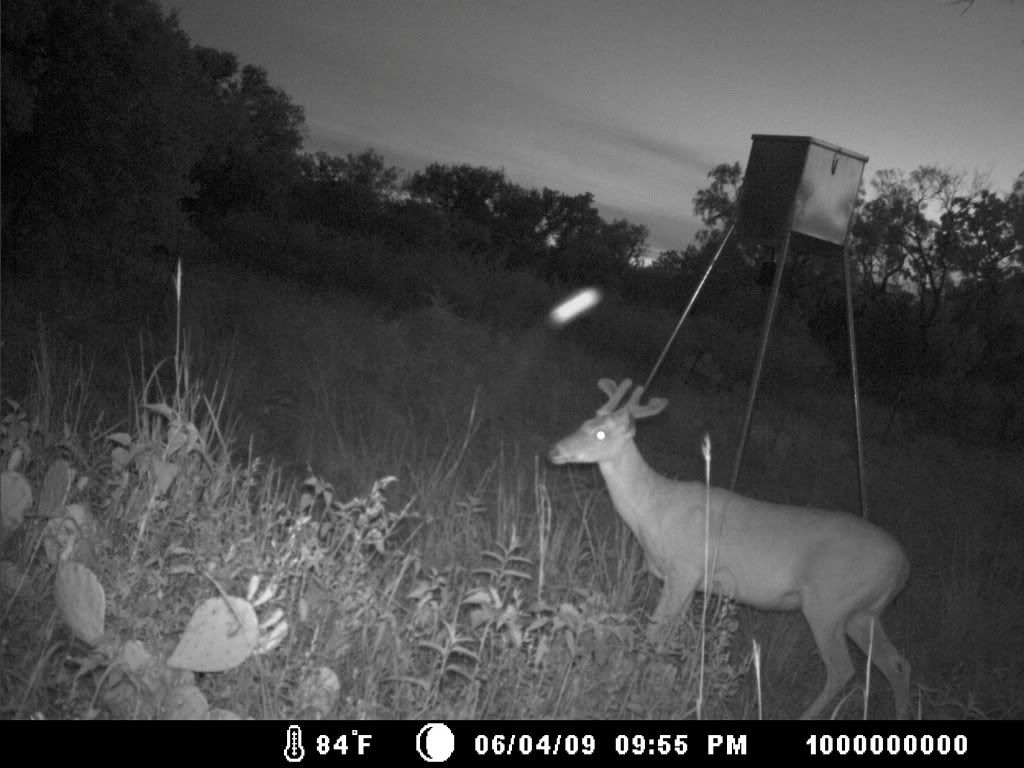
This is the best picture of him:
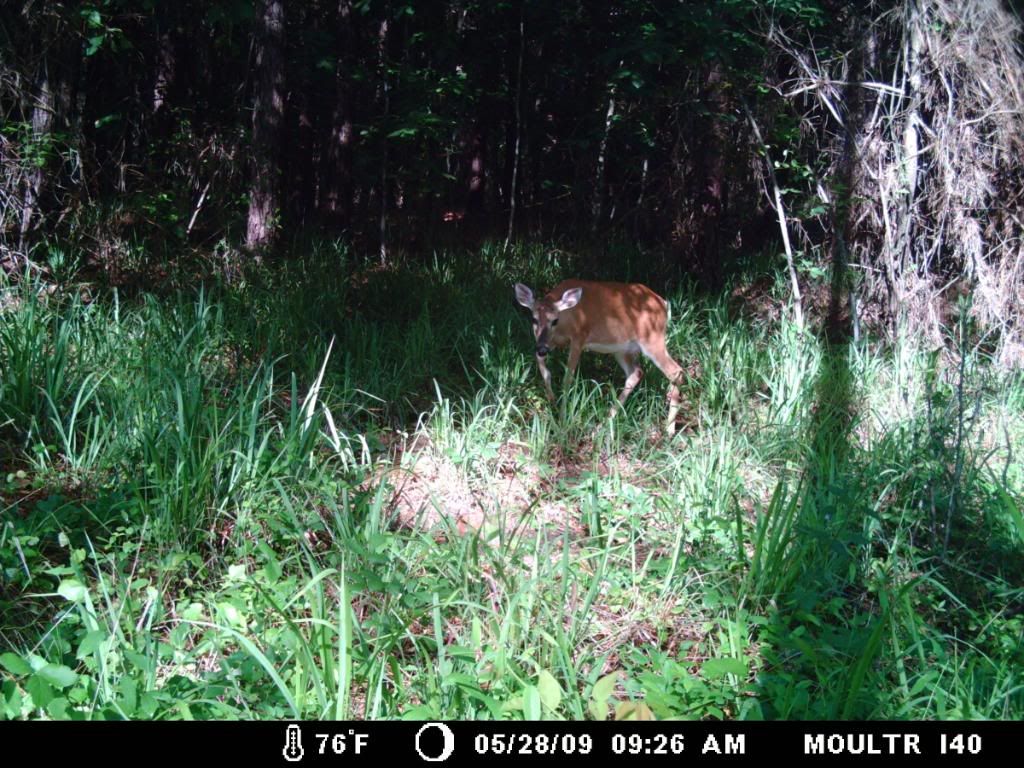
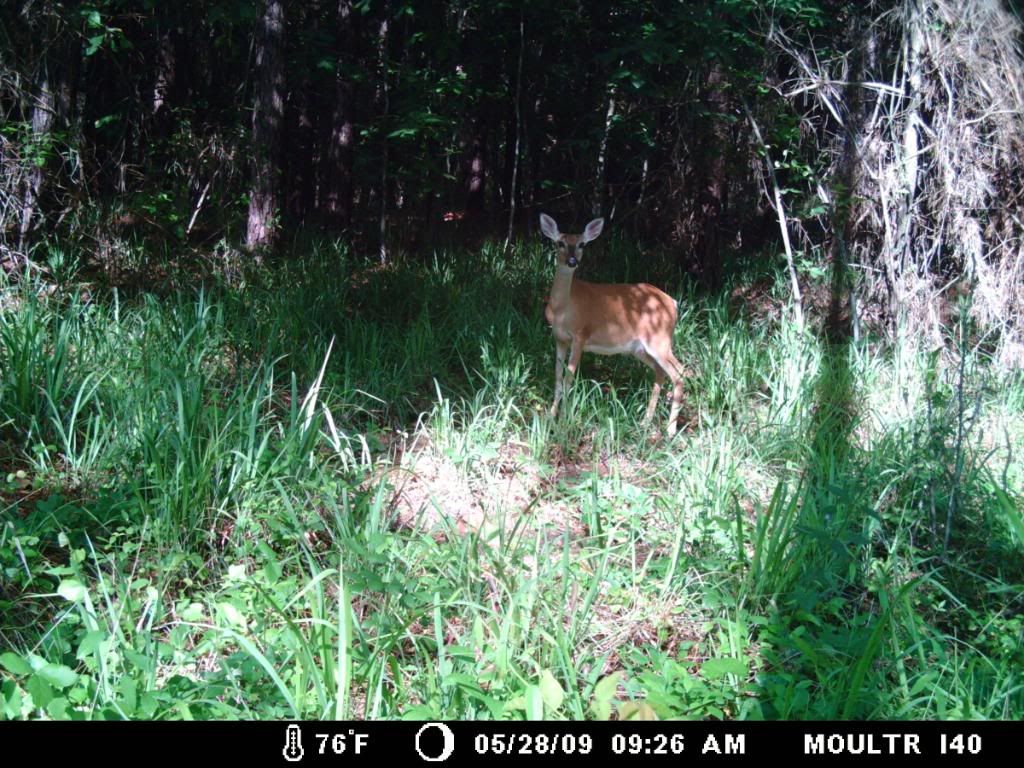
This is a buck at another camera, I have a couple of picture of him with another buck, more about that in a second:
Now for the more about that...got this picture about 10 days later...two bucks, but with substantially more antler growth, I suspect it is the same guys. Do antlers really grow that fast?
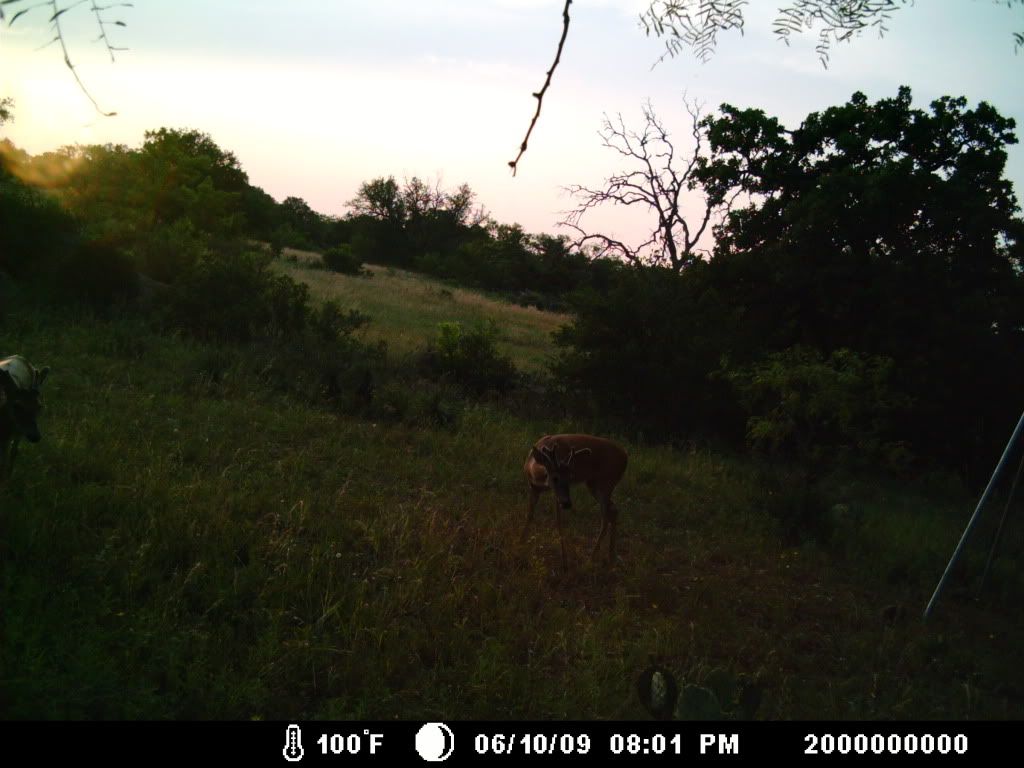
This is another early pic of one of the two bucks that I believe are in the above photo:

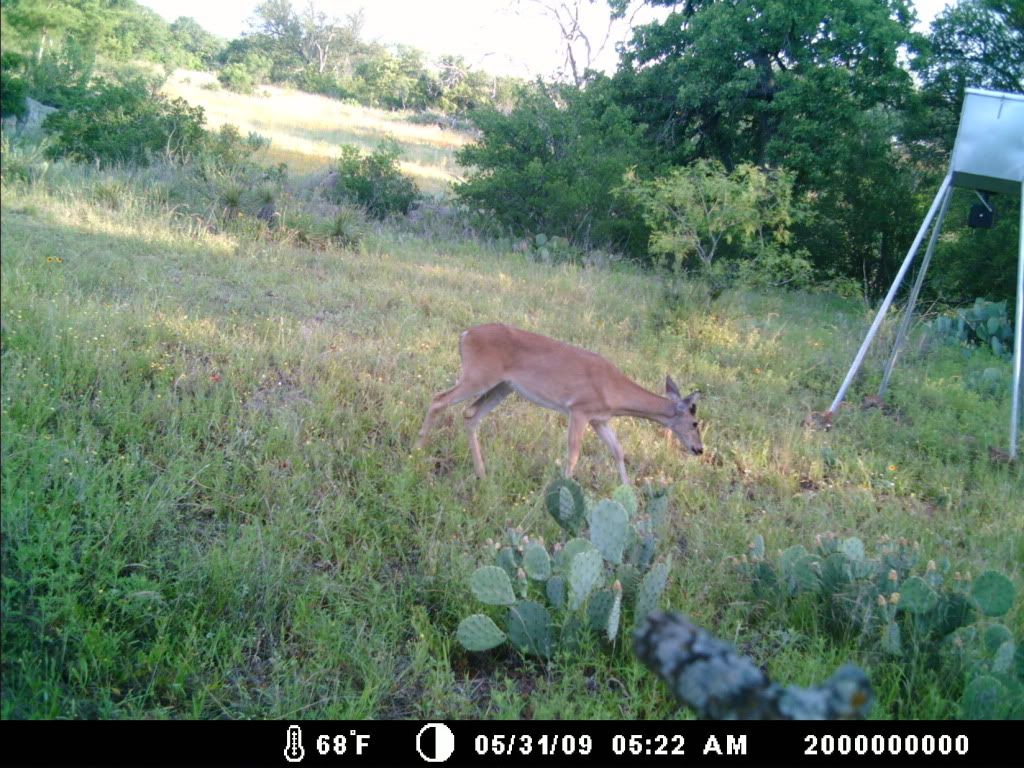
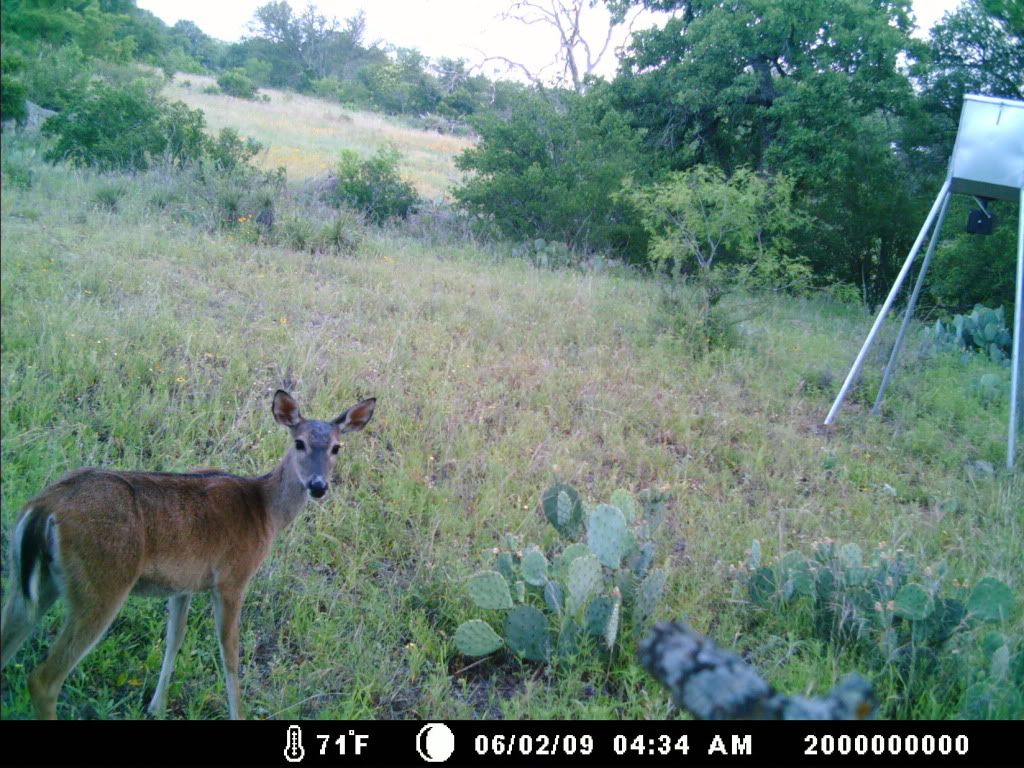
Finally, just a really nice picture of a doe, probably the best quality picture I got:
I really appreciate the info, keep it coming! I definately need to clear ground foliage, I have not done that. I also need to check for software updates. Also need to clean the glass, not rocket science, I should have figured that out on my own.I also just need to put more time/thought into installing the cameras to ensure a level clean mount, strapping them to a tree with a bungie works, but it ain't pretty.
Some background on the pictures, this is a new property for me in the Texas Hill Country, for that area, it looks like the first buck is going to be pretty nice. These are my first pictures from the property and it is definately helping to build excitement for the upcoming season.
The first couple are of the best looking buck I have captured so far. This pic was the best view to see his width.
This is the best picture of him:
This is a buck at another camera, I have a couple of picture of him with another buck, more about that in a second:
Now for the more about that...got this picture about 10 days later...two bucks, but with substantially more antler growth, I suspect it is the same guys. Do antlers really grow that fast?
This is another early pic of one of the two bucks that I believe are in the above photo:
Finally, just a really nice picture of a doe, probably the best quality picture I got:
I really appreciate the info, keep it coming! I definately need to clear ground foliage, I have not done that. I also need to check for software updates. Also need to clean the glass, not rocket science, I should have figured that out on my own.I also just need to put more time/thought into installing the cameras to ensure a level clean mount, strapping them to a tree with a bungie works, but it ain't pretty.
Some background on the pictures, this is a new property for me in the Texas Hill Country, for that area, it looks like the first buck is going to be pretty nice. These are my first pictures from the property and it is definately helping to build excitement for the upcoming season.

 06-16-2009 | 12:51 AM
#7
Nontypical Buck
Joined: Oct 2003
Posts: 3,313
Likes: 0
From: Lake County, Florida
also, make sure you set your picture quality to "enhanced". you can do this on the cam by scrolling through the menu options. i believe my I40's were set on standard from the factory. the higher the setting the more space each pic takes up on the SD card but the picture quality is alot better. if you use a 1 gig SD card you will have no problems with memory problems using the "enhanced" mode.

Thread
Thread Starter
Forum
Replies
Last Post
Jdavenport716
Hunting Gear
1
02-19-2006 09:16 PM
