


Eleven Ventliner
 05-27-2012 | 11:41 AM
#1
Thread Starter
Nontypical Buck
Joined: Aug 2008
Posts: 3,732
Likes: 0
From: Rapid City, South Dakota
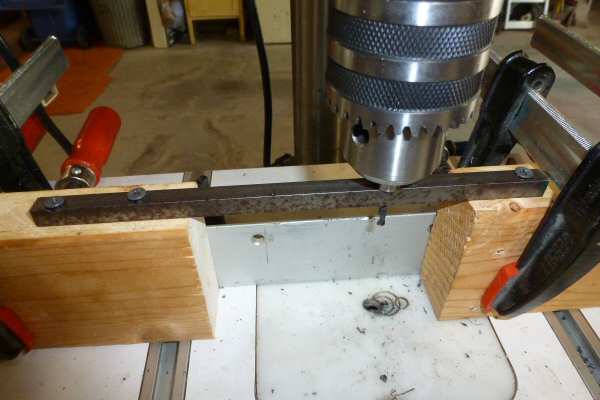
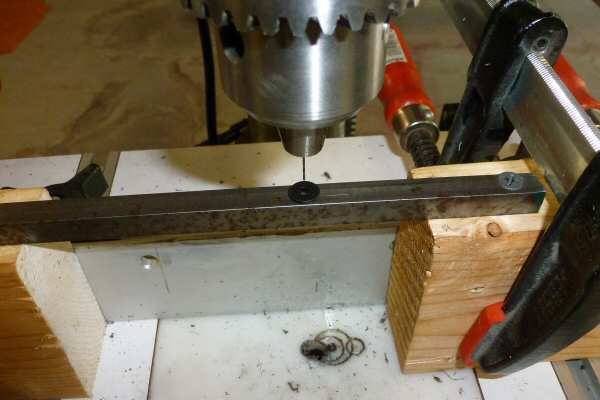
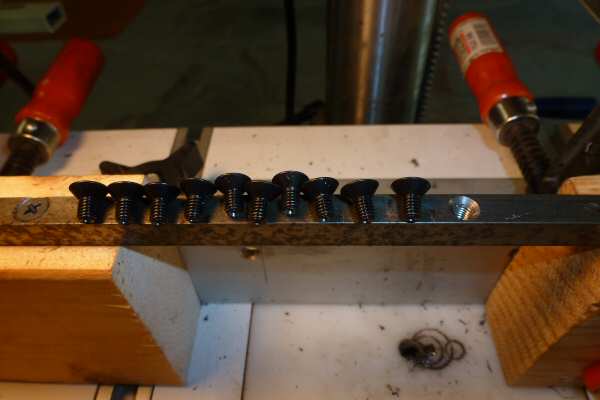
This morning i made eleven vent liner. Wished to go shooting, but it has been raining several days in a row; figured the hills would be quite muddy. To do the job i needed some kinda jig. Wandering around the house and yard i found these piece of steel and wood.
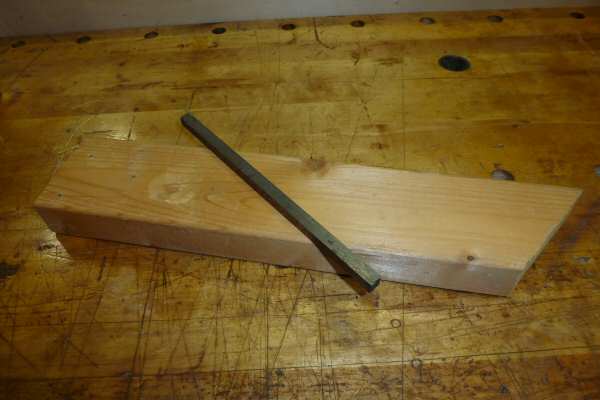
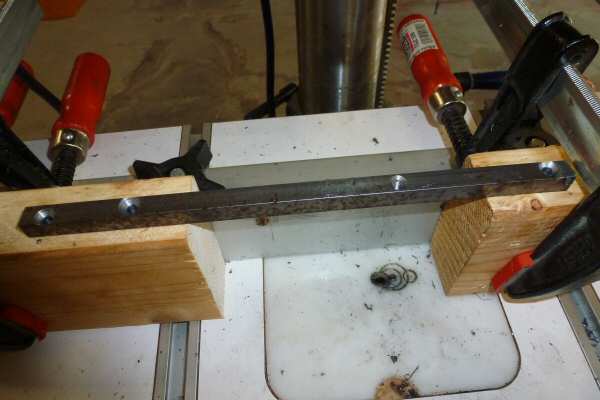
The steel was a short piece of 3/8" square mild steel rod. The piece of 2 x 4 was cut in about half, and holes were drilled through the steel, so it could be fastened to the pieces of two by.

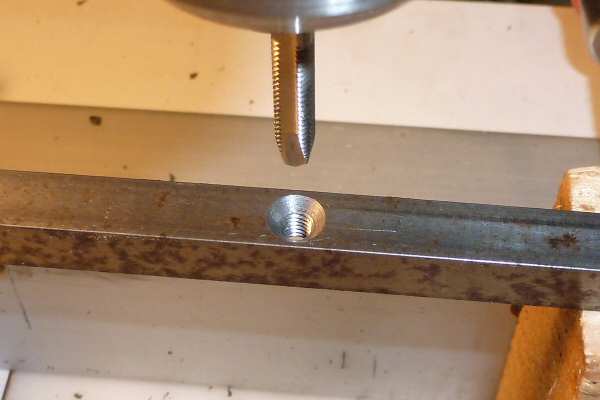
The wood were clamped to the drill press fence, and the rod fastened to the wood. They were positioned so there would be space for my left hand. The rod was drilled through with a 5/32" drill. The hole was countersunk. Then the belts were removed from the drill press, and the hole tapped with 10-32 threads.
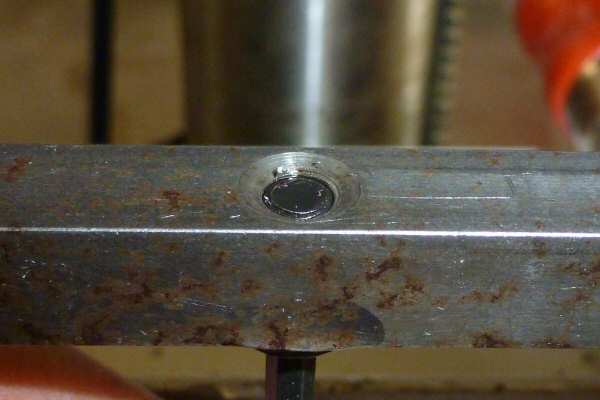
Then the screws holding the rod in place were removed. The rod was turned over; the bottom of the tapped hole was countersunk. The purpose of this was so a holo-krome screw could be more easily threaded into the hole from the bottom. Then the rod was put back in place and the screws turned into place, but left loose.
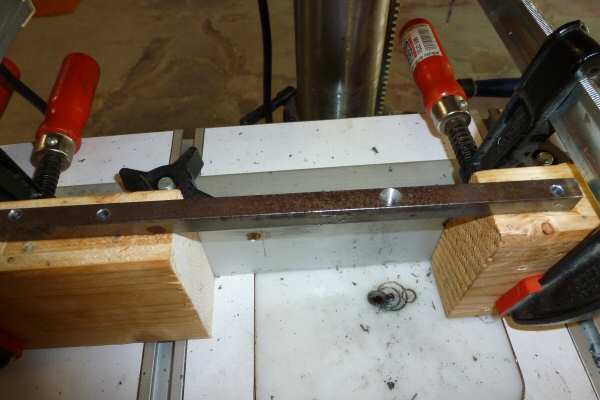
A 5/32" drill was chucked, then lowered into the tapped hole. This positioned the rod, so the screws holding it to the wood could be tightened.
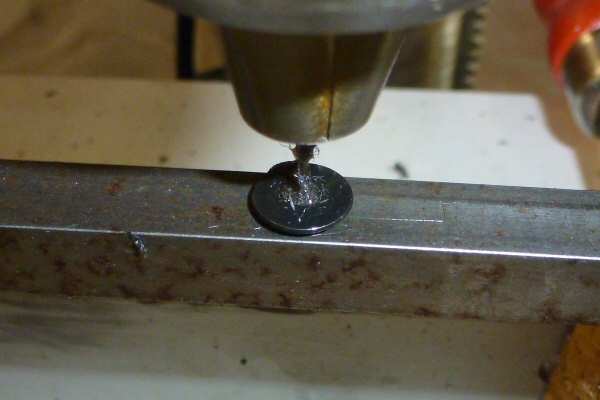
Then a screw was run up from the bottom into the jig. A # 1 center drill was chucked, the end of the screw lubed with mineral oil, and a tapered lead was made into the end of the screw, while holding the screw from spinning with a hex key.
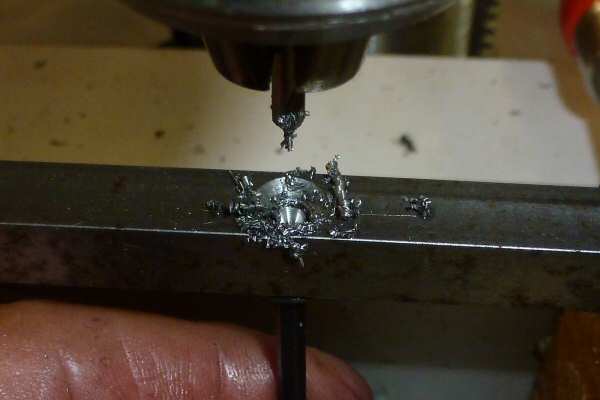
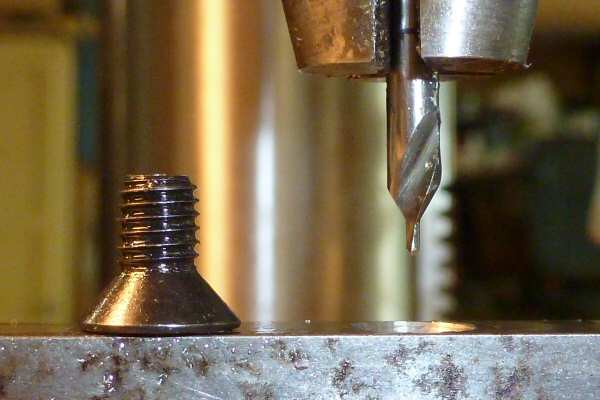
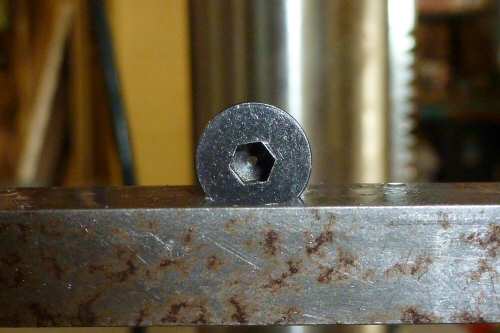
Then the screw was removed from the bottom of the jig, and threaded in on top. The center drill was replaced with a #70 drill, lube applied, and a 0.028" hole drilled through the screw.

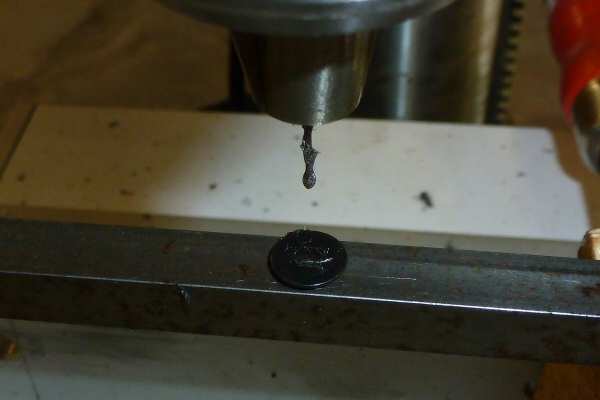
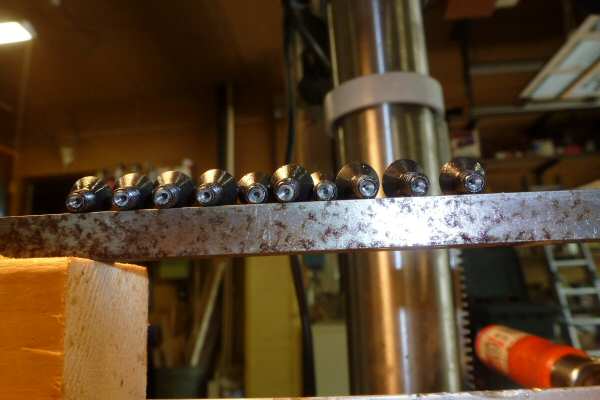
After the one vent liner was completed, the #1 center drill was installed into the chuck again, and 10 screws installed in the jig one by one. Each screw was drilled with the center drill so a tapered lead was created into the end.
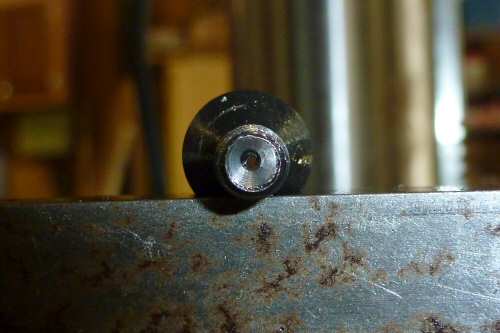
Then the center drill was removed; the #70 drill chucked, and the 10 screws threaded into the top of the jig one by one, and a 0.028" hole was drilled through each.
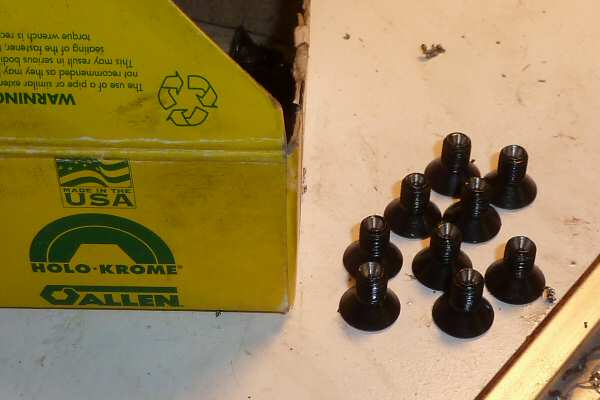
The box of screws cost $18. The # 70 cobalt drill cost $3 or so, and is usually good for at least 20 holes. The #1 center drill cost about $2 i think.

The steel was a short piece of 3/8" square mild steel rod. The piece of 2 x 4 was cut in about half, and holes were drilled through the steel, so it could be fastened to the pieces of two by.
The wood were clamped to the drill press fence, and the rod fastened to the wood. They were positioned so there would be space for my left hand. The rod was drilled through with a 5/32" drill. The hole was countersunk. Then the belts were removed from the drill press, and the hole tapped with 10-32 threads.
Then the screws holding the rod in place were removed. The rod was turned over; the bottom of the tapped hole was countersunk. The purpose of this was so a holo-krome screw could be more easily threaded into the hole from the bottom. Then the rod was put back in place and the screws turned into place, but left loose.
A 5/32" drill was chucked, then lowered into the tapped hole. This positioned the rod, so the screws holding it to the wood could be tightened.
Then a screw was run up from the bottom into the jig. A # 1 center drill was chucked, the end of the screw lubed with mineral oil, and a tapered lead was made into the end of the screw, while holding the screw from spinning with a hex key.
Then the screw was removed from the bottom of the jig, and threaded in on top. The center drill was replaced with a #70 drill, lube applied, and a 0.028" hole drilled through the screw.
After the one vent liner was completed, the #1 center drill was installed into the chuck again, and 10 screws installed in the jig one by one. Each screw was drilled with the center drill so a tapered lead was created into the end.
Then the center drill was removed; the #70 drill chucked, and the 10 screws threaded into the top of the jig one by one, and a 0.028" hole was drilled through each.
The box of screws cost $18. The # 70 cobalt drill cost $3 or so, and is usually good for at least 20 holes. The #1 center drill cost about $2 i think.
 05-27-2012 | 03:40 PM
#7
Thread Starter
Nontypical Buck
Joined: Aug 2008
Posts: 3,732
Likes: 0
From: Rapid City, South Dakota
I have tried and tried and tried to keep a good count by tracking spent primers. It is, for some reason, impossible for me to keep track of which box of primer came from which rifle. A very poor inaccurate answer is less than 200 shots per vent. More than 100; less than 200 is the best answer i can come up with right now. Some seem to wear faster than others. It may have to do with the length of the flash hole. I am not done collecting data and formulating conclusions. Many have written that they notice accuracy suffering after the flash hole wear to 0.035", so i just set them vent aside, and replace after it erodes to 0.035". I believe i have replaced vents with less than 150 shots on them.
05-28-2012 | 03:31 AM
#8
Typical Buck
Joined: Sep 2009
Posts: 921
Likes: 0
From: Kansas
I have tried and tried and tried to keep a good count by tracking spent primers. It is, for some reason, impossible for me to keep track of which box of primer came from which rifle. A very poor inaccurate answer is less than 200 shots per vent. More than 100; less than 200 is the best answer i can come up with right now. Some seem to wear faster than others. It may have to do with the length of the flash hole. I am not done collecting data and formulating conclusions. Many have written that they notice accuracy suffering after the flash hole wear to 0.035", so i just set them vent aside, and replace after it erodes to 0.035". I believe i have replaced vents with less than 150 shots on them.
Obviously, this issue is now on my radar. Since I dont have ready access to pin gauges I bought a touch cleaning kit and then sized up the cleaning wires on touch tips which were marked at .030 and .035.
My theory is when the .035 wire will go through the hole the plug or vent liner is done.
I have a Lehigh Plug I use on a couple different Knights. I haven't kept an accurate count but I must have over 300 rounds through this. Mostly BH 209 but some T7. I tried to run the .035 wire through, no go. I tried the .030 wire and it also was a no go.
It looks like I have very little if any wear if they start at .028. One note: I usually shoot 100 grains or less. I wonder if this could make much difference?
Last edited by Josmund; 05-28-2012 at 05:48 AM.
11-11-2016 | 05:51 AM
#9
Thread Starter
Nontypical Buck
Joined: Aug 2008
Posts: 3,732
Likes: 0
From: Rapid City, South Dakota
Recent counting indicates 300 shots, or more, is reasonable. The limiting factor is when the flash hole gets large enough to allow powder to sift through, or when the primer starts leaking soot between the cup, and anvil, indicating excess pressure. About 0.037" seems to be the very upper limit, but others may have differing opinion.
..