This one is probably fairly intuitive for some, but I had two other shooters at an NRL match last weekend ask me how I installed this, and since I did happen to take a few pictures during the install, I thought I might share the technique here in case someone is needing a cheekrest, but not quite sure how to go about it.
I have rather high cheekbones, so I need a cheekrest on almost every rifle I own. For most rifles, I use solutions which don't require any destructive modification to the stock, but I do really like a "factory appearance." I noticed a few guys using Victor Company Titan Universal Cheekrests at a NRL-22 match a few months ago, so I ordered one to correct the comb height of the McMillan Game Warden which came on my Seekins Havak. The Victor cheekrest comes with hardware and a drill bit meant for mounting on a wood stock, such it includes woodscrews, but the Game Warden stock is a thin fiberglass shell with a low density foam fill. Most polymer stocks will have a thick enough comb to let wood screws take a bite, but it's very easy to strip the soft plastic hole, and fiberglass stocks won't take a screw at all. Here's an option for guys wanting to add a cheekrest with a nice, clean appearance.
For this Seekins rifle, I've been using a DIY foam rubber shim under a Hornady branded stock pack/cheek pad most of this year, as pictured below. I've used the same pack and shim trick on several rifles over the years, and it does work very well for hunting. I use the same set up for my Ruger M77 MkII's and Marlin leverguns:
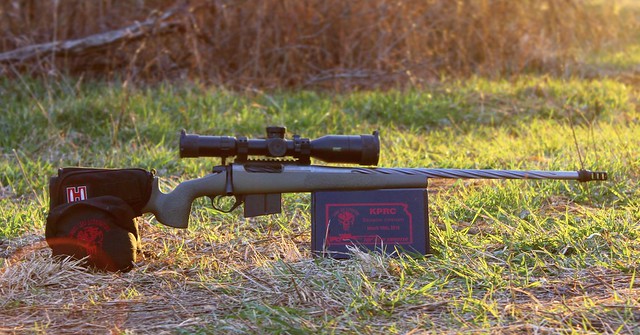
But for precision rifle games, the stock pack gets in the way - especially the zipper - when shooting support side stages. It also slides around quite a bit during a match due to the volume of fire and the dynamic shooting style, and of course, it's not the most elegant of solutions. So I needed something ambidextrous, solid, and a little less aesthetically overwhelming - the Victor Company Titan Universal Cheekrest had the exact look I wanted. But the included woodscrew mounting method just wasn't going to cut it.
So the trick is pretty simple: drill into the stock, remove the filler, pour epoxy pilings, then sink threaded anchors into the pilings - here's how I did it:
The Parts:
Victor Company Titan Universal Cheekrest = $30
Loctite clear Epoxy 0.85oz syringes x3 = $15
8-32 x 1 1/4" countersink head screws x 2 = $4
8-32 threaded union nut x 2 = $6
I've heard the threaded union nut called different things; regular nuts, union nuts, coupling nuts, rod unions, etc. But I found mine at Lowe's, and since noted them at the local Home Depot as well as Ace Hardware, so they seem to be pretty widely available - photo for reference:

Tools I used (which could be very flexible, depending upon what you own):
Williams Drilling Jig
T-handles for hand drilling
Cordless power drill
#28 drill bit (fits the williams jig)
11/32" drill bit
Torpedo level
Kiwi natural shoe polish (colorless) & brush
Unibit/Step drill
3 picks - L bend, S Bend, and J Bend
Triangle file & flat needle file
Popsicle sticks
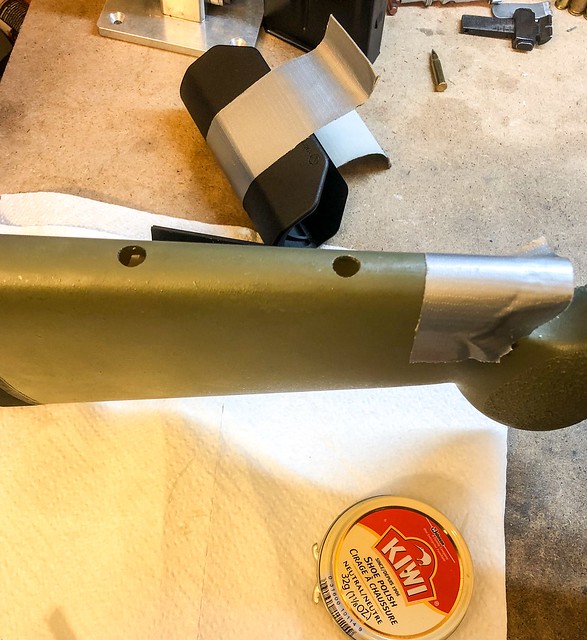
I leveled the rifle stock on the workbench, then made witness marks on the stock with the stripped cartridge of a ballpoint pen through the holes in the cheekrest (could measure this with a ruler just as easily). I positioned the cheekrest on the comb such the bolt can be removed without interfering with the cheekrest. I then leveled the Williams drilling jig on the comb, centered the guide holes over the witness marks, and drilled the pilot holes with the #28 drill bit. I removed the jig then used the Unibit and T-handle to open the hole in the stock to 11/32". I then used the picks to cut then extract the low density foam filler about an inch and a half deep, and a half inch to either side of the holes. I coated the stock with the shoe polish as release agent, mixed the 2 part epoxy, and poured it into the holes to act as pilings.
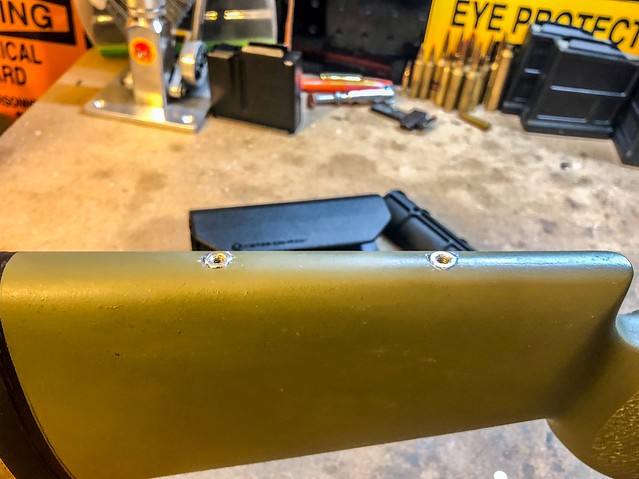
Once cured, I repeated the drilling process with the Williams jig and unibit to ensure concentricity, then bottomed the hole with the 11/32" drill bit. I spun the coupling nuts in the power drill against the triangle file, then the flat needle file to cut multiple grooves down the shank to give purchase to the epoxy. Then I layered the cheekrest shims together, painted it thoroughly with the shoe polish/release agent, and tightened the coupling nut pillars to the shim stack. I coated the pillars with epoxy, then seated them into the holes in the stock. After 5min, I removed the screws and removed the shims, allowing me to peel away the spillage. A quick wipe down with rubbing alcohol to remove the shoe polish/release agent, and 24hrs later, the pillars were thoroughly cured in place.
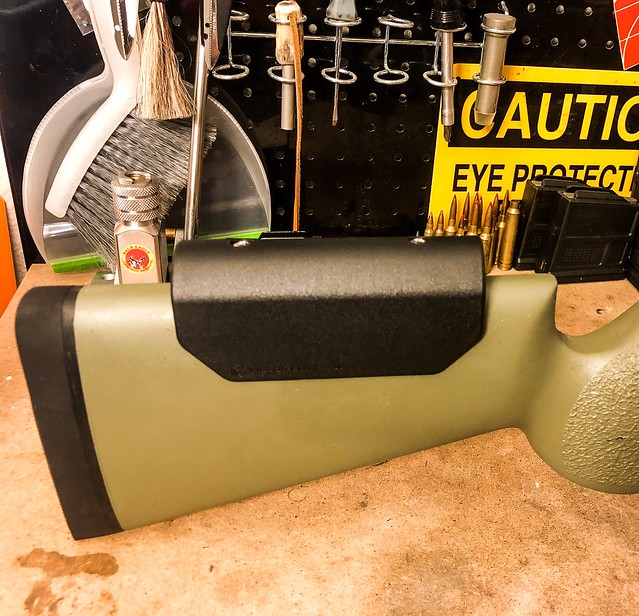
I cleaned the screws and cheekrest shims with alcohol, then screwed it all back together. Bingo bango, proper comb height. I had a chance to run it at a match last weekend and confirmed my hopes - it was a huge improvement over the stock pack. The pack DID, however, hold my spare "uh oh" rounds, so I had to add a Short Action Precision ammo caddy, held on the stock with adhesive backed velcro.
For guys with polymer stocks which allow the buttplate to be removed, revealing the hollow interior cavity, the process is a little different. I would remove the buttplate, flip the stock on its back,use a piece of tape around the butt like a dam, and pour the epoxy into the top of the comb from the rear, filling about 3/4" deep into the top of the comb. Then the drilling and pillar setting is the same as described above.