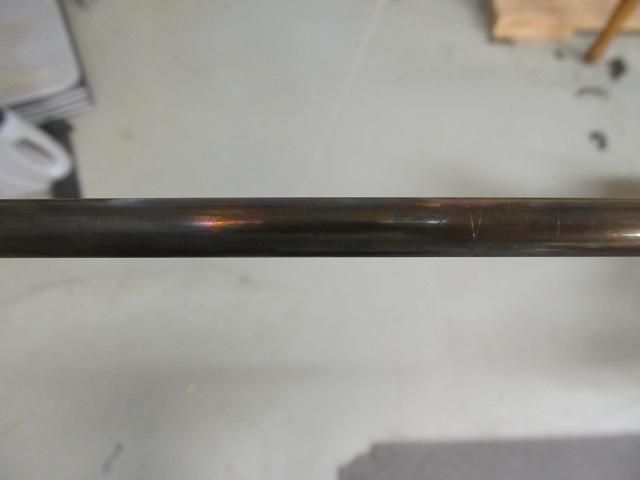
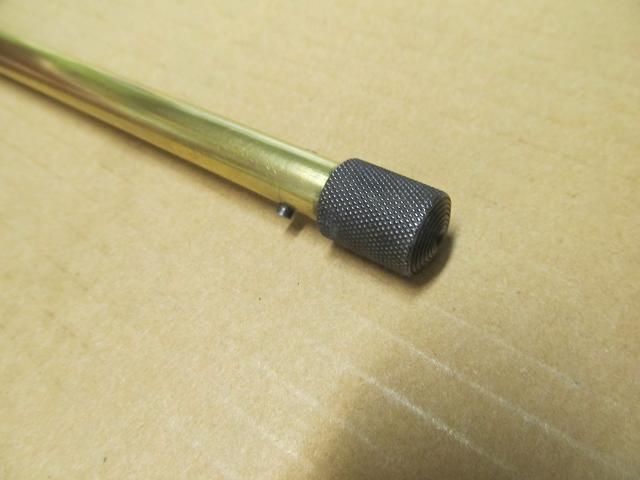
With the first coats of spar on the stock its time to move onto metal parts. I started with the low hanging fruit. In this case the brass magazine tube.
To say it was tarnished is an understatement.
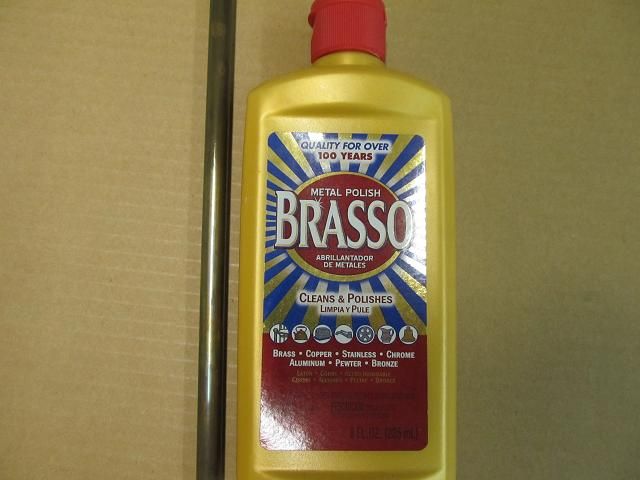
Brasso to the rescue. as well as rebluing the knurled tube end.
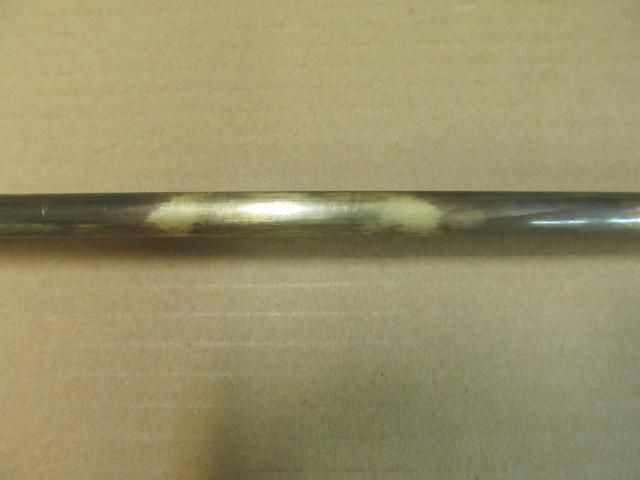
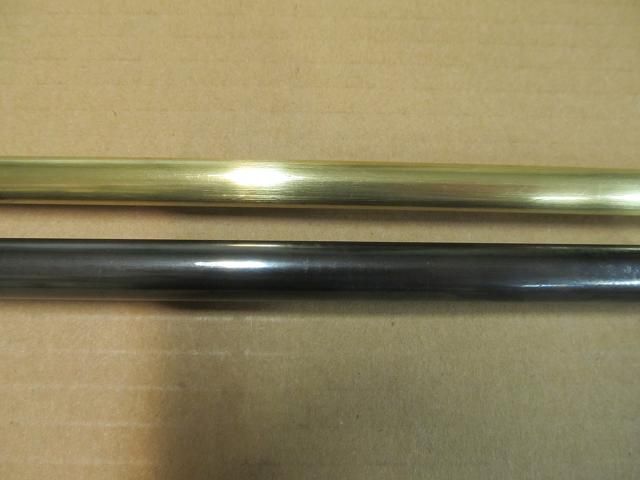
Then the outer tube was stripped, buffed and reblued.
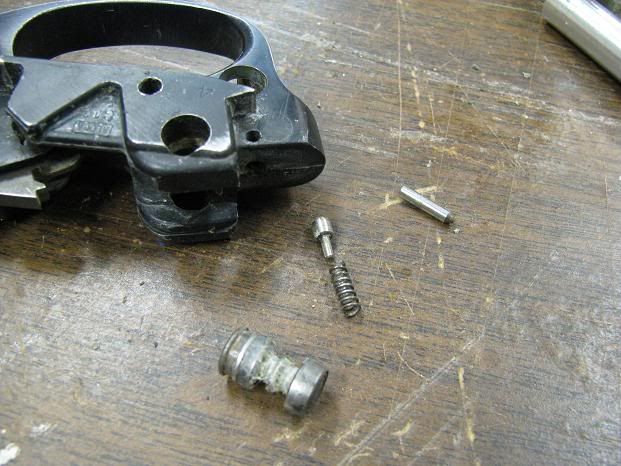
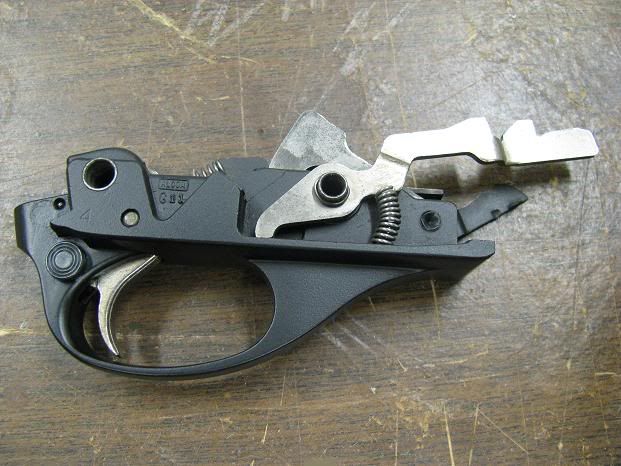
I don't think this gun has ever been disassembled or cleaned and I found a lot of grit and grime impacted in all the crevices. Areas that I thought were solid metal were just hardened gunk and once I used solvents and a pick was able to get the parts clean. Only two pins hold the entire trigger mechanism in place.
The reason the action would not cycle was as I suspected. It was so impacted with crud that all the moving parts would not move.
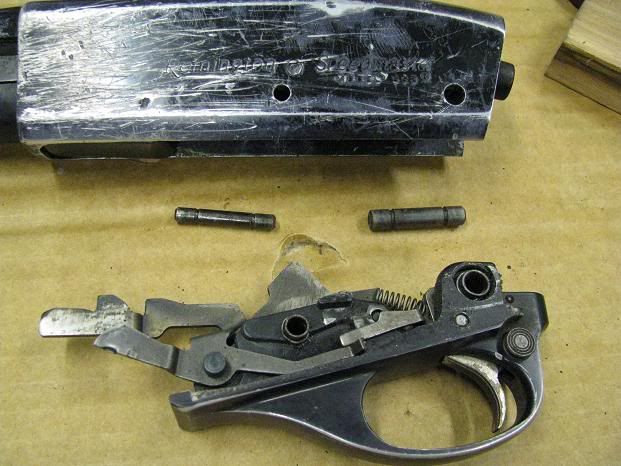
the whole gun can be disassembled with a screwdriver and a pin punch.
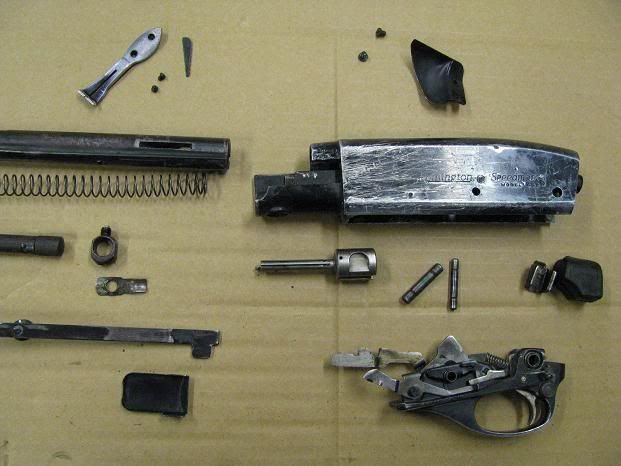
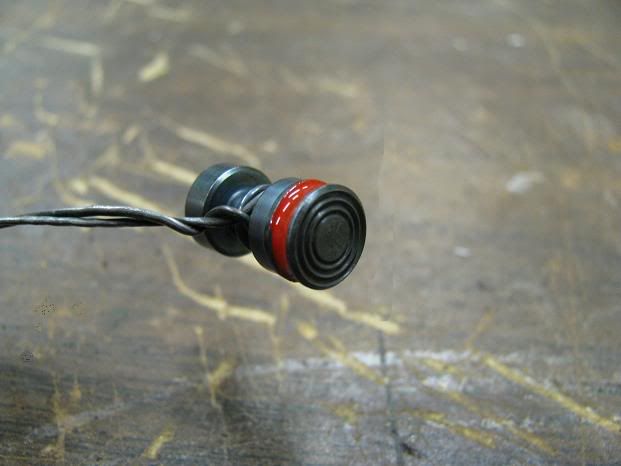
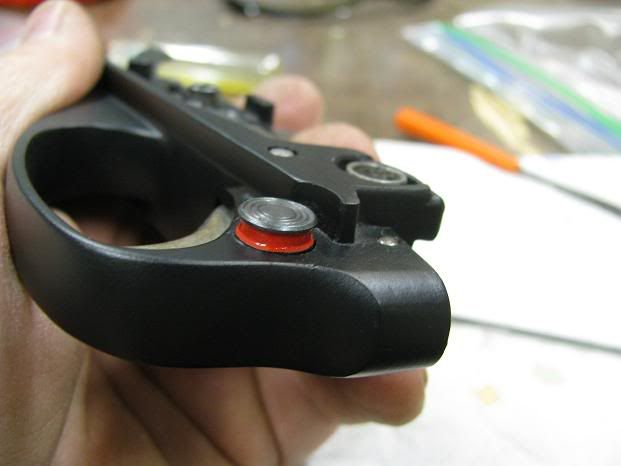
There seems no end to the level of parts that this gun can be broken down into. The large round piece at the bottom is the safety. There was no bluing on it at all and the red (Fire) paint was gone
as well.
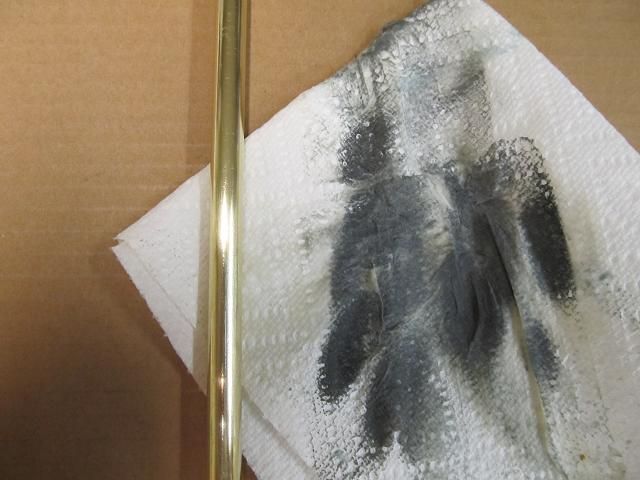
With a little TLC, it looks like new.
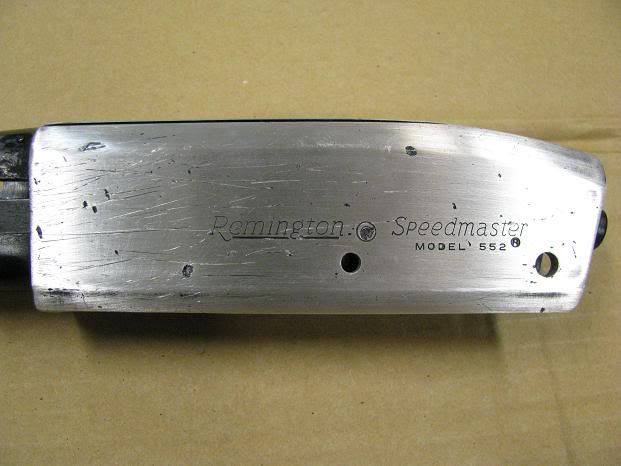
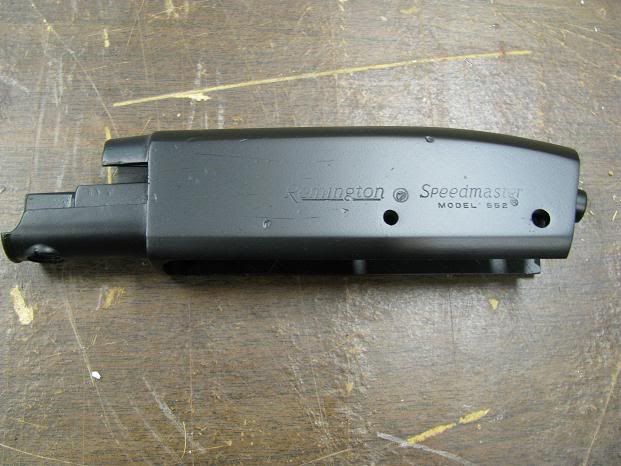
To remove the black anodizing from the aluminum, I used fine grit sandpaper and steel wool. I won't be able to remove a lot of the deep dings and scratches and I'm ok with that. It only has to be a functional working gun and not a show piece.
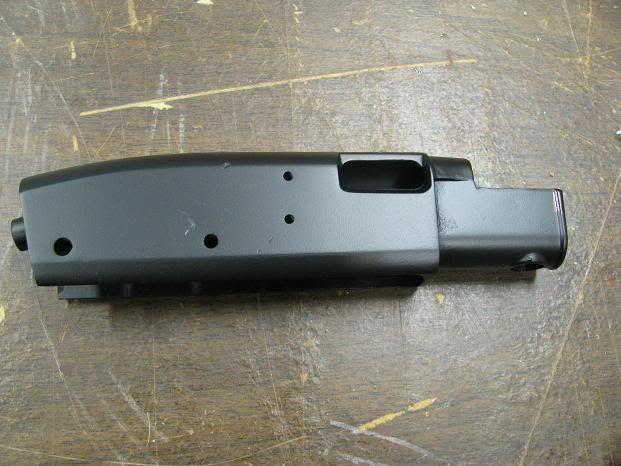
Here it is after the spray on gun coat was applied and baked.
And the re-assembled trigger mechanism is clean and lubed and all the parts move in proper order.
The rest of the steel parts will need the bluing removed and then I will re-blue and hit them with Barricade.
To be continued.......