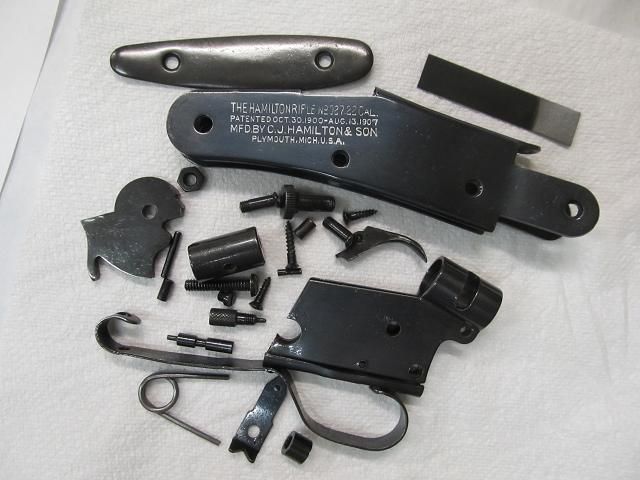
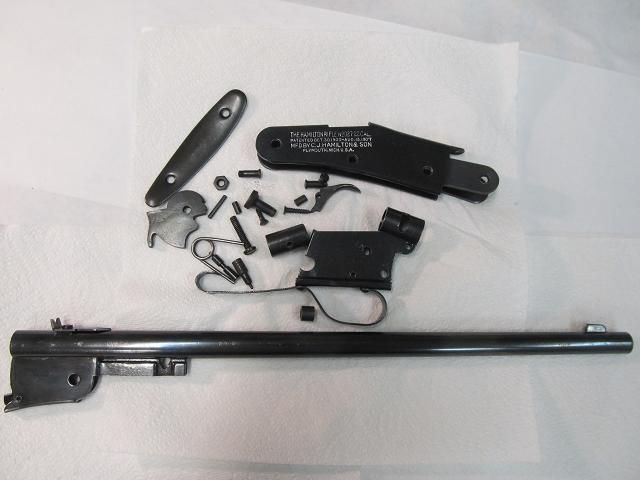
All the metal parts are buffed with steel wool and degreased in preparation for bluing.
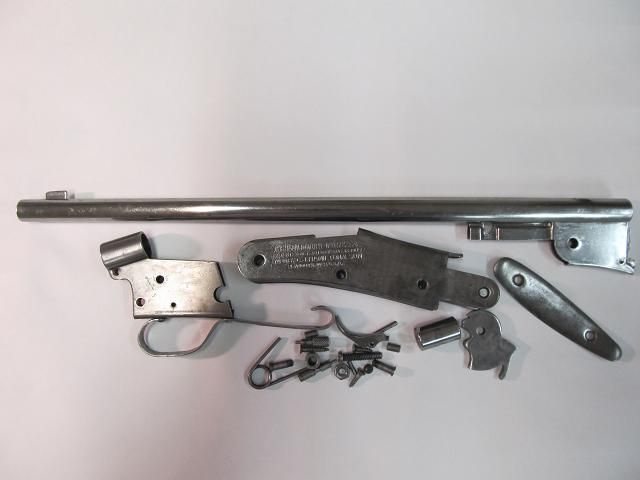
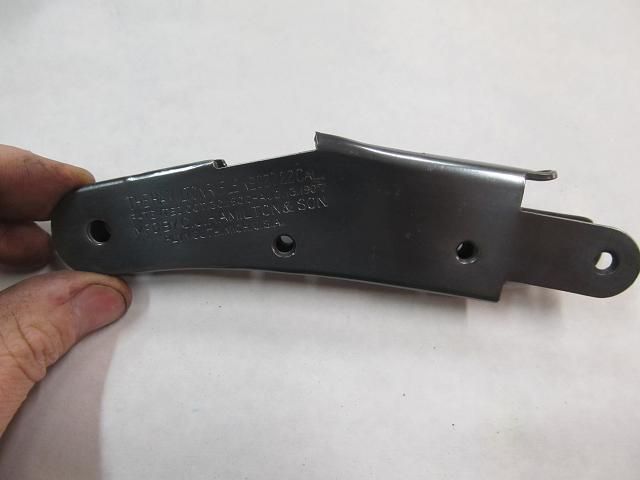
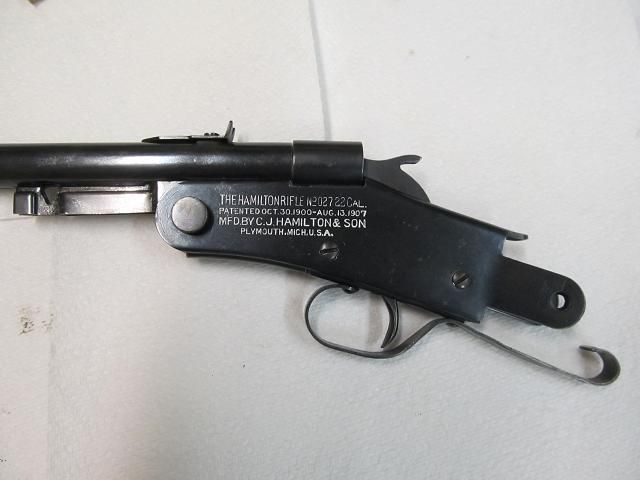
The receiver is the first part blued and buffed with 0000 steel wool.
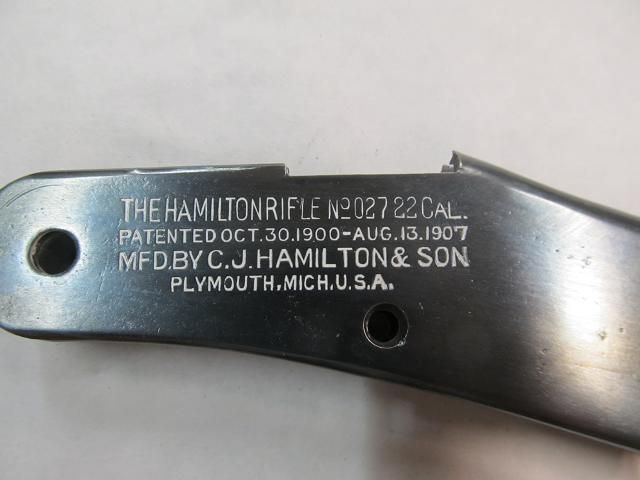
Then the lettering is filled with white nail polish.
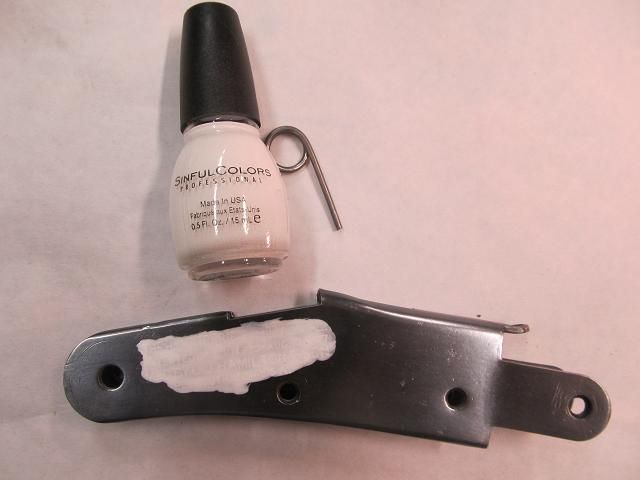
After drying its wiped down with non-acetone nail polish remover.
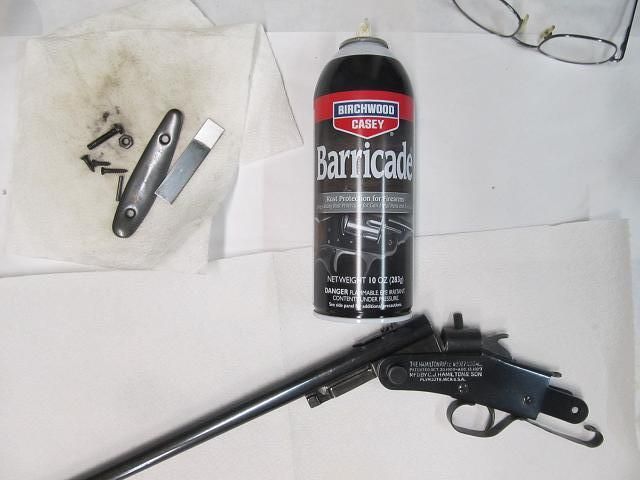
All the rest of the metal is blued several times, buffed and then sprayed down with Birchwood Casey Barricade rust preventor.
The barrel is the last part to be blued.
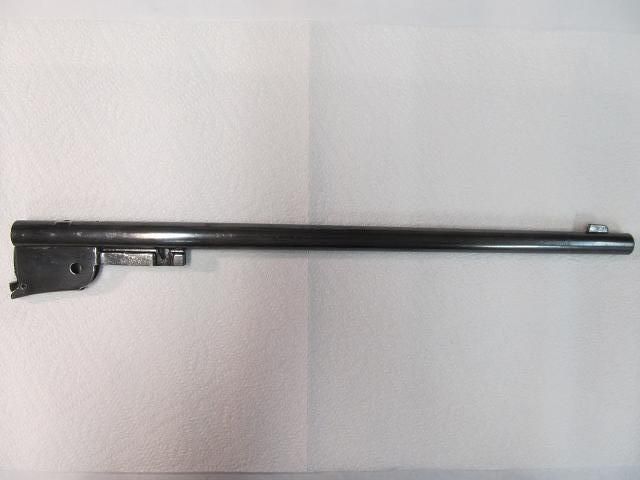
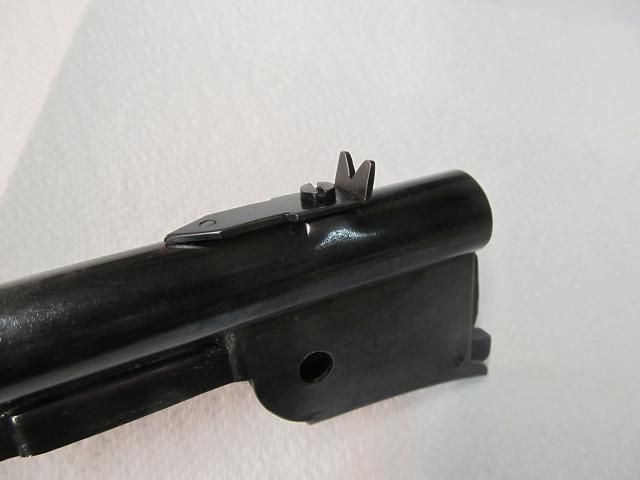
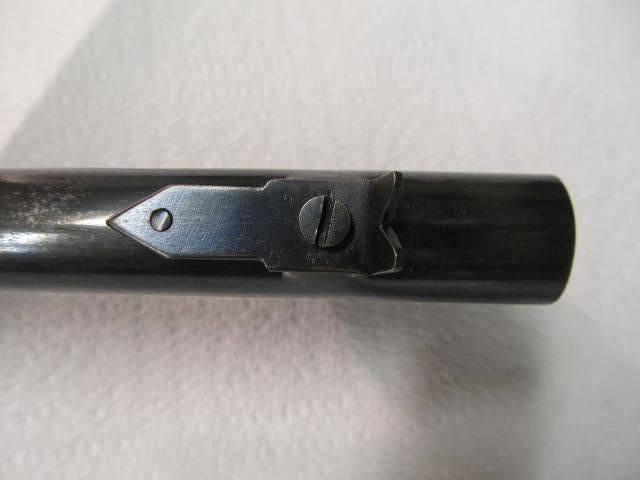
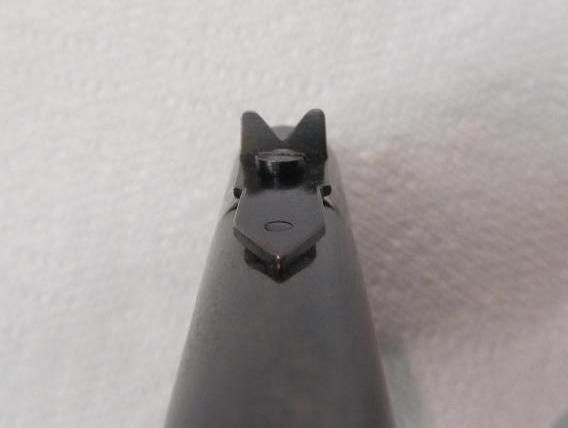
Then the replica sight is attached to the barrel. I was able to locate a 8-36 fine thread screw buy purchasing a set of scope mount bases that use that screw size.
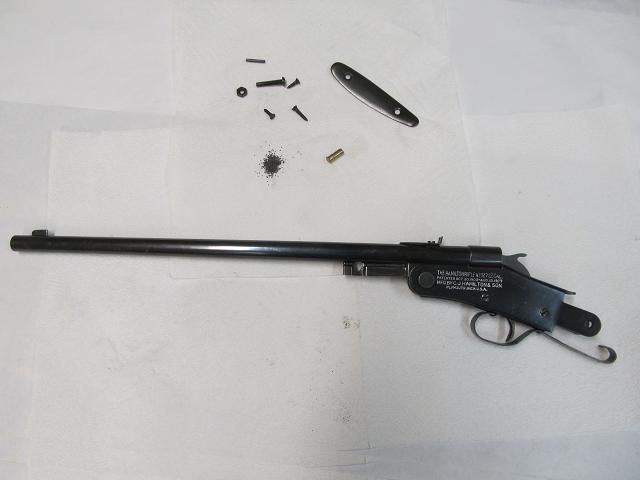
Now the metal parts can be reassembled back into a gun.
I need to test fire a primer to see if the old gun will work so I removed the lead and poured out the powder from a round to see if the repaired firing pin would work.
It works.
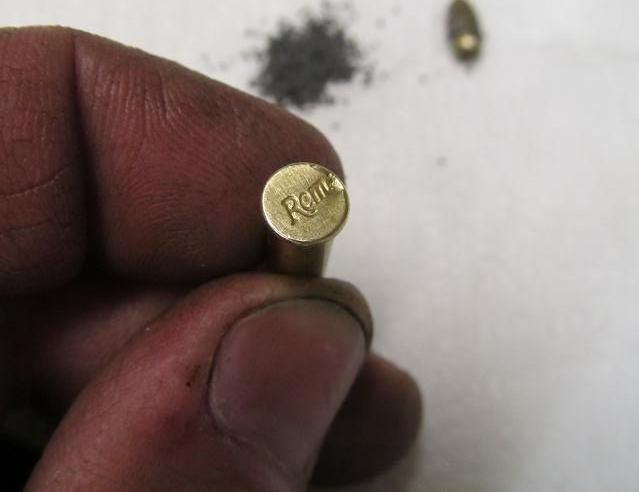
Here is a video of the primer test firing. If you are expecting a bang from a rimfire primer discharge you are going to be disappointed. The hammer smack is louder than the primer .
http://youtu.be/AjNVpEBLy5M
Attaching the finished stock pieces is the next step but I need to allow the final coat to dry and then wax it before attaching it to the frame.
To be continued....