Since there is a passion for shadetree knife making here and rockport’s knife thread got me to thinking I would post some thoughts on the subject. Since 1982 I have made knives out of about every steel I could get my hands on including all sorts of saw blades and files and implement parts, etc. Those were fun times but a guy quickly learns you are making more work for yourself by repurposing old steel. Then I started making knives out of O1 tool steel. Here is one I blogged on another site about 5 years ago. If there is anything you can take away from this that helps you in your desire to make knives, then it was not a wasted effort.
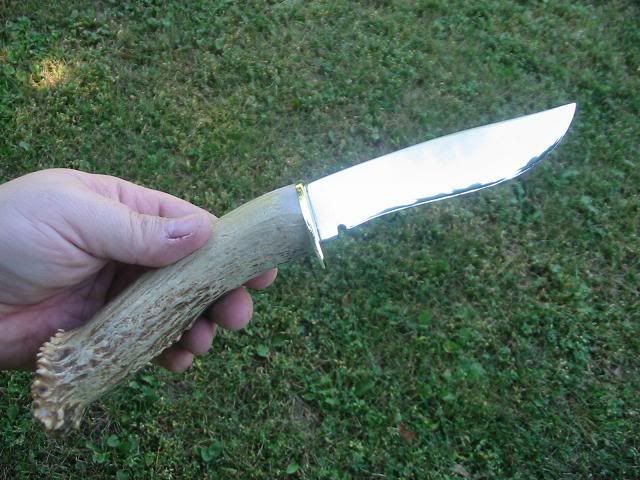
I was asked by a friend to turn his antler into a hunting knife handle. This is not a show knife. Its meant to be a working man’s tool rather than a show piece.I bought some O1 steel for this project. 1/8 thick 1 1/2 wide. The wrapper even came with the recipe instructions on the label.

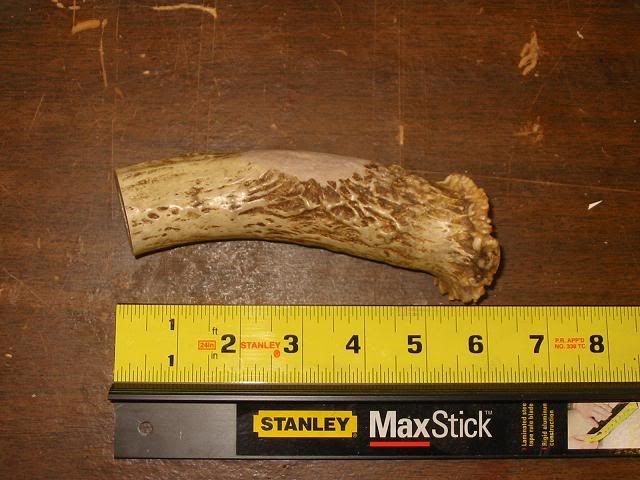
The antler he sent. It was a little long so I cut about an inch off the end but I will have a use for that as well.
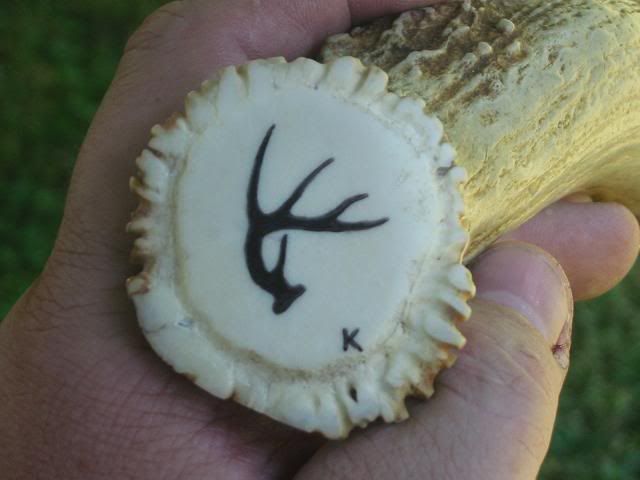
I can see a blank slate here. I can't leave it that way.
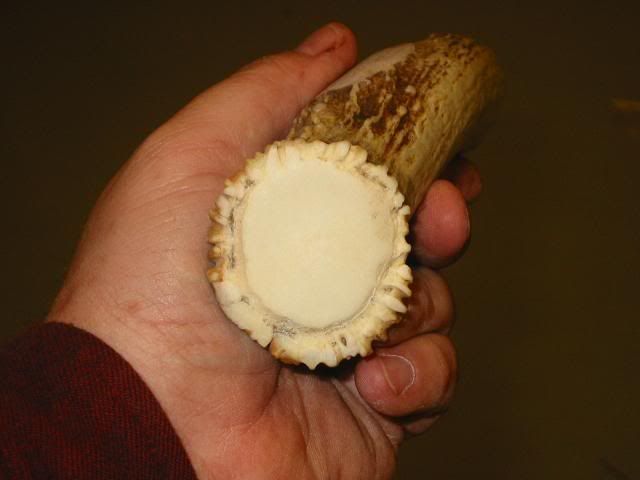
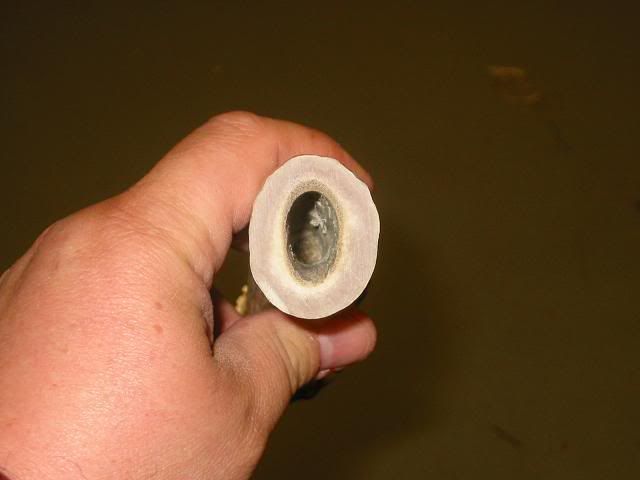
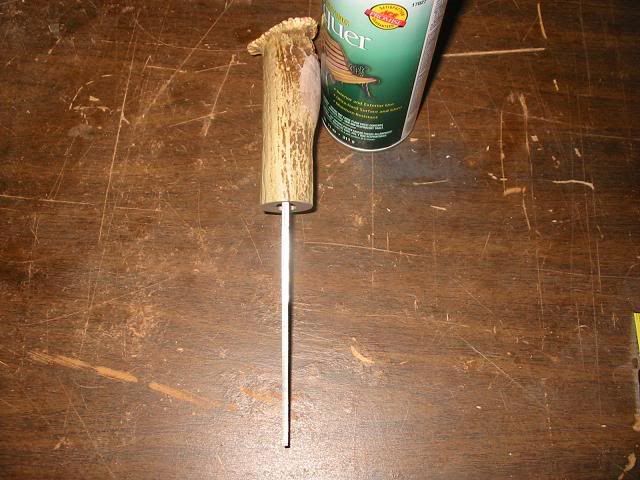
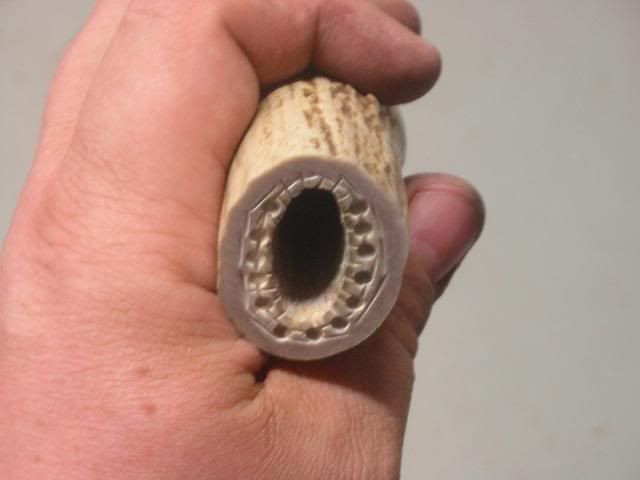
First I removed as much of the core as I needed by drilling and grinding. The core is pitty and soft and is better replaced with epoxy.
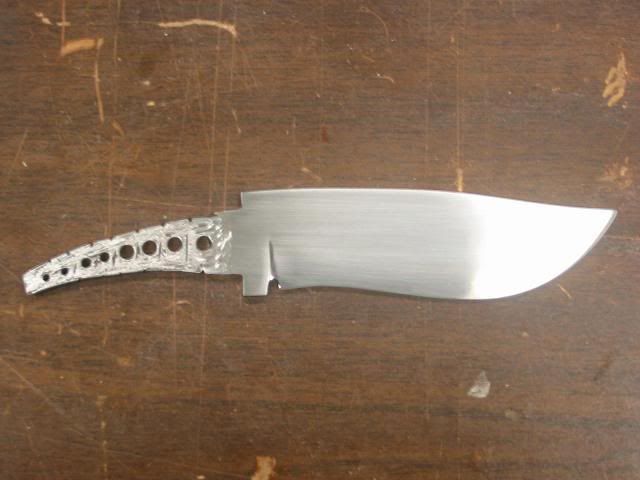
Then I started working on the blade.
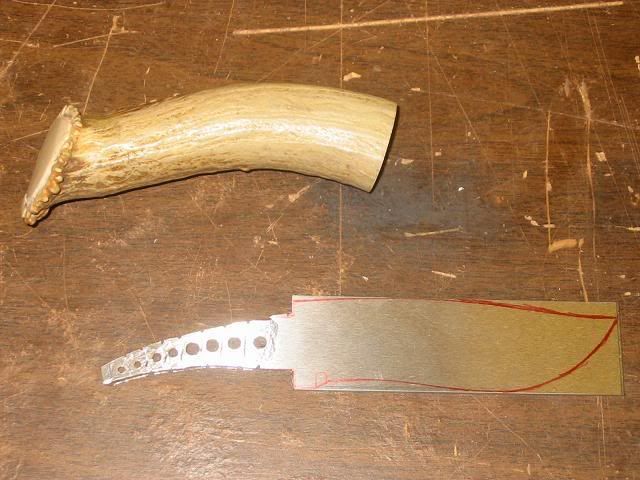
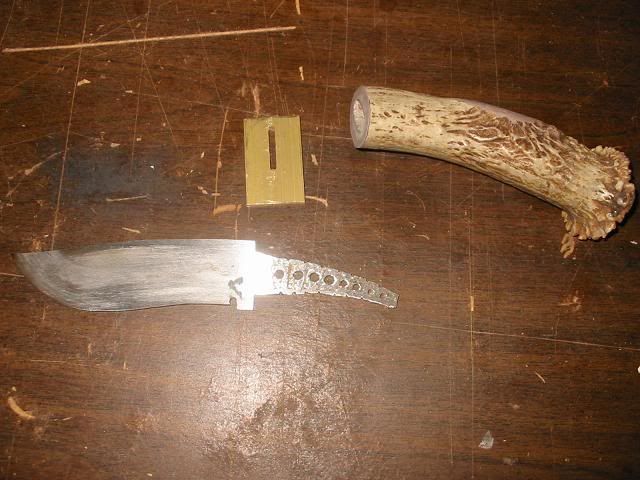
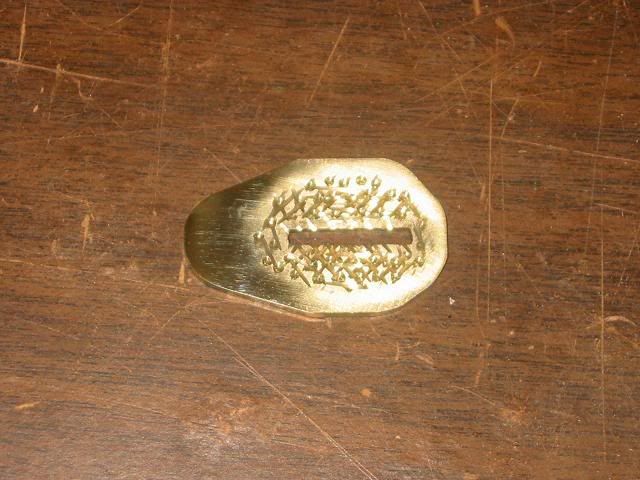
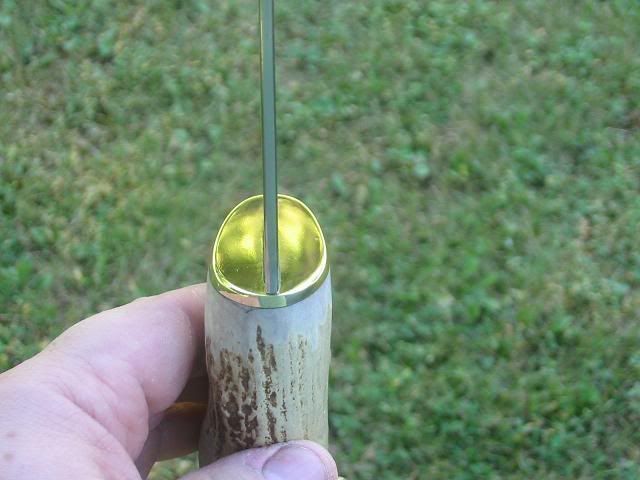
Then I roughed out a finger guard from brass.
Time to bevel.
Beveling completed. Time to heat treat. The label said to use light oil so I did.
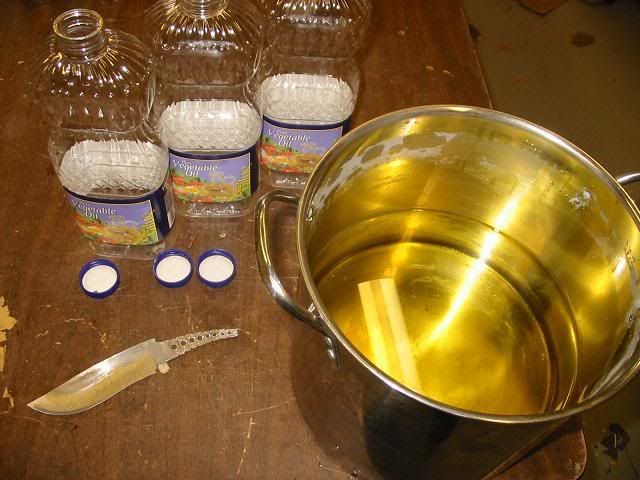
I used the burner from my range in the "Man Room" as well as a MAP gas torch to get the blade hot enough that a magnet would not stick to it.
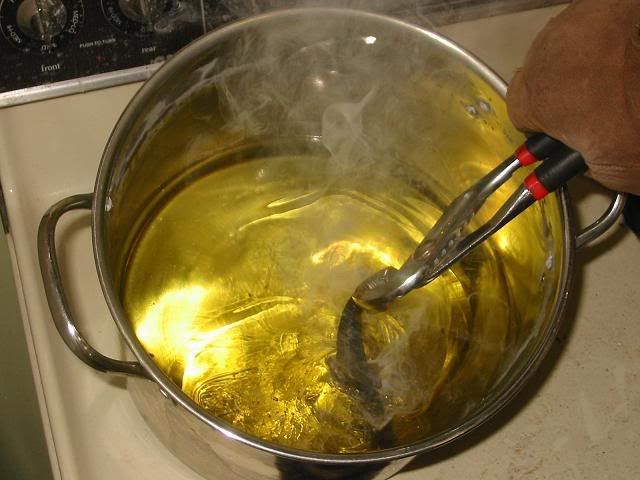
Then it hit the oil. (wear a glove as the oil on the blade will flare up.
With the blade still too hot to hold, It sat in a preheated oven for one hour at around 400F
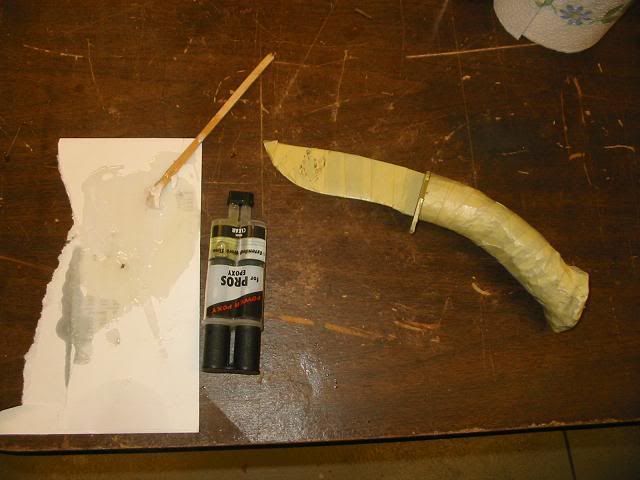
During that time, I worked on the finger guard and the antler to get it ready to assemble. Epoxy needs a rough surface so you need to rough up the mating halves.
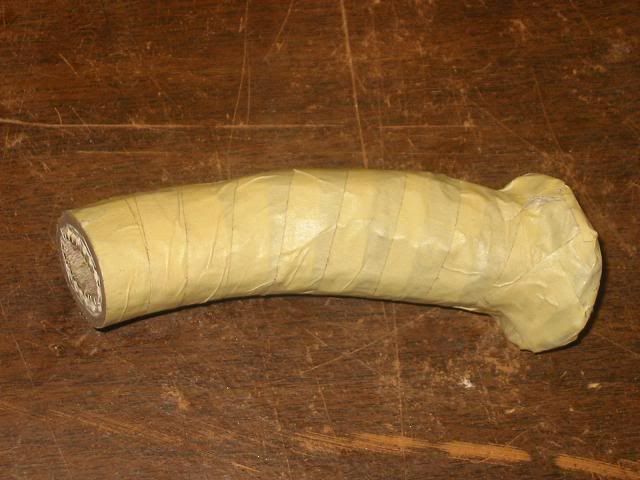
After tempering, I cleaned it up a bit.
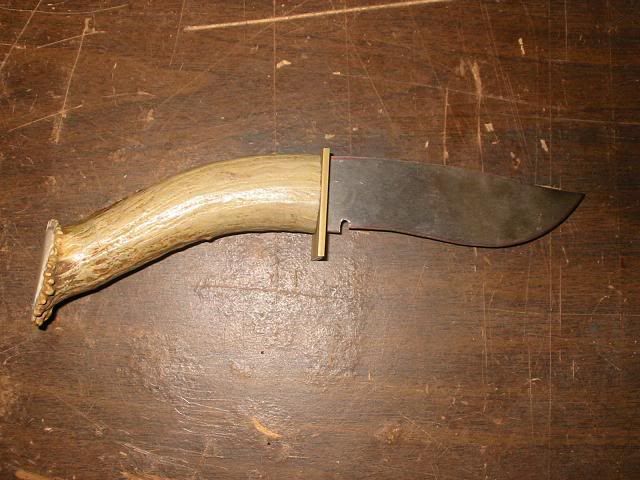
Then I assembled it.
And let it sit over night.
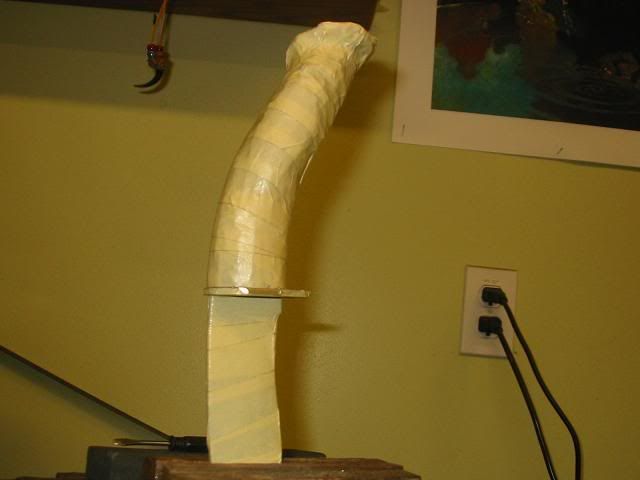
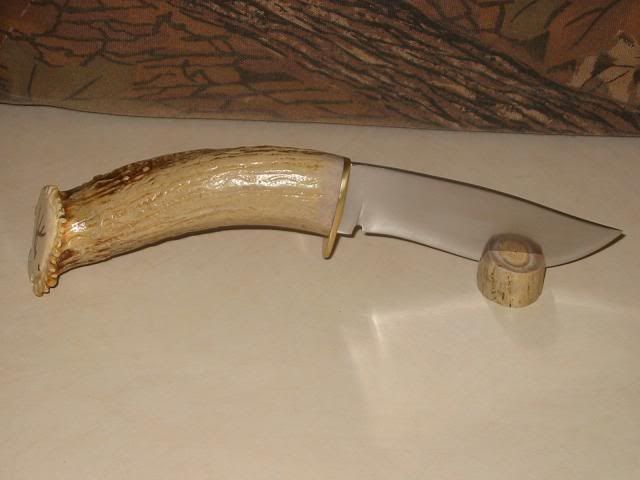
After unwrapping and a bit of buffing, it;s starting to take shape.
I filled in the blank slate as well with a fine tip sharpie.
Here is how I used the cut off end of the antler. I cut a slot in it to display the knife.
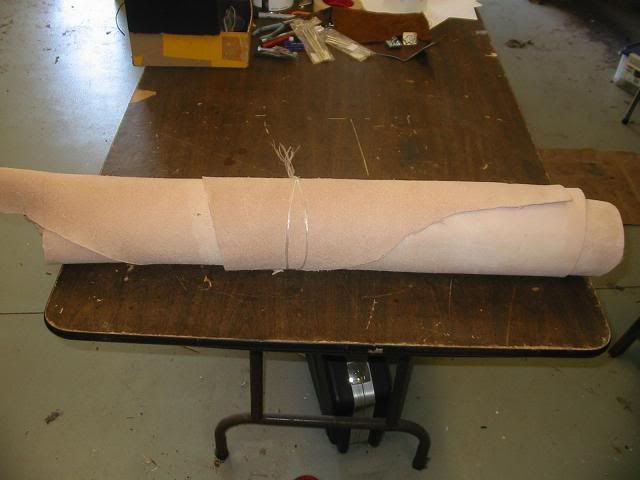
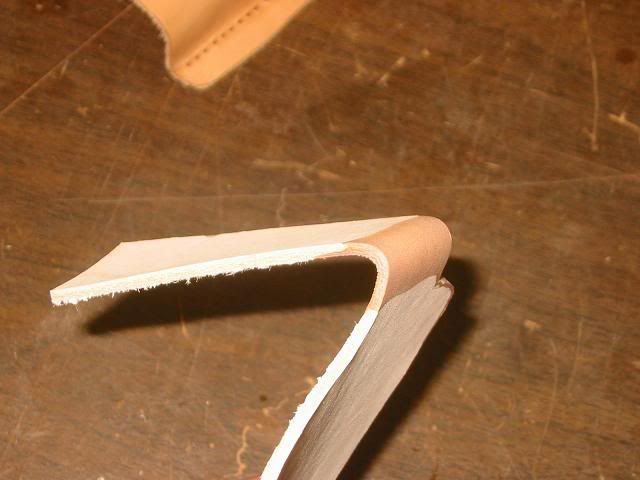
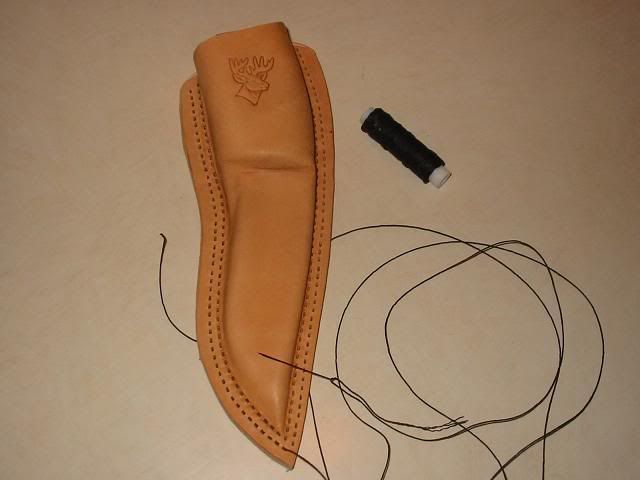
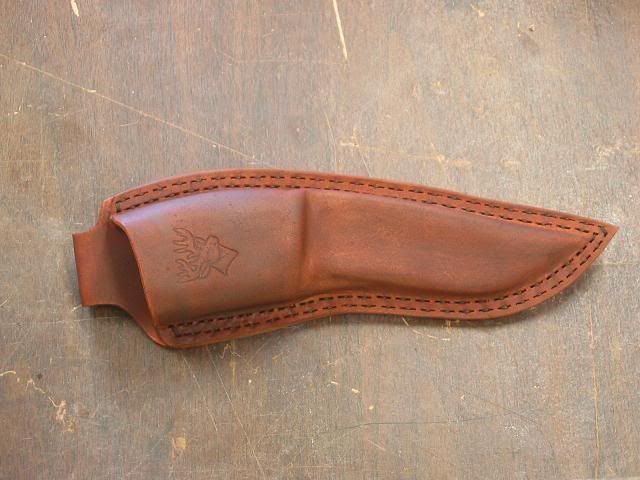
Every knife needs a sheath. I started with 6 Oz. leather for the face.
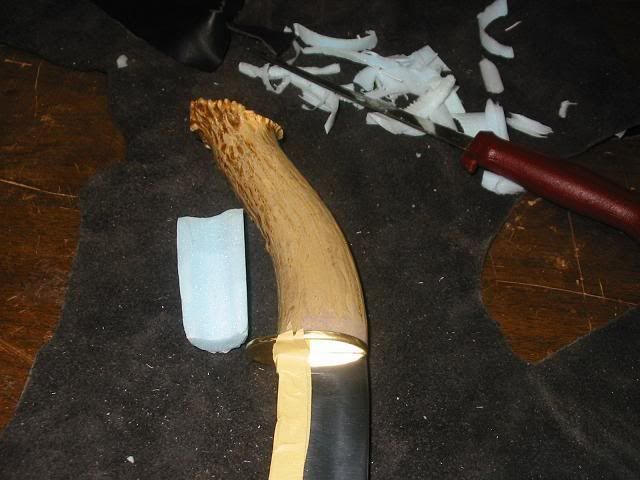
in order not to trap the finger guard (and the knife) in the sheath. I had to build up the area behind the guard. I used foam and tape.
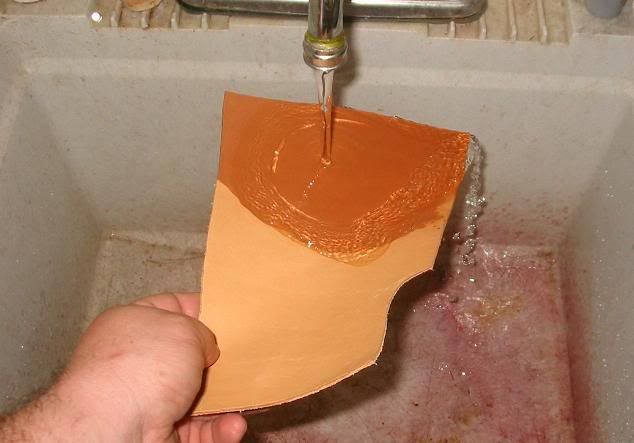
I soaked the leather front and back.
then started massaging the leather over the knife.
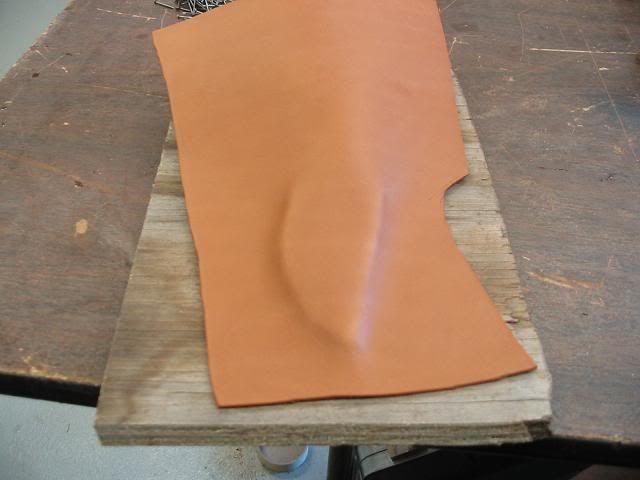
It's kind of like working with a piece of balogna. The white thing a bone folder/creaser

When finished. I set it in the sun to dry.
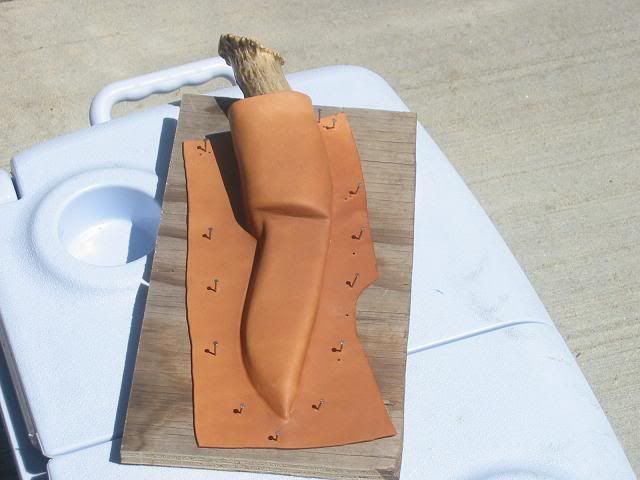
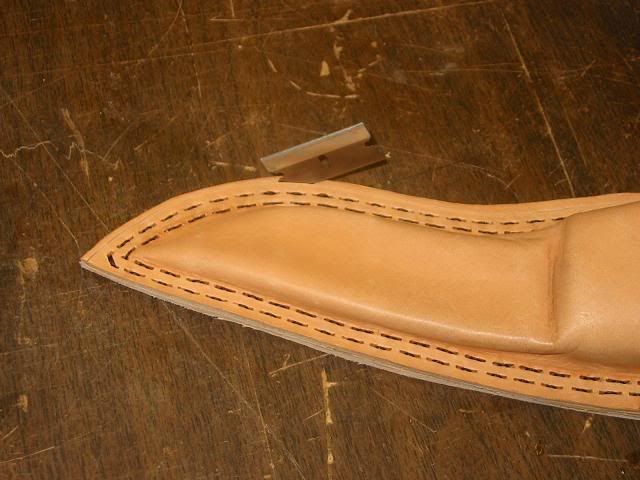
When it dried and while I still had it on the form. I punched the lacing holes.
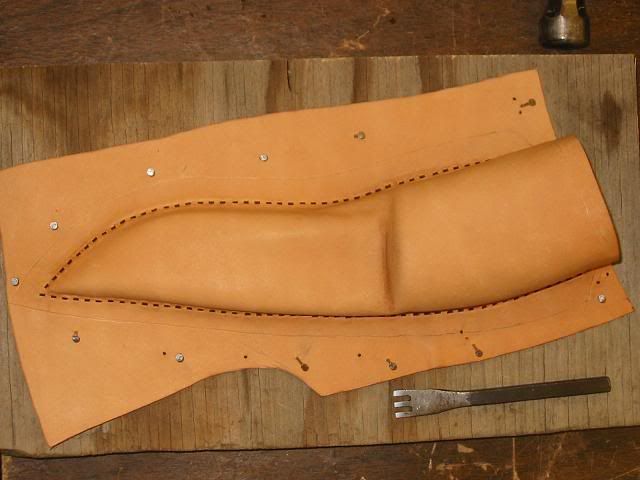
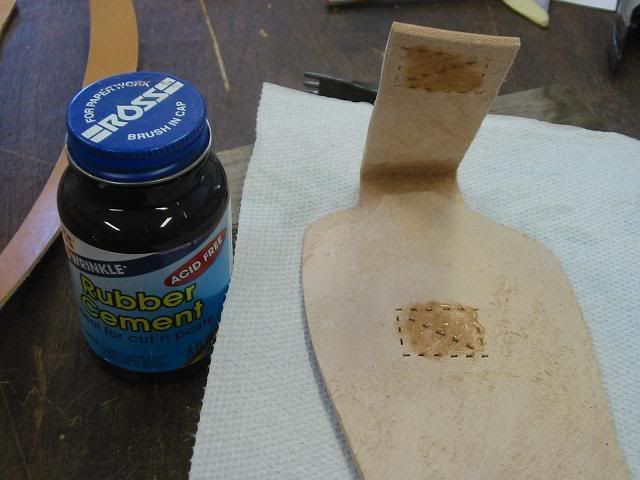
Then I cut it out and used it as a template to make the back of the sheath. For this I used 8 Oz. leather
To keep the leather from cracking during the bend, I got it wet.
Then I glued and sewed the belt loop in place.
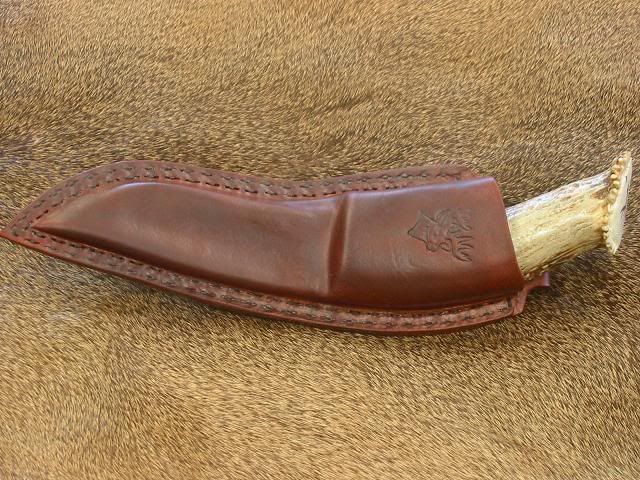
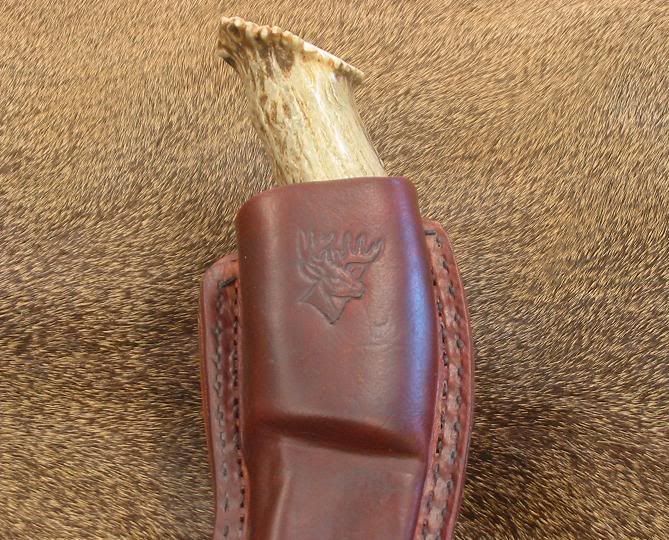
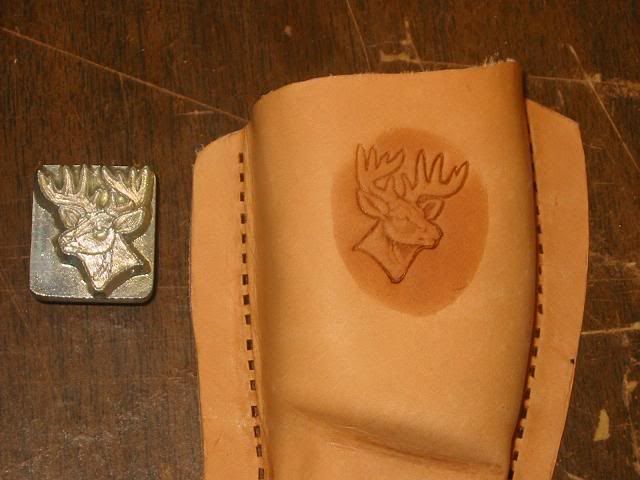
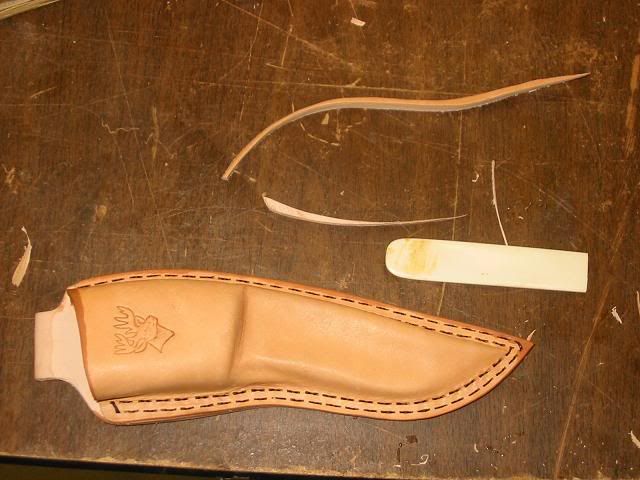
I then added a deer head stamp to the face.
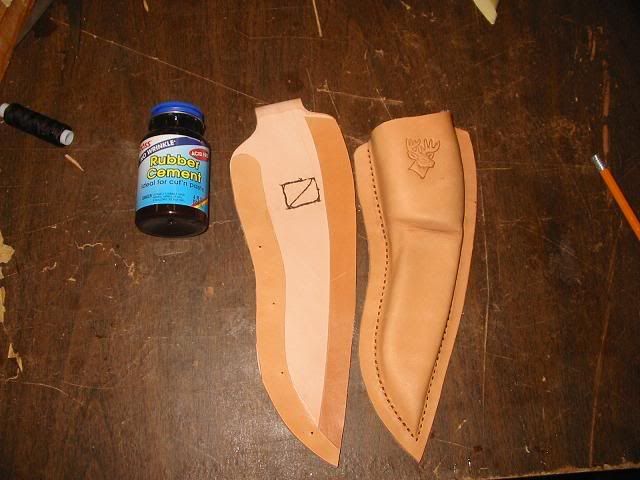
Next, I cut the pieces for the welt out of the scrap from the face and glued them in place.
Then I changed my mind and added a 2nd row of lacing holes To give it more strength.
After stitching, I trimmed all around for an even margin.
next, I wetted the edge and used the slicker to round it off.

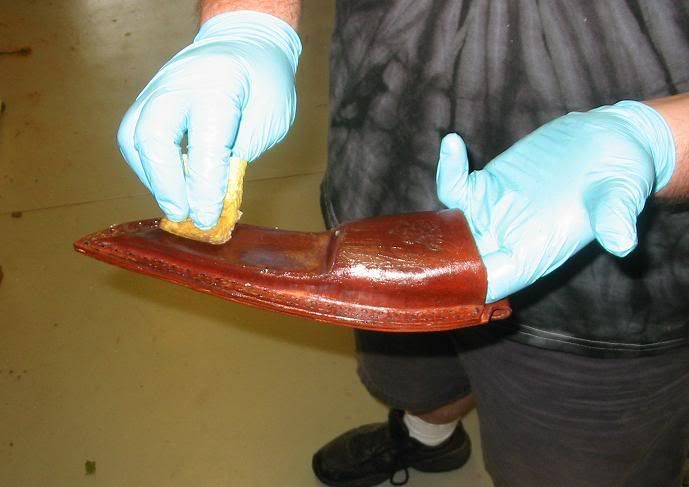
I want this sheath to have a deep rich color but also wanted to see some of the tan through the die so I diluted the stain with alcohol.
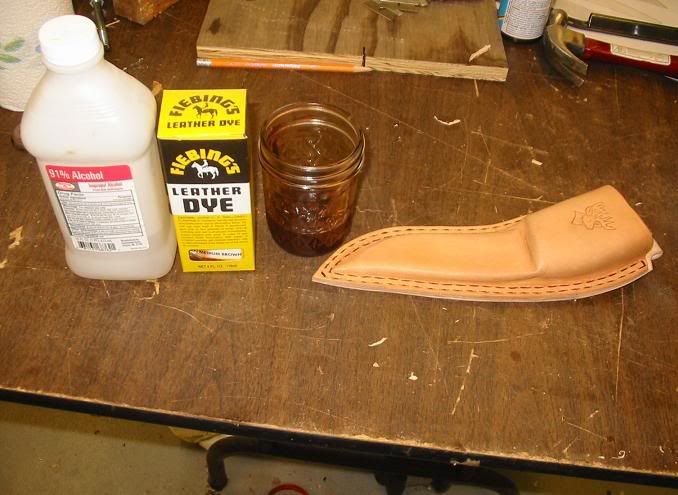
Once thoroughly saturated, I let it sit for a few hours to dry.
To waterproof the leather and give it a nice sheen, I used mink oil and then warmed the sheath of the burner of the stove to make it soak in.
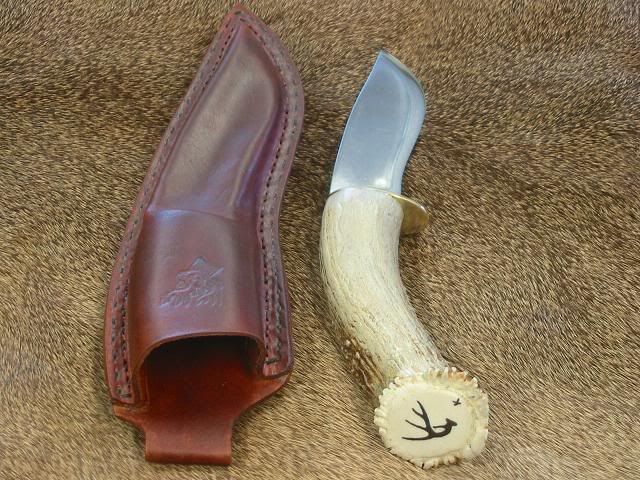
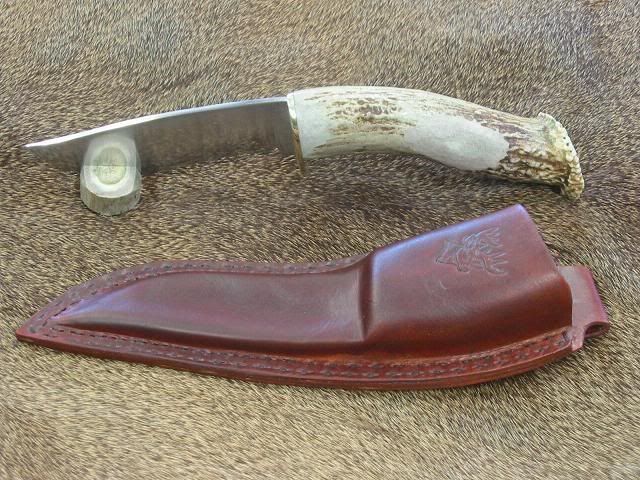
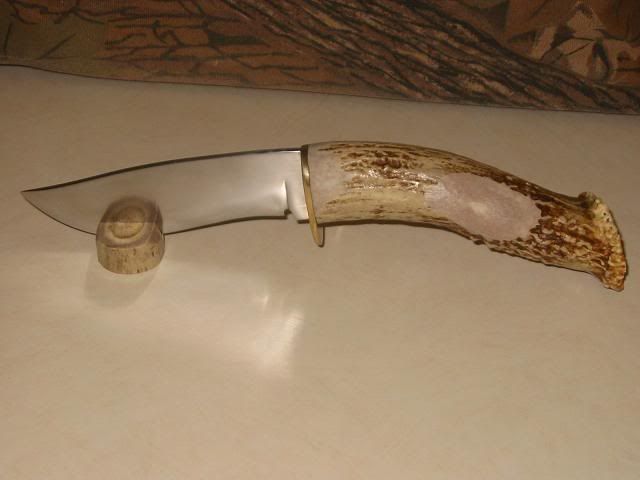
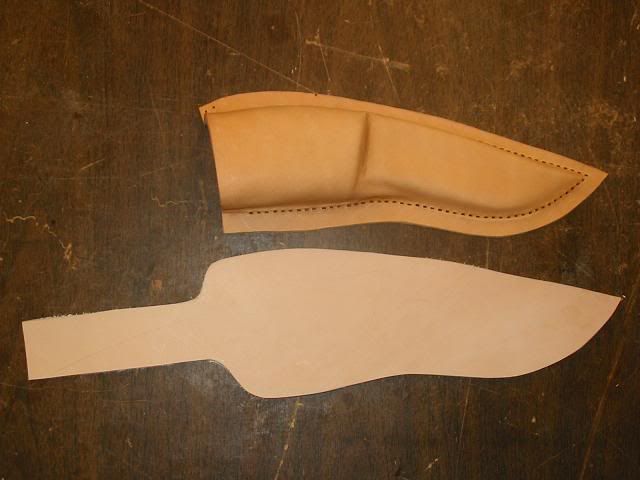
The knife and sheath are done.