Ok class settle down take your seats get out your note pads and pencils

I wanted to use Formica as the pressure strip on the form but as stated above I have not recieved it yet so I will go ahead and finish the form using a piece of Elm.
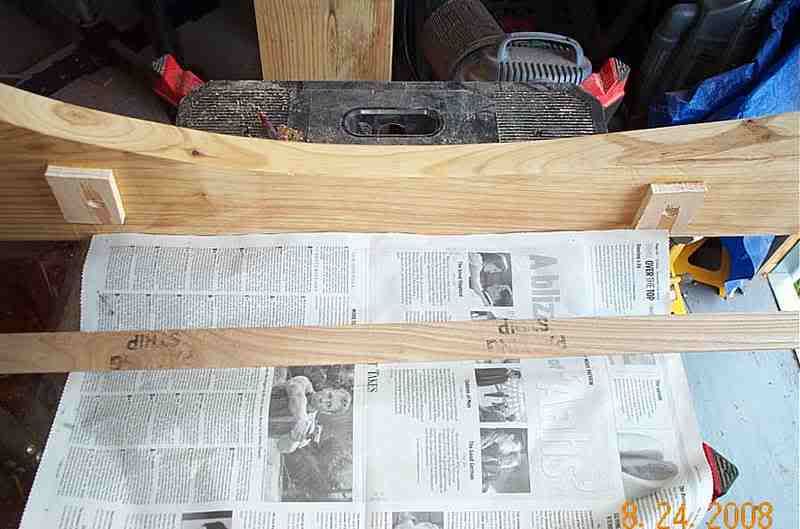
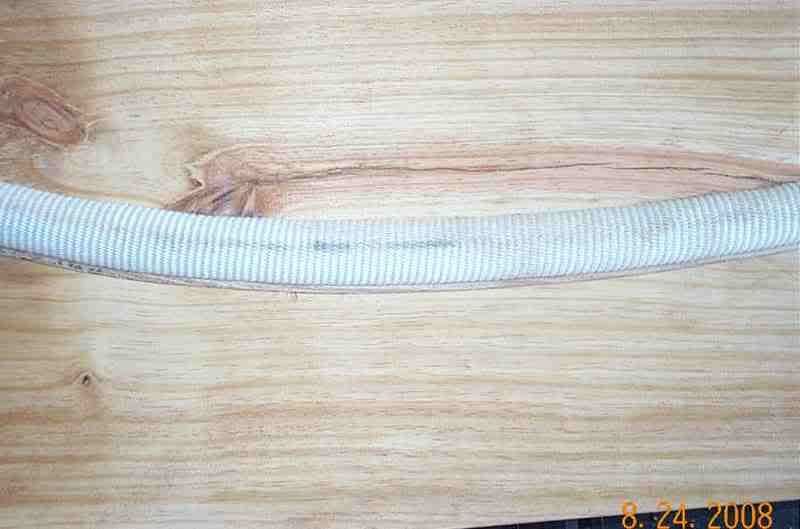
After cleaning both surfaces I sprayed on some contact cement onto both joining surfaces then placed the Elm onto the form held it down for a couple of minutes, then put the air hose and the top section of the form into place and filled the hose with air, I will leave it this way for an hour or so till the cement is dry.
What we will do now while we are waiting for the cement to dry is prepare our riser.
I have posted these pics before but for the sake of this exercise I will do so again

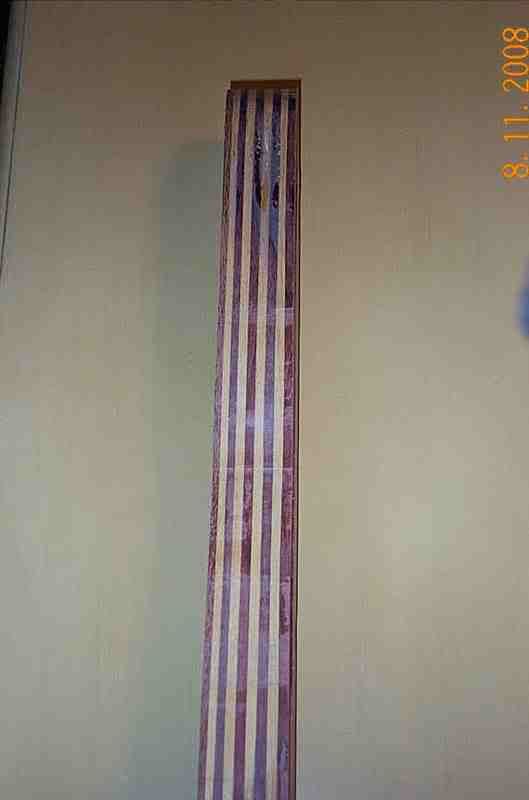
I decided to make the riser out of 4 different woods and do not only vertical but horizontal laminations.
The woods I am using are Purpleheart,Yellowheart,Bubinga and Leopard wood.
I rough cut them then planed them down to a 1/4"
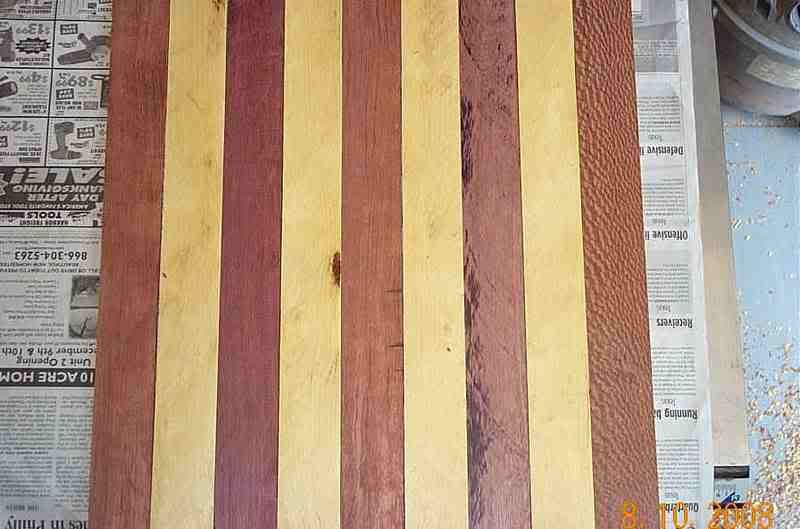
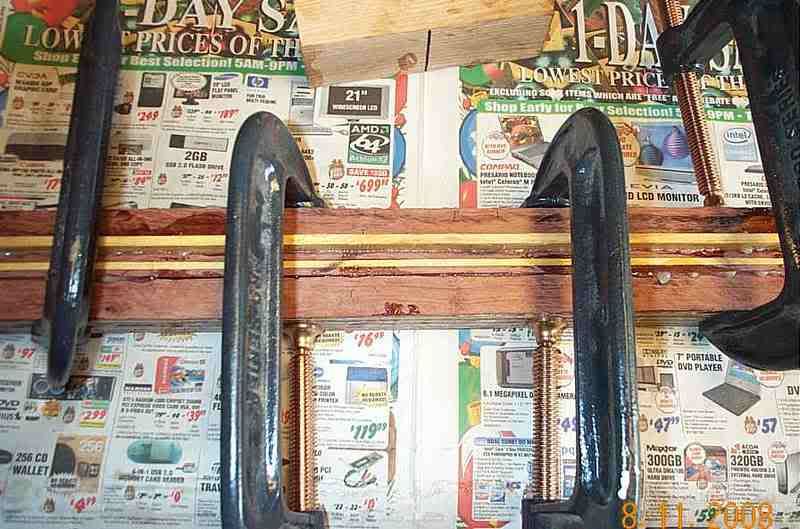
Using Smooth On epoxy I glued them up G clamped them together and placed in the heat box for 4 hours.
Here they are out of the box.

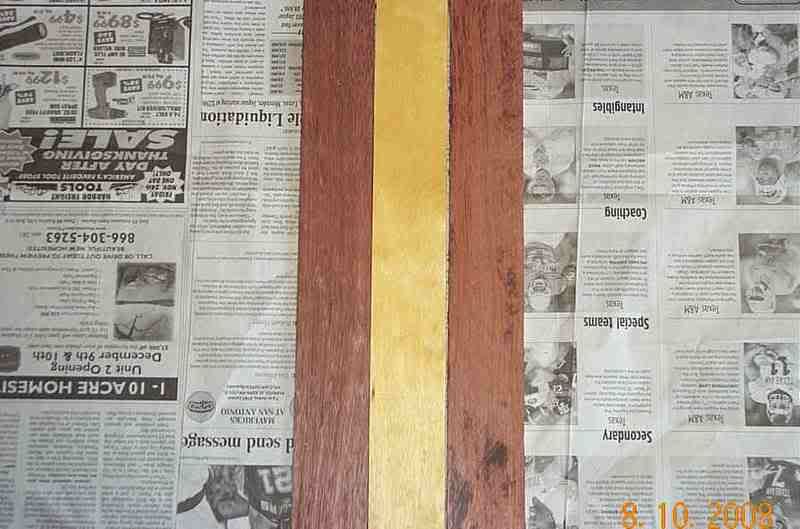
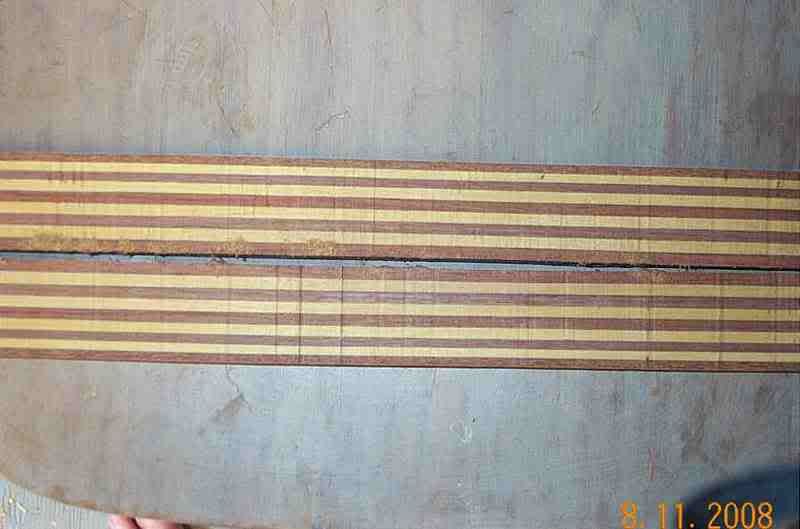
After cleaning the excess glue off I marked the center of the side of the block.
The to the band saw to carefully cut the block in 2 so I can add the horizontal lams.
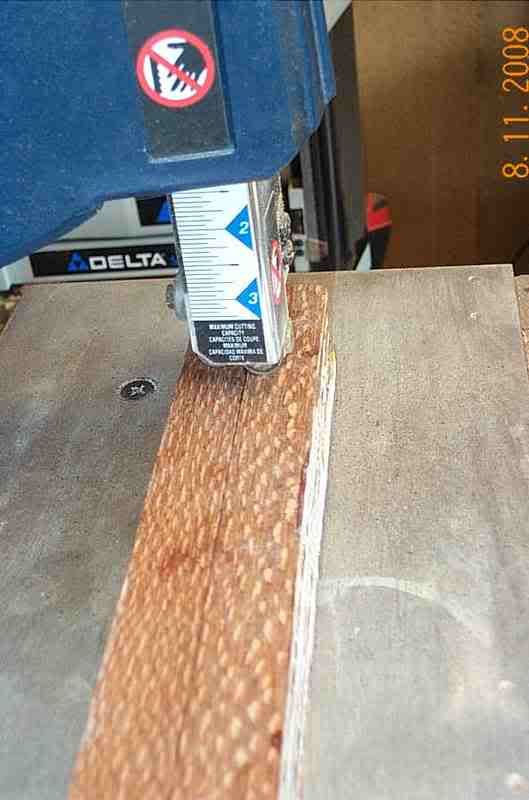
Even tho all care was taken there was still some cut marks that had to be sanded down.
After sanding the block I placed the horizontal lams and measured the block I need it to be 2 1/2".

I had to sand back more than I thought I would so I had to add another piece of Yellowheart to the block to get the 2 1/2".
Here is the block ready to go back into the heat box for another 4 hours.
Then I marked out the riser shape from the template and cut out the shape.
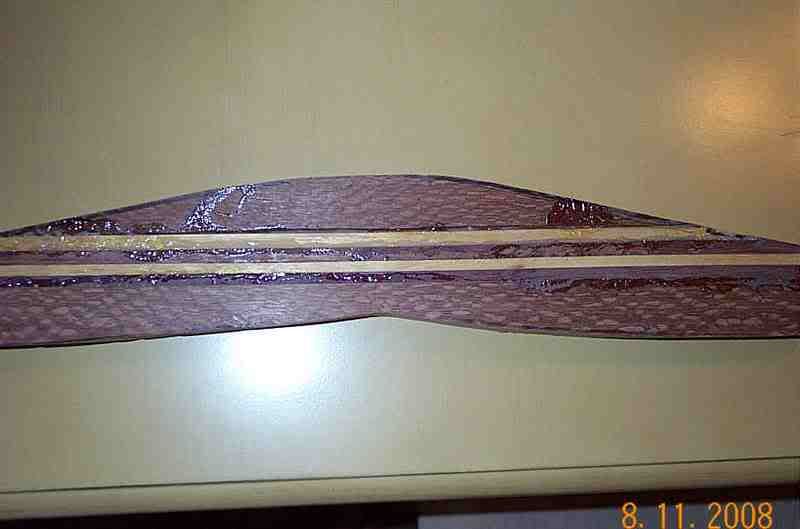
I am not too worried at this stage about some of the excess glue as there is a lot of sanding and shaping to go which will take care of that.
After rough cutting the shape I sanded back to the shape lines all the time making sure the riser is square.

I will say this it has taken me 14 hours so far to get the riser to where it is now, ready for the limbs to be made and holes to be drilled
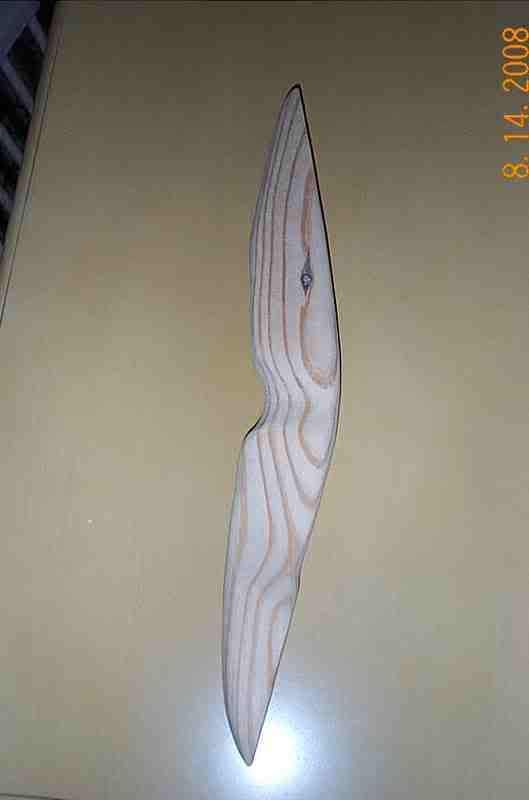
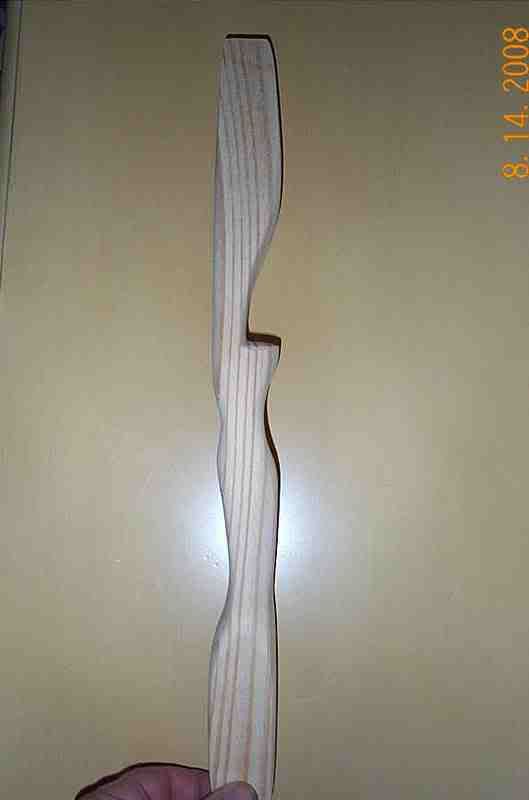
Without knowing whatgrip and risershape I wanted I turned to the old trust pine and made up a mock riser.
I would much rather screw up a piece of pine than all that pretty hardwood
After 3 attempts to get something I liked and felt good in my hand this is the shape I came up with but I think I will take some more off the riser when I get the limbs on and test shoot the bow.
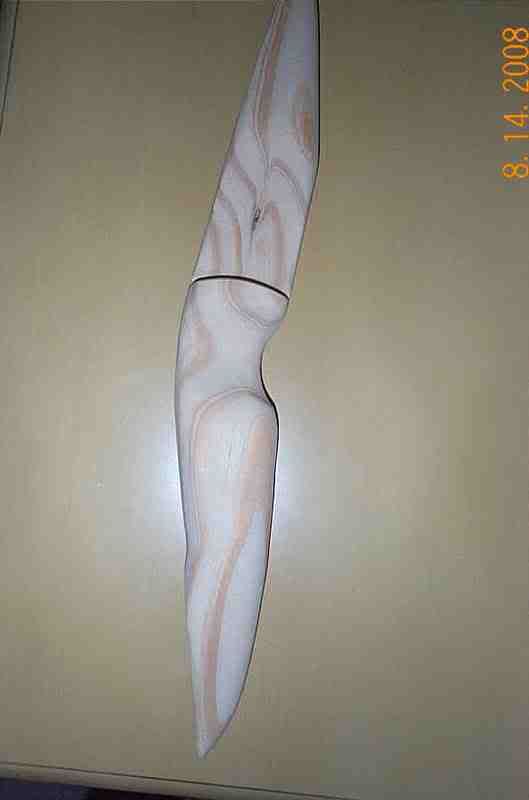
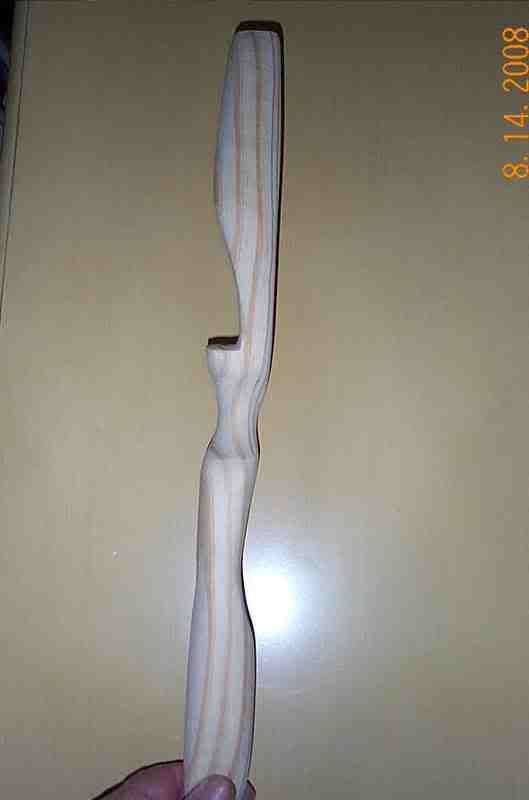
What I will do is use the mock up as a visual aide when I begin to shape out "Mark's Rainbow"

I am not saying everybody should make a mock up riser but it sure does save a lot of headaches in screwing up some good hardwood[8D]
There is just one more thing we have to do to the form and that is drill a hole in the limb butt end and place a Alinment pin.
Which I will do in the next lesson
Dont forget class there will be a pop quiz at the end of this course[8D]