This is copied from a old post I made a few months back. Someone asked a question about pics so I figured it would be nice to have since the Photo questions come up from time to time.
I know a few of you have had a bunch of trouble getting pics posted, took me a long time myself! If you use Huntingnets method you have to resize the pic and sometimes that is not fun and you can end up with a thumbnail pic that is to small to see! Hunting net recommends using a photo host site to post pics, one they endorse is Photo bucket.com, it is the one I use and have no problems with, an no resizing! The trail cam gallery has a help thread, but photo bucket has changed a little so this is a step by step thread on how to set up a free Photo bucket account and get your pics on here so all can see! This is for one friend in particular so I hope this helps since it took me an hour to do! Nothing to download, its free, and it works! Mods please do not move this thread, only trying to help some friends out!
Step 1.....
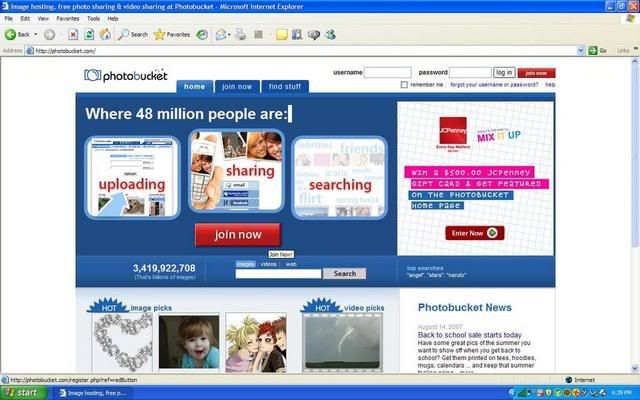
OK here is the first of many pics, first group is on setting up your Photo Bucket account. Just go to
www.photobucket.com and this will be the first thing you see. Click the red join now tab.
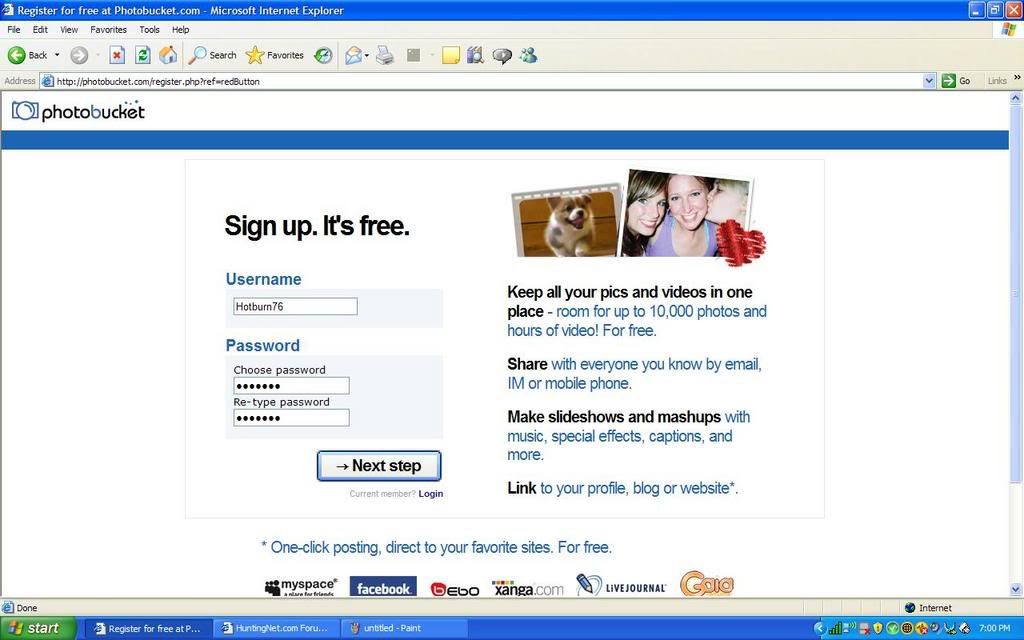
Step 2.....
After you click it, this screen will come up. Make up a user name and a password and click next step.
Step 3.....
This is what you will see next. Type in all your info. I am not sure what all is required. I did not put in a cell number, no thank you!! And it did not give me a problem. You must have a current email address and just make up a name and birthday that makes you at least 18 and you should be good to go! Click the accept tab and move on!!

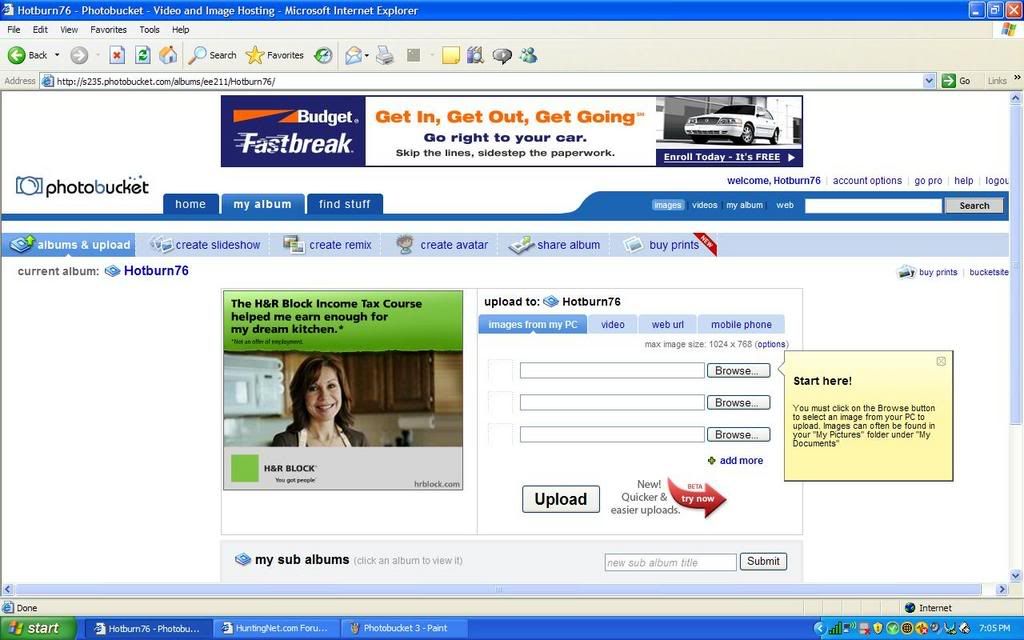
Step 4.....
You should now have set up a account and it will take you to this screen. Upload your pics by clicking on the browse tab next to the pretty little lady and a box will pop up...
Step 5.....
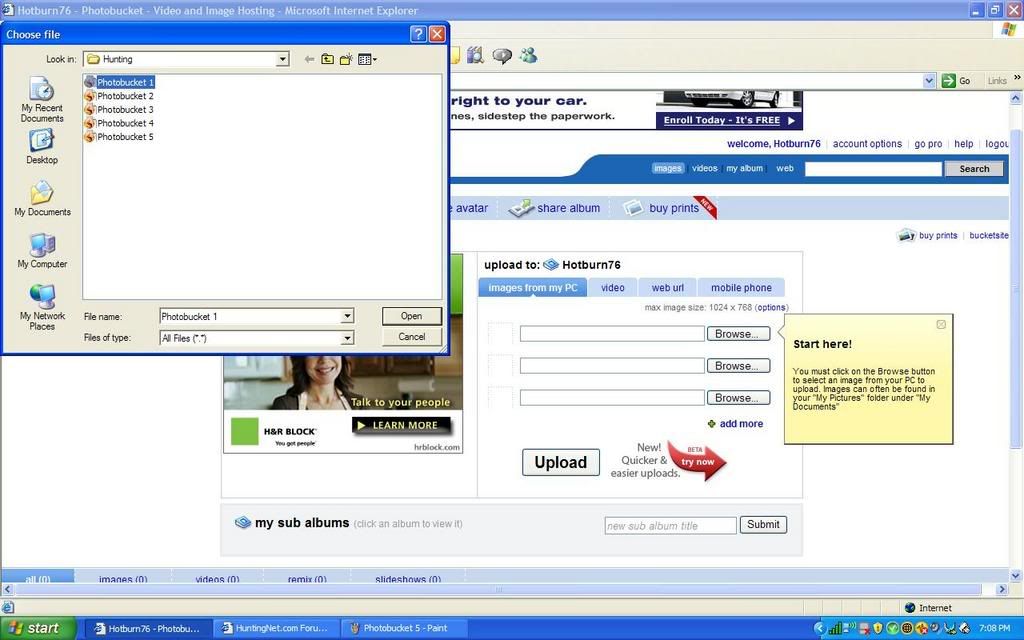
This is the box, it is your computer's folders. You need to find your pics where you saved them. Find your pics....
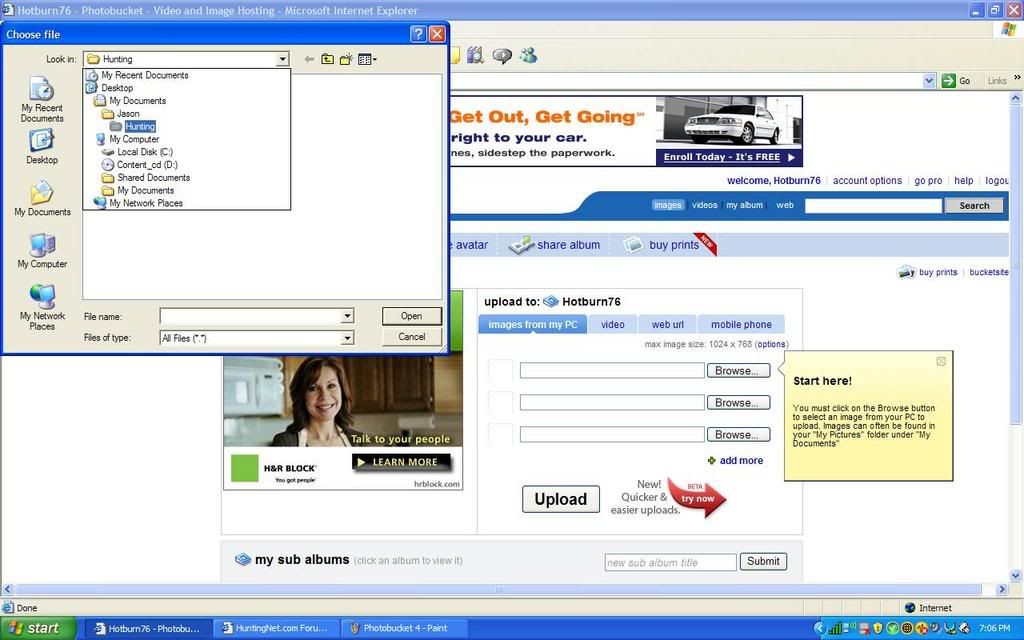
Step 6.....
As a example you can see I have mine under My Documents in a hunting folder. At this point I can not help you find your pics, they are in your computer! Find them cause we want to see them!!! Find the pic and then just double click on it.
Step 7.....
Your pic name should have filled in the blank browse tab with your computers name above it. You can type in another name for it but I do not most of the time. Click the upload button....
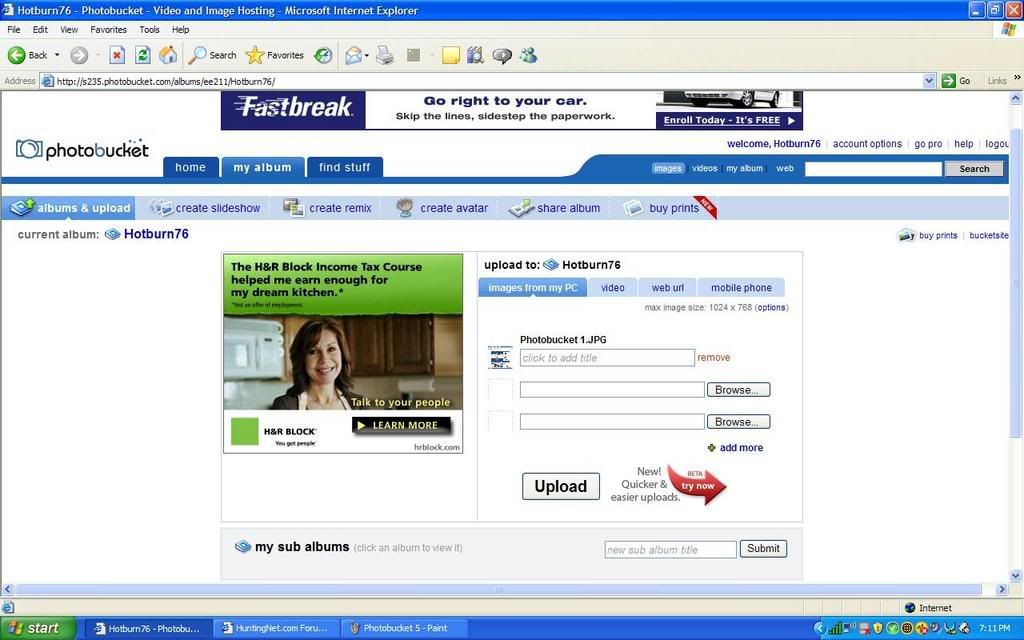
Step 8.....
This will be the screen that pops up while they are loading, if you have dial up you may see this for a while, it was a 100% by the time i could save it with cable modem!

Step 9.....
When youfinished uploading this is what you will see. If you see this smile, cause you are doing good, if not call smoke and ask forsome of his rum! Your going to need it, I have done all I can! LOL!! Also it will give you the option to upload some more if you need to, dial up guys may want to do one at a time.

Step 10.....
After its done scroll down and see your upload. This is what you should see...
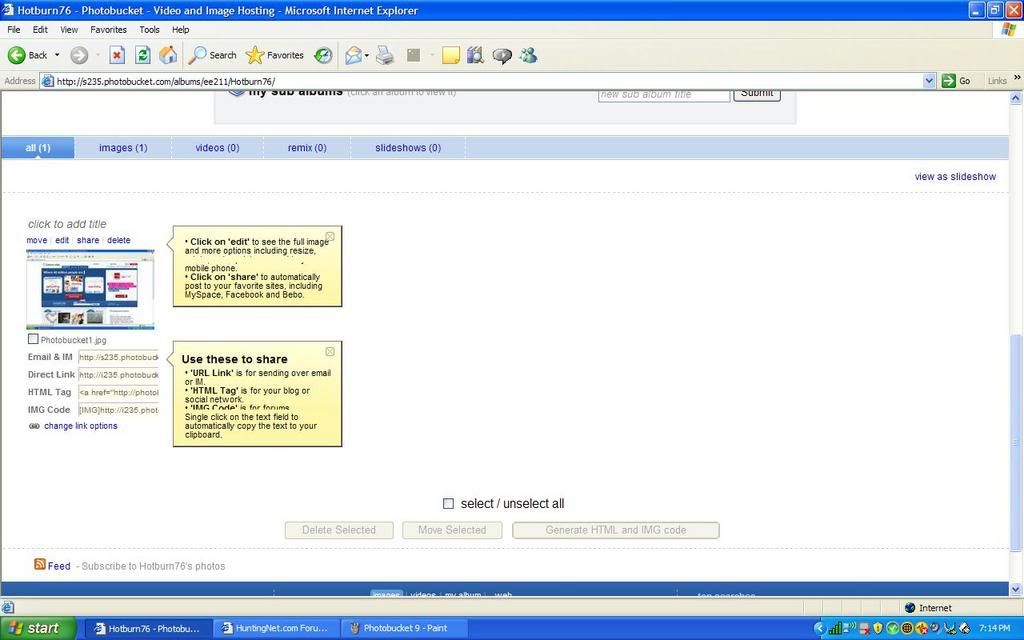
Step 11.....
Now you will notice four links below your post, you wan the one that says Direct Link! I do not know what the top one and bottom twoare for but I know you need this one, Direct Link! If you put your mouse over it and click it will put it in your paste automatically, it not right click and copy it...

Step 12.....
At this point you are done with Photobucket. Go into hunting net and start a post like normal. You will notice on your screen a little yellow box with a mountain in it at the far right of the post box tool bar right above where you are doing all your typing, click it....
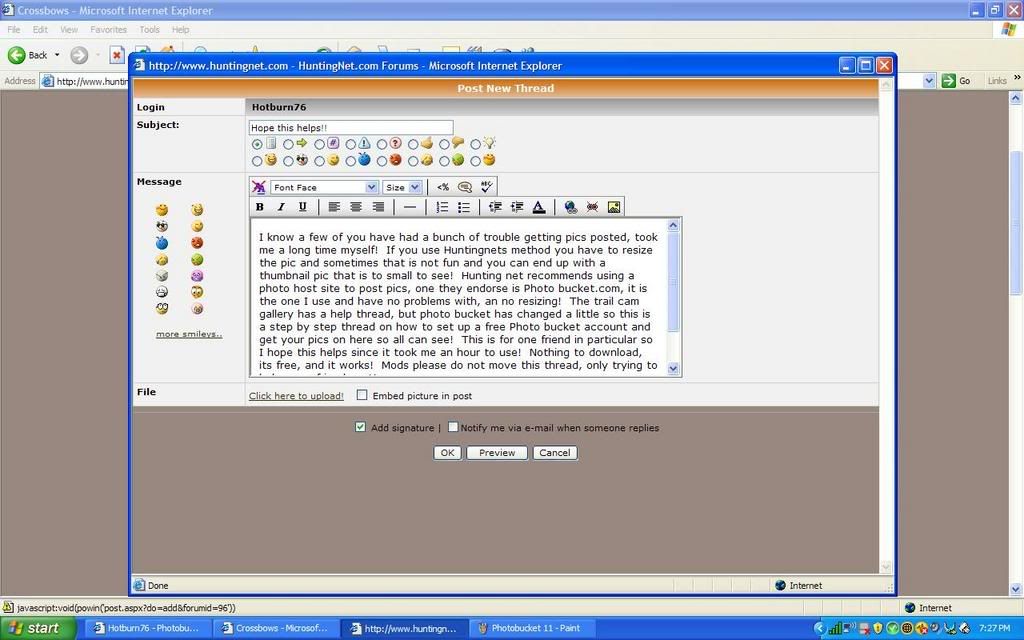
Step 13.....
After you click it this box will pop up. Put your cursor in it and click paste. Sometimes huntingnet will already have the http//: in it, if you paste over it then good, if it's in there twice then its a no go and will not work.

Step 14.....
After you paste, it should look like this. If so click OK, if not reread what I said or hit your head on the wall! LOL!! Also, as a side note it is important to know where your cursor is before you click the little yellow box with the mountain in it. Where ever the cursor is the pic will show up! If you were in mid sentence the thats what will happen. I always hit the return and start a new line before posting the pic.

When you clicked OK you should see your pic in your post. Go all the way to the right of pic and put your cursor and hit enter type some more. As you can see by this post you can put a bunch of pics in a post with no resizing! I think it also saves space for Huntingnet doing it this way. I hope this helps, please ask some questions if you have them, I will try and help.