


The Chrissy Present Build Along
 12-20-2008, 09:33 AM
#81
Giant Nontypical
Thread Starter
Join Date: Feb 2003
Location: Burleson TX USA
Posts: 6,455
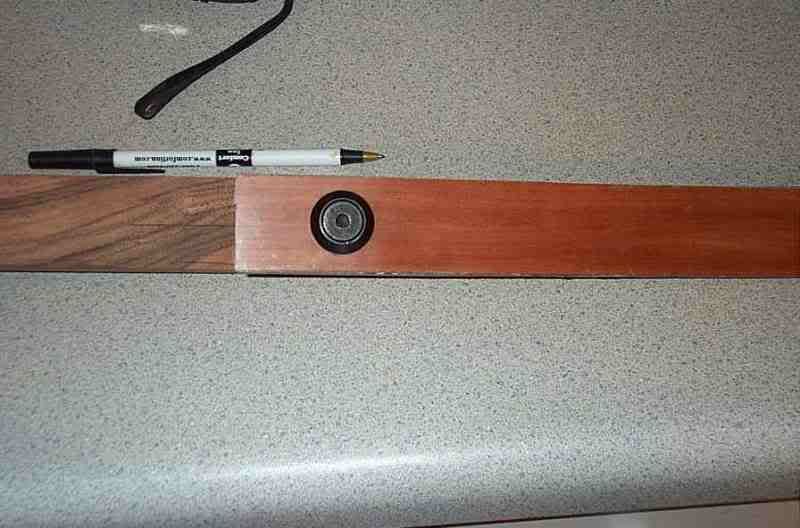
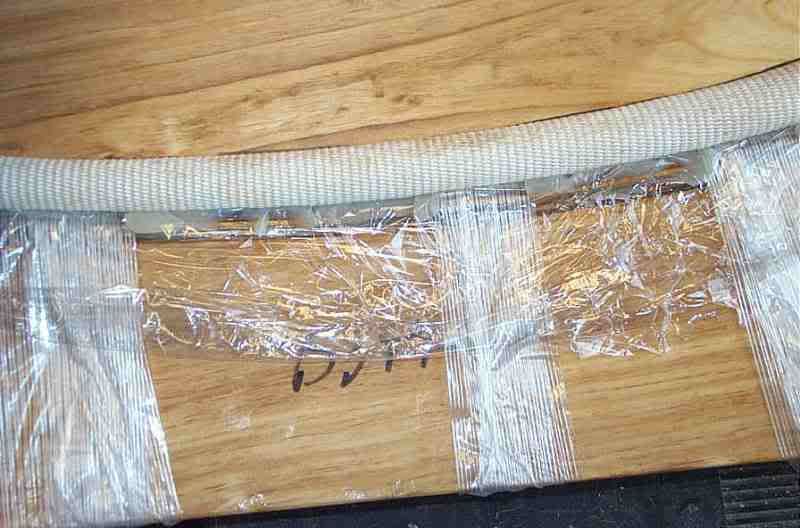
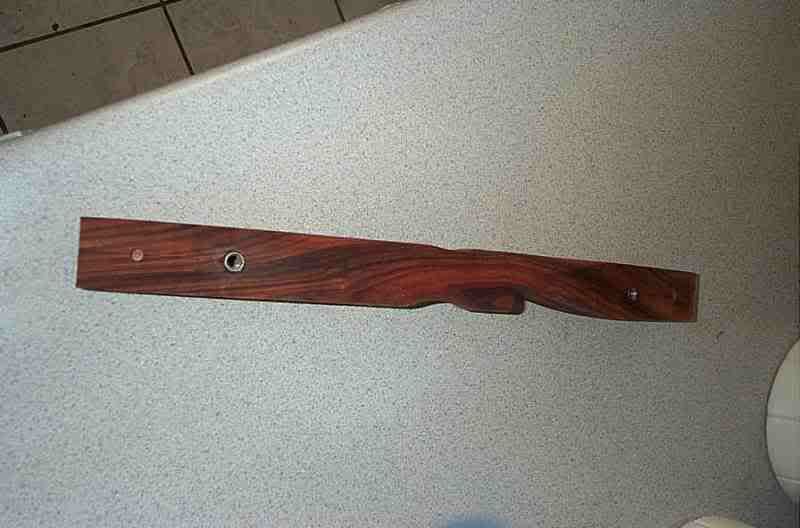
Ok just got done drilling the holes in the first limb and here it is on the riser.
The other limb lams are in the heat box for another 30 mins then I can put that limb together
The other limb lams are in the heat box for another 30 mins then I can put that limb together
 12-20-2008, 11:34 AM
#82
Giant Nontypical
Thread Starter
Join Date: Feb 2003
Location: Burleson TX USA
Posts: 6,455
The second limb is now in the heat box and due out around 3:30 this afternoon
Here are the steps I took which I did not photo log for the first limb.
First prepare your form by giving it a coat of Paste wax and also put some wax on the top pressure strip, then a layer of saran wrap over the top of the form this will make it easy to get the limb out of the form and stop the limb from sticking to the form
Once the lams have been in the heat box for an hour to make sure there is no moister left in them.
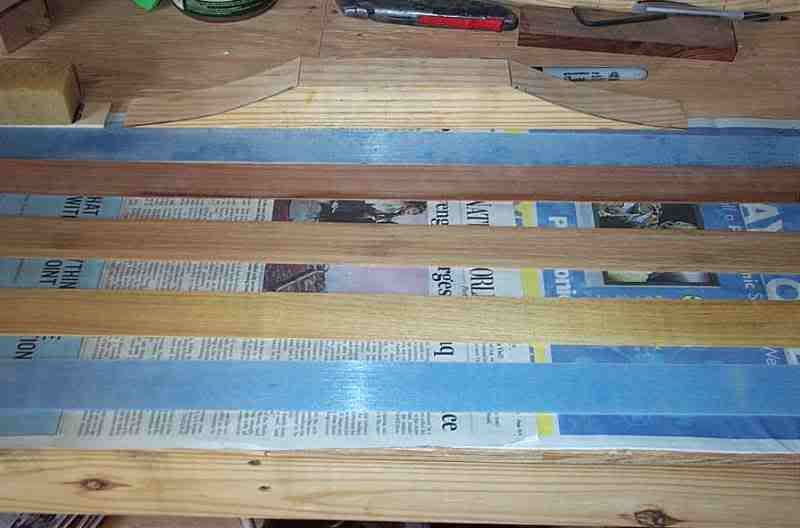
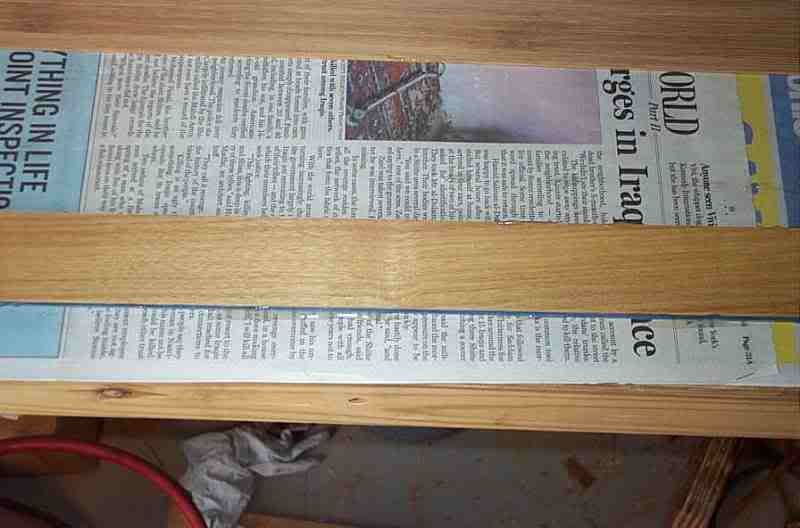
I lay them on the bench in order that they are going to be used.
Now it's time to put on some gloves for the safety and health of our patient
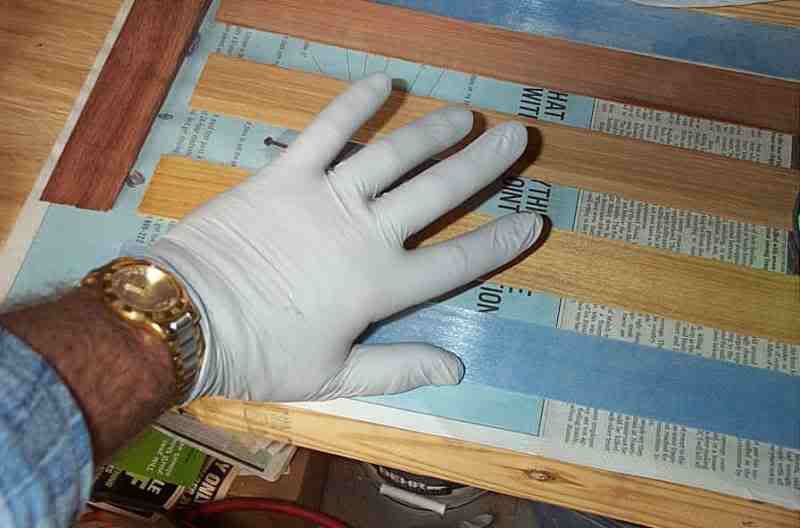
Put liberal amount of epoxy on all adjoining surfaces.
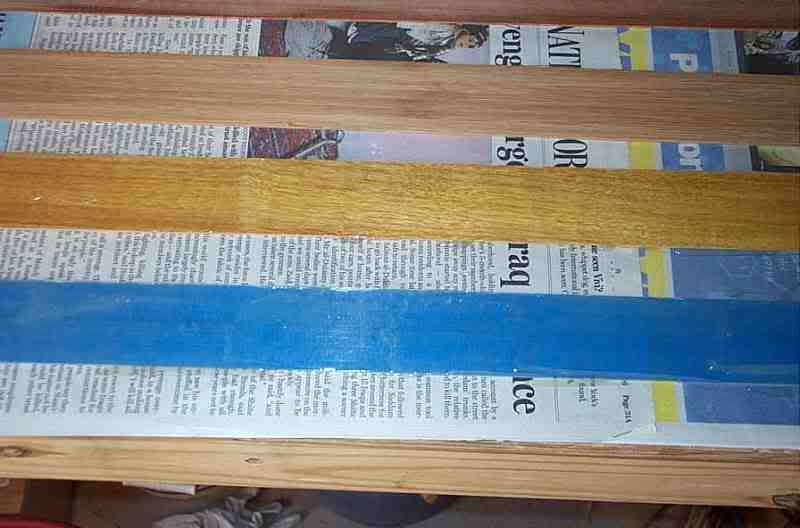
Then start stacking them on top of each other.
Once you have the first 3 layers in this case 1 glass the Canarywood and action boo it's time for the wedge.

Then add the final 2 layers the redwood and glass.
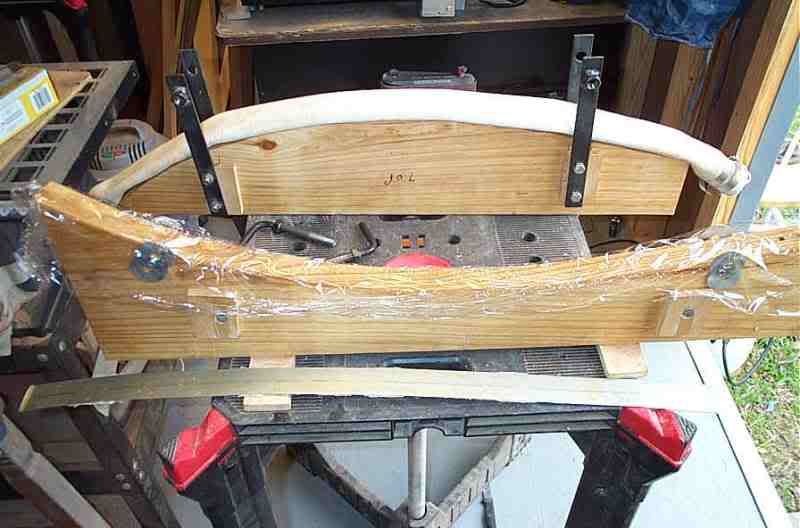
Once that is done place in the form, put on the pressure strip then tape firmly into place and put on another strip of saran wrap to protect the hose.

Next place the air hose on top.
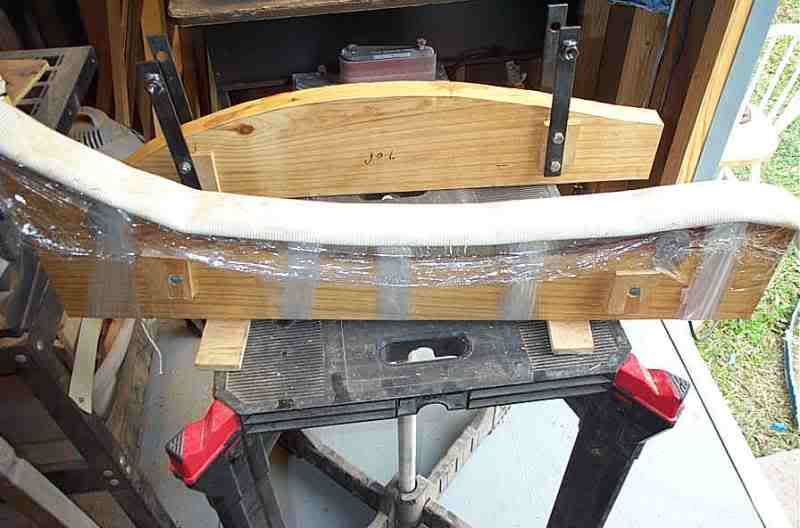
Now put the top of the form into place and secure.
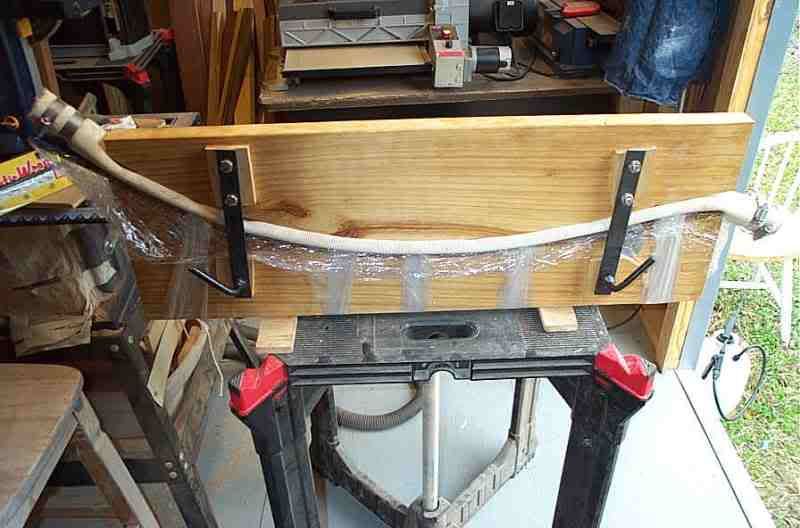
Now add 60lb of air to the hose and double check to make sure nothing has moved. If the lams have moved let the air out of the hose straighten them up and carefully pressurise the hose.
As you can see in the above pic the excess glue is going to ooze out when you add the pressure to the hose.
Here are the steps I took which I did not photo log for the first limb.
First prepare your form by giving it a coat of Paste wax and also put some wax on the top pressure strip, then a layer of saran wrap over the top of the form this will make it easy to get the limb out of the form and stop the limb from sticking to the form
Once the lams have been in the heat box for an hour to make sure there is no moister left in them.
I lay them on the bench in order that they are going to be used.
Now it's time to put on some gloves for the safety and health of our patient
Put liberal amount of epoxy on all adjoining surfaces.
Then start stacking them on top of each other.
Once you have the first 3 layers in this case 1 glass the Canarywood and action boo it's time for the wedge.
Then add the final 2 layers the redwood and glass.
Once that is done place in the form, put on the pressure strip then tape firmly into place and put on another strip of saran wrap to protect the hose.
Next place the air hose on top.
Now put the top of the form into place and secure.
Now add 60lb of air to the hose and double check to make sure nothing has moved. If the lams have moved let the air out of the hose straighten them up and carefully pressurise the hose.
As you can see in the above pic the excess glue is going to ooze out when you add the pressure to the hose.
12-20-2008, 02:10 PM
#83
Giant Nontypical
Thread Starter
Join Date: Feb 2003
Location: Burleson TX USA
Posts: 6,455
While the second target limb is in the heat box it was time to get busy on the hunting limbs, here they are with the first coat of poly on them.
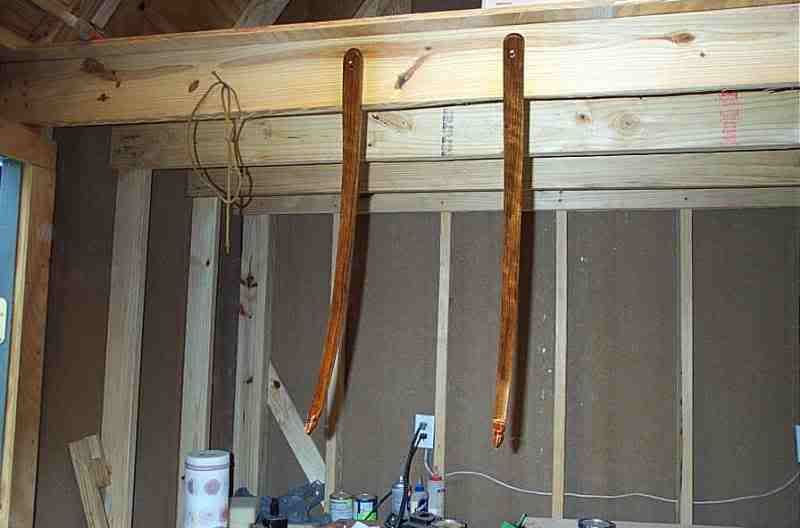
I will sand them down when they are dry with some 320 grit paper and apply another couple of coats
I will sand them down when they are dry with some 320 grit paper and apply another couple of coats
12-21-2008, 12:16 AM
#85
Join Date: Feb 2003
Location: Howard PA USA
Posts: 2,221
Man Russ she is coming along great!!! Cant wait to shoot her.
Big Country, I know i will enjoy it. Im having a blast shooting the test bow Russ sent me. Hopefully after lots of practice this winter during leagues , I will be able to contribute some valuable points to our longbow team so we can bring home another state title. We have to reclaim it after being beaten for the first time last year in many years.
Big Country, I know i will enjoy it. Im having a blast shooting the test bow Russ sent me. Hopefully after lots of practice this winter during leagues , I will be able to contribute some valuable points to our longbow team so we can bring home another state title. We have to reclaim it after being beaten for the first time last year in many years.
12-21-2008, 07:25 AM
#86
Giant Nontypical
Thread Starter
Join Date: Feb 2003
Location: Burleson TX USA
Posts: 6,455
what do you think happened to the lepardwood?
About all I can think of is there might have been a hairline crack in the wood that I did not see and the pressure of the air hose forced the glue into the crack forcing it to open up instead of the glue being pushed out the side.
i was really looking forward to that wood under glass.
Man Russ she is coming along great!!! Cant wait to shoot her.

Oh and write "You Suck" some where on the bow
[8D]
12-21-2008, 07:59 AM
#87
Spike
Join Date: Mar 2008
Location: Warren,Indiana
Posts: 55
Kanga, You did nothing wrong regarding the leopardwood, it's the nature of it to crack, at least that has been my experience, it's great in compression, bad in tension, I won't use it anymore, good call on bailing on it!, and I see you use a Rigid Belt/spindle sander, great tools and I could not do what I do without one, and great work by the way!.........Steve
12-21-2008, 08:17 AM
#88
Giant Nontypical
Thread Starter
Join Date: Feb 2003
Location: Burleson TX USA
Posts: 6,455
and I see you use a Rigid Belt/spindle sander, great tools and I could not do what I do without one, and great work by the way!.........Steve
Thanks man I appreciate it.
As for the Rigid I have had my eye on it for a long time, I was given a $100 gift card to Home Depot which made it that much more appealing
But your right it is a great machine and has made my job a lot easier, it has replaced 2 machines in my shop.
12-21-2008, 08:42 AM
#89
Spike
Join Date: Mar 2008
Location: Warren,Indiana
Posts: 55
Kanga, I have used mine daily for almost 2 1/2 years, it works great, but just in case I bought another that just sits in the box waiting it's turn....... I use it mostly for shaping my limbs and limb pads on the riser, I was using my bandsaw, but at $10 per blade and 2 blades per bow,and still having to beltsand,it was very expensive, now this sander will do 6 limbs per $5 belt.... that's 6 bows (12 limbs)for $10 a lot better that the $120+tax for the blades I was using for 6 bows... how long have you been building bows?.......Steve
12-21-2008, 10:00 AM
#90
Giant Nontypical
Thread Starter
Join Date: Feb 2003
Location: Burleson TX USA
Posts: 6,455
Steve.
I know about the band saw blades they do get expensive specially when you use 2 blades per bow[:@]
I still do the rough cut out of the limbs with the band saw then it's over to the belt sander to finish them off.
I have been making bows on and off for a long time but about 12 months ago I decided to get off the compound wagon and go back to trad, I really could not find a bow I liked so I decided to make my own. Then a couple of friends wanted me to make them one and the local bow shop wanted me to put a couple of display bows there and it sorta snow balled from there.
Ok I have been out shaping the the riser it's coming together very nicely
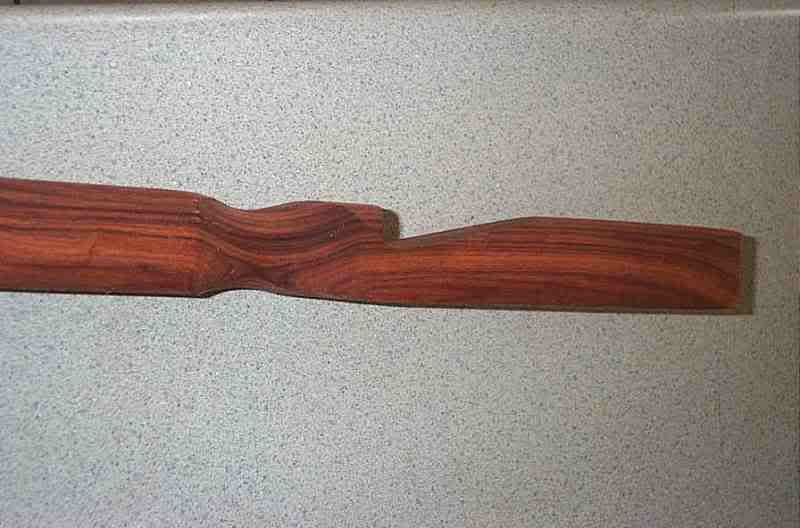
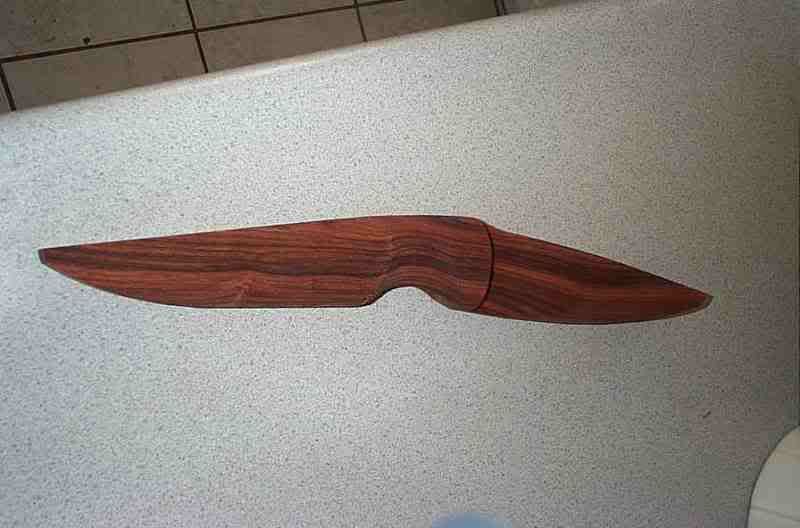
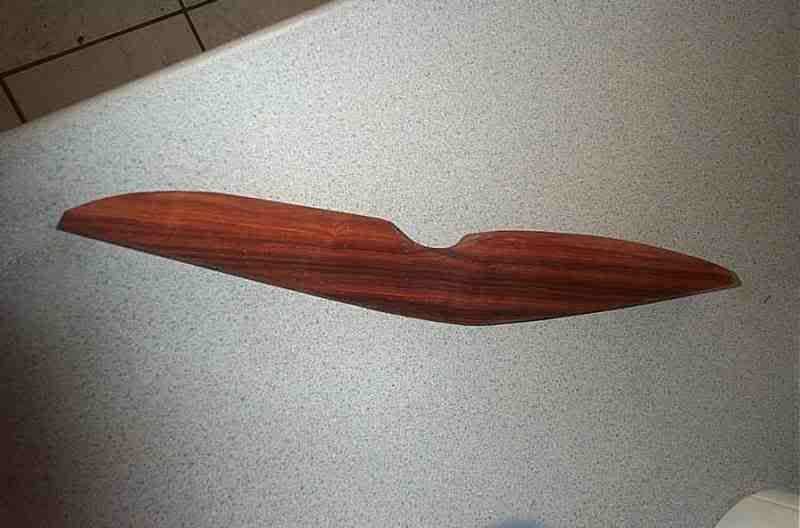
Still a lot more sanding to do.
I really need a heat source out in the shop it's bloody cold out there
Anyone want to donate me a gas heater?
I know about the band saw blades they do get expensive specially when you use 2 blades per bow[:@]
I still do the rough cut out of the limbs with the band saw then it's over to the belt sander to finish them off.
I have been making bows on and off for a long time but about 12 months ago I decided to get off the compound wagon and go back to trad, I really could not find a bow I liked so I decided to make my own. Then a couple of friends wanted me to make them one and the local bow shop wanted me to put a couple of display bows there and it sorta snow balled from there.
Ok I have been out shaping the the riser it's coming together very nicely
Still a lot more sanding to do.
I really need a heat source out in the shop it's bloody cold out there
Anyone want to donate me a gas heater?