


Greg's Long Bow Build-a-long
 07-30-2008, 02:12 PM
#1
Giant Nontypical
Thread Starter
Join Date: Feb 2003
Location: Burleson TX USA
Posts: 6,455
I will start off by saying BC (Mark) do not read this thread as it is a laminated bow build-a-long
First off the riser I have posted these pics before so bear with me
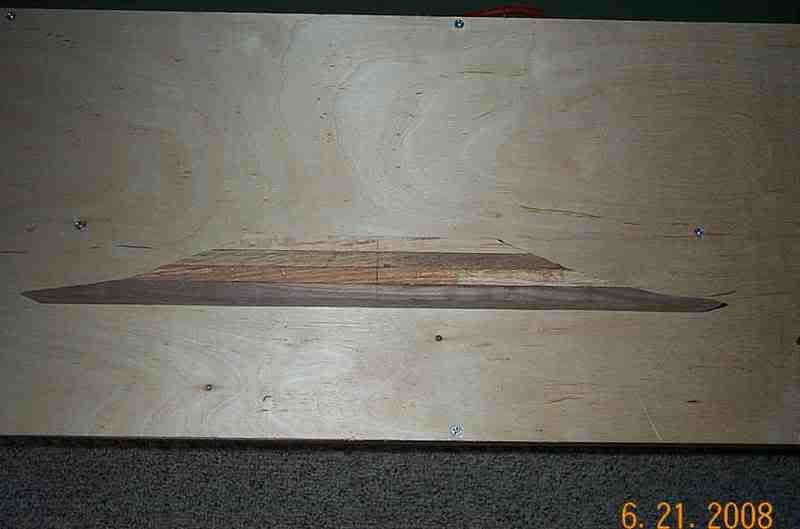
Do a layout then glue up the riser laminations.
Once the epoxy has been dried in the heat box for 4 hours mark out the riser shape and rough cut with a bandsaw.
Then wait a few weeks for the rest of the laminations to come in
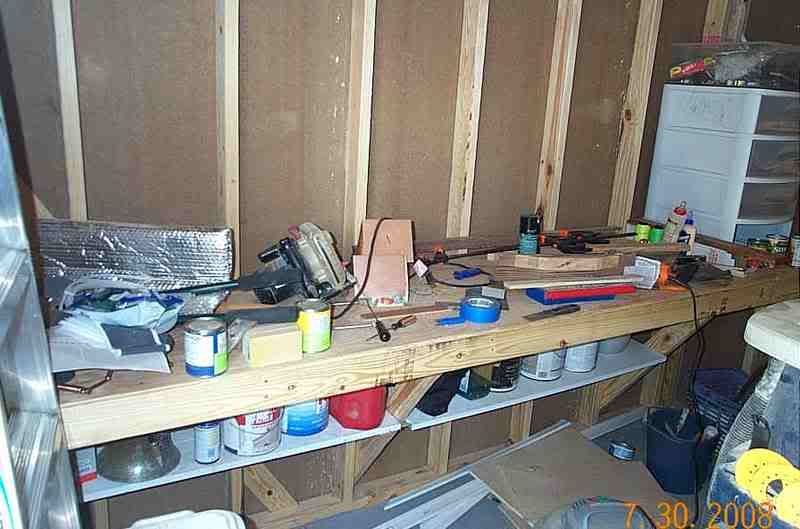
Now it's time to get serious well as serious as I am ever going to getand clean off the work bench.
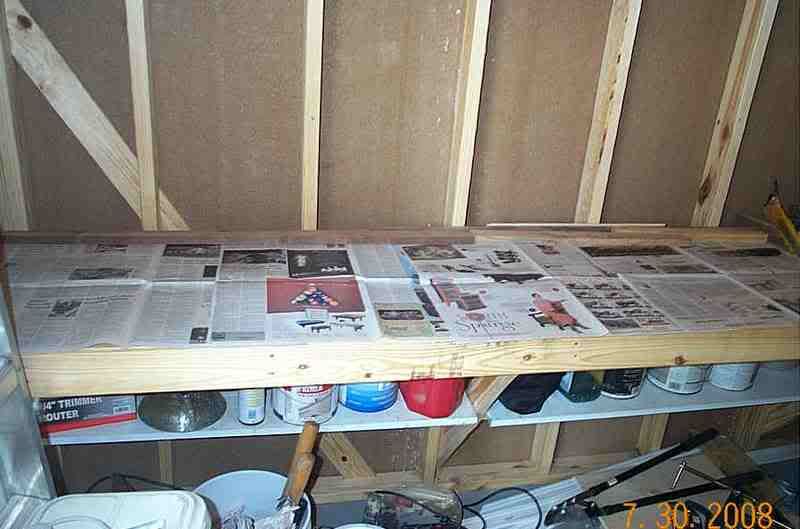
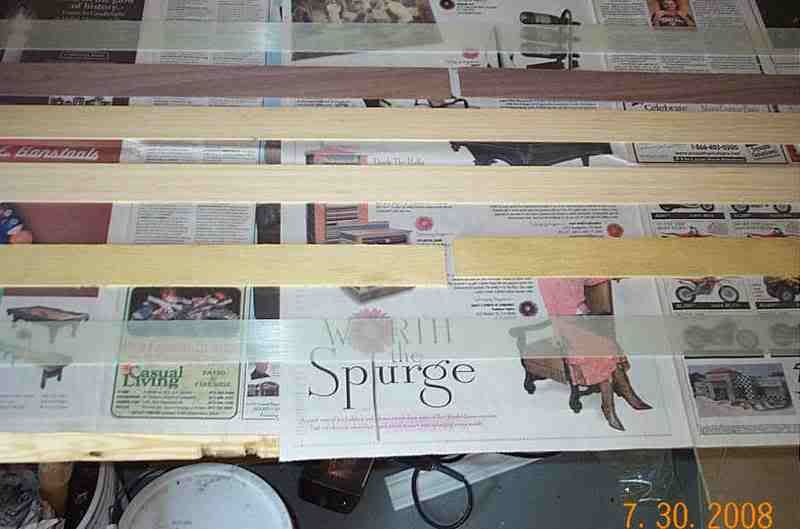
Then I put some old news paper down to protect the bench from excess epoxy when I do the glue up.
Now seeing I ordered 2 sets of laminations it was time to work out what was what but luckily they had them seperated into different bundles and did mark each bundle.
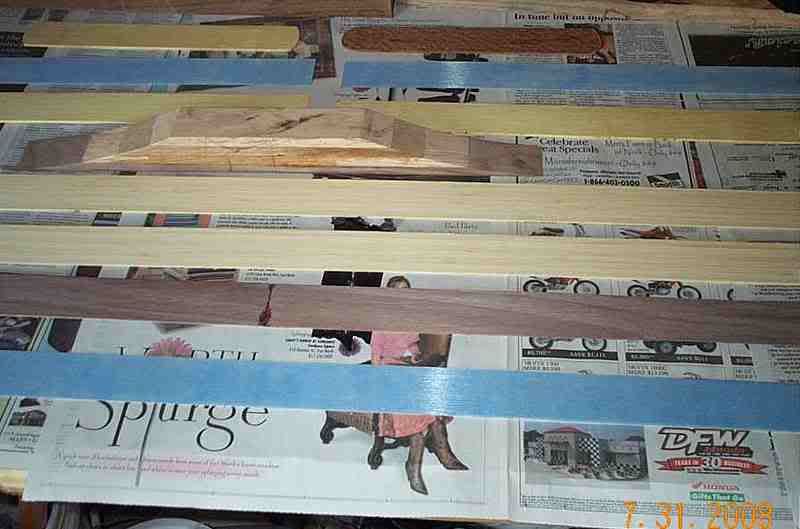
So I unpacked the lams for Greg's bow and layed them out on the bench.
Now put some blue painters tape on the shiny side of both pieces of clear glass to protect them from the epoxy during glue up.
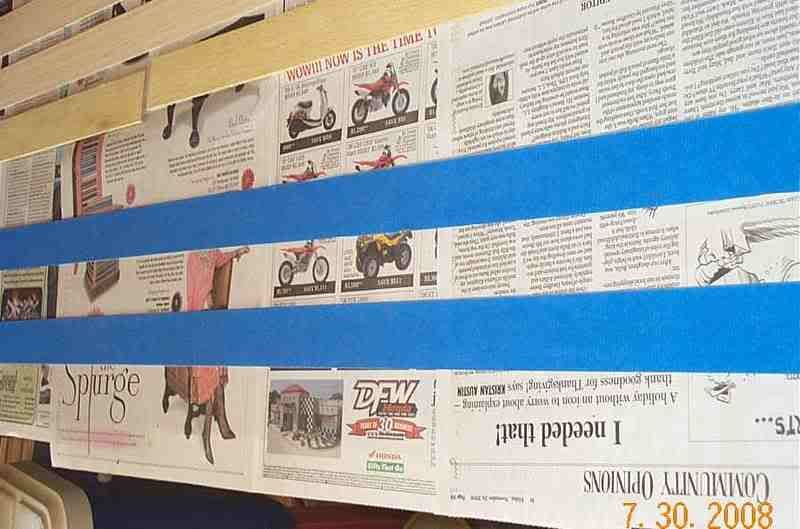
Then I measured the center of one of the glass pieces and put a line across it.
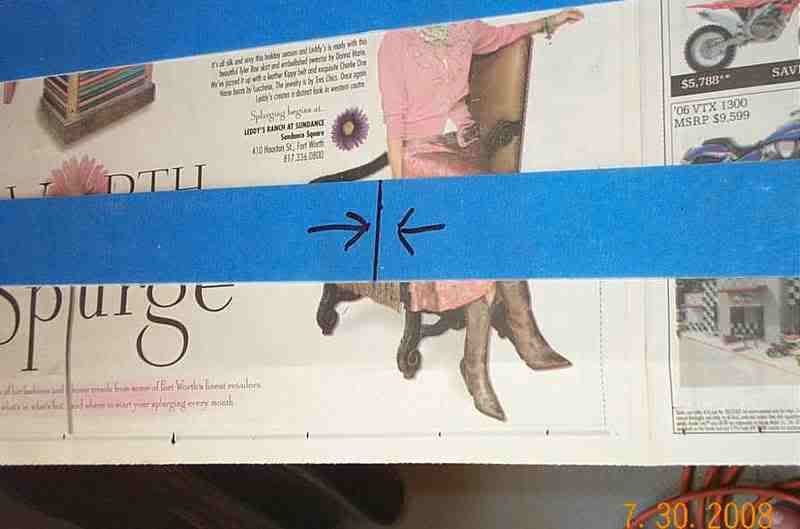
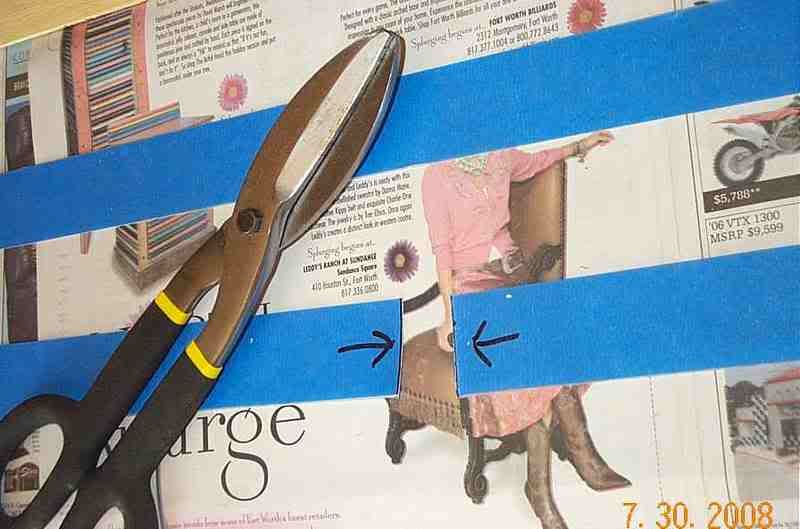
The 2 arrows are to tell me where I made the cut as I place the cut to the limb tips this section will be cut off later after the glue up and 4 hours in the heat box.
Here they are cut into 2.
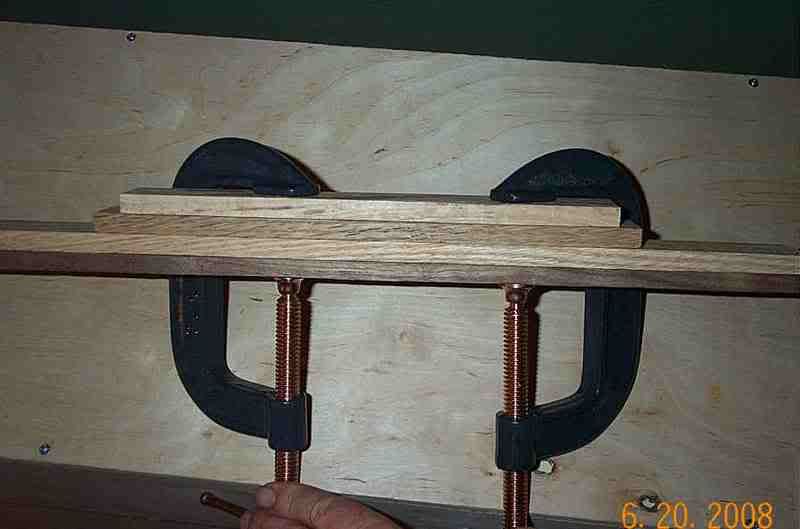
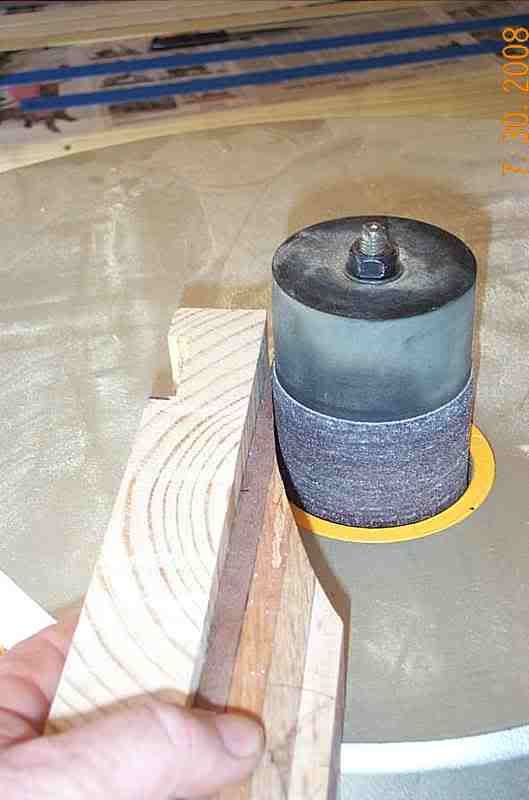
Now comes the really tricky part getting the fade outs of the riser paper thin for this I use a spindle sander holding a block of wood at the back of the riser fade outs to protect them from breaking.
This is all I am going to do today as it is too hot in the shed I will do the glue up when I get home from work tomorrow.
I will say that at this stage we are aiming for a 66" 155lb @ 28" bow.
Now why Greg wants a bow this heavy has me beat, maybe the hogs are tougher in East Texas[8D]
First off the riser I have posted these pics before so bear with me
Do a layout then glue up the riser laminations.
Once the epoxy has been dried in the heat box for 4 hours mark out the riser shape and rough cut with a bandsaw.
Then wait a few weeks for the rest of the laminations to come in
Now it's time to get serious well as serious as I am ever going to get
and clean off the work bench.Then I put some old news paper down to protect the bench from excess epoxy when I do the glue up.
Now seeing I ordered 2 sets of laminations it was time to work out what was what but luckily they had them seperated into different bundles and did mark each bundle.
So I unpacked the lams for Greg's bow and layed them out on the bench.
Now put some blue painters tape on the shiny side of both pieces of clear glass to protect them from the epoxy during glue up.
Then I measured the center of one of the glass pieces and put a line across it.
The 2 arrows are to tell me where I made the cut as I place the cut to the limb tips this section will be cut off later after the glue up and 4 hours in the heat box.
Here they are cut into 2.
Now comes the really tricky part getting the fade outs of the riser paper thin for this I use a spindle sander holding a block of wood at the back of the riser fade outs to protect them from breaking.
This is all I am going to do today as it is too hot in the shed I will do the glue up when I get home from work tomorrow.
I will say that at this stage we are aiming for a 66" 155lb @ 28" bow.
Now why Greg wants a bow this heavy has me beat, maybe the hogs are tougher in East Texas[8D]
 07-30-2008, 06:22 PM
#4
Dominant Buck
Join Date: Feb 2003
Location: land of the Lilliputians, In the state of insanity
Posts: 26,274
155lbs, you better start stacking on more lams. Lol.
Do you ever have any problem cutting your glass with tin snips? I have always used my dremal tool when using prepregnated glass. The idea of shearing glass kinda of made me cringe due to chipouts.
Wait a min.. You cant build a bow with out tripping all over yourself. Dont clean the bench.
By the way, its nice to be watching a build along instead of posting one.
Ive got a trilam project in the making. Curly maple underglass with cherry as either the core or belly and hickory as the other, respectivley. This will be a four step glue up with the use of no form. Dont worry, im not going to post it.
Do you ever have any problem cutting your glass with tin snips? I have always used my dremal tool when using prepregnated glass. The idea of shearing glass kinda of made me cringe due to chipouts.
Now it's time to get serious well as serious as I am ever going to getand clean off the work bench
and clean off the work bench
By the way, its nice to be watching a build along instead of posting one.
Ive got a trilam project in the making. Curly maple underglass with cherry as either the core or belly and hickory as the other, respectivley. This will be a four step glue up with the use of no form. Dont worry, im not going to post it.
07-30-2008, 06:41 PM
#5
Giant Nontypical
Thread Starter
Join Date: Feb 2003
Location: Burleson TX USA
Posts: 6,455
And im sure Russ will tell you thats how they build them down under. [8D]
You know us Aussie's everything is bigger down under
[8D]
Do you ever have any problem cutting your glass with tin snips?
No not at all as long as the tape is on they turn out fine and just incase they dont I put the cut end to the limb tip which is cut back a few inches when cutting out the limb shape.
Wait a min.. You cant build a bow with out tripping all over yourself. Dont clean the bench.
By the way, its nice to be watching a build along instead of posting one.
Ive got a trilam project in the making. Curly maple underglass with cherry as either the core or belly and hickory as the other, respectivley. This will be a four step glue up with the use of no form. Dont worry, im not going to post it.
07-31-2008, 12:06 PM
#6
Giant Nontypical
Thread Starter
Join Date: Feb 2003
Location: Burleson TX USA
Posts: 6,455
Ok day 2
When I got home this morning I done a mock lay up to make sure there was no gap where the fade out and limb lams meet.
Then I put all the lams into the heat box for about an hour then removed them and let them cool to room temp.
Next was to put some plastic wrap on the form as excess glue oozes out and without the plastic the bow will stick to the form giving it a VERY heavy draw weight
Once the lams had been in the heat box for an hour I took them out and layed them in the order I was going to use them.
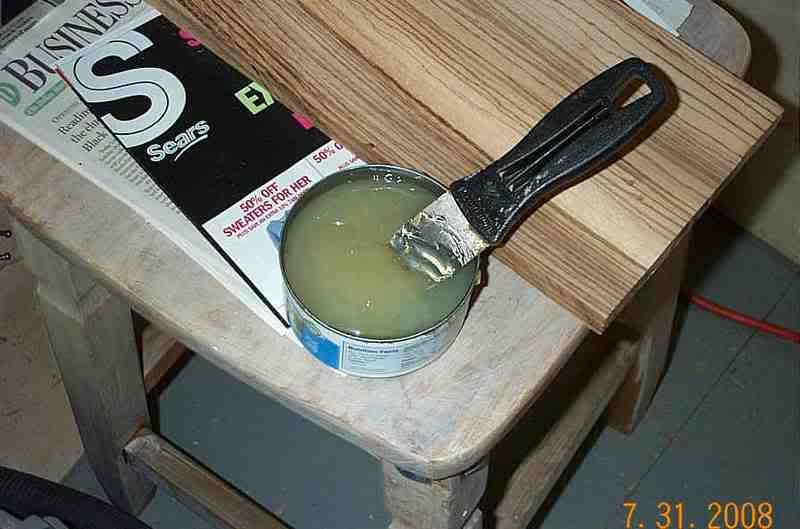
Now the really fun part starts the glue up
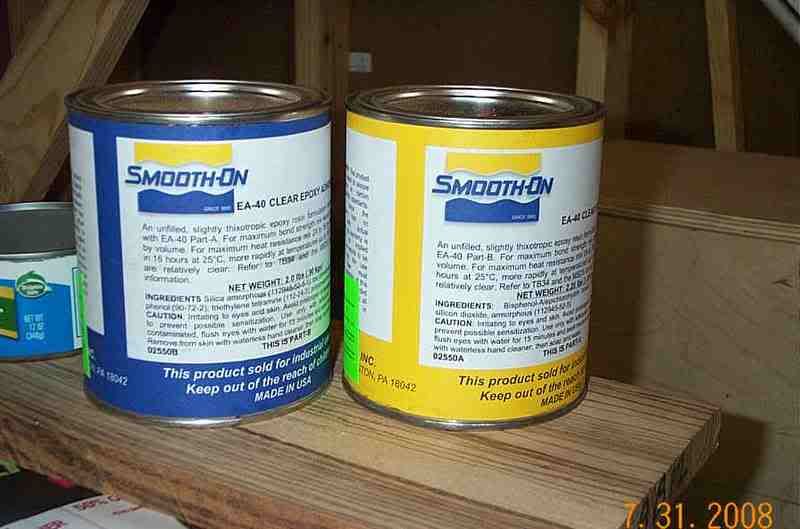
The glue I am using is a 2 part epoxy called smooth on and I will tell ya this it is some slippery crap[8D]
I usually mix way too much and today was no exception
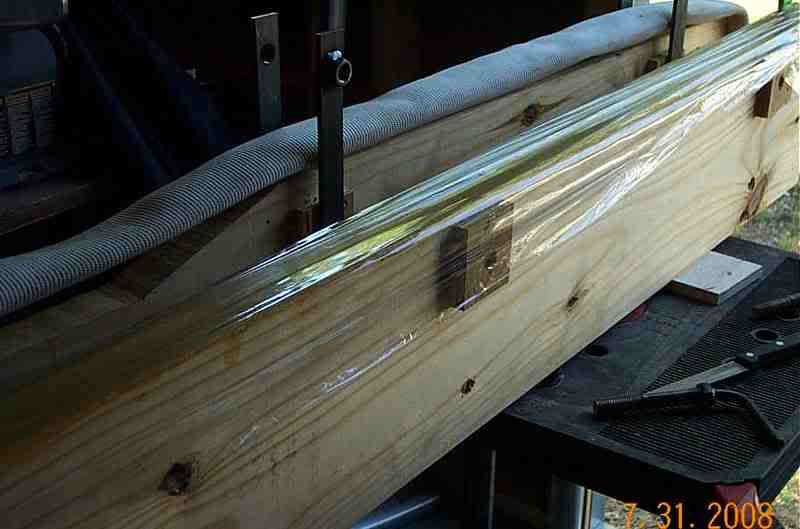
Once everything is glued up and on the form I use filament tape to hold everything together with another layer of plastic wrap on so the air hose does not stick to the pressure strips,then put the top of the form and air hose on then put 60lb of air pressure into the hose.
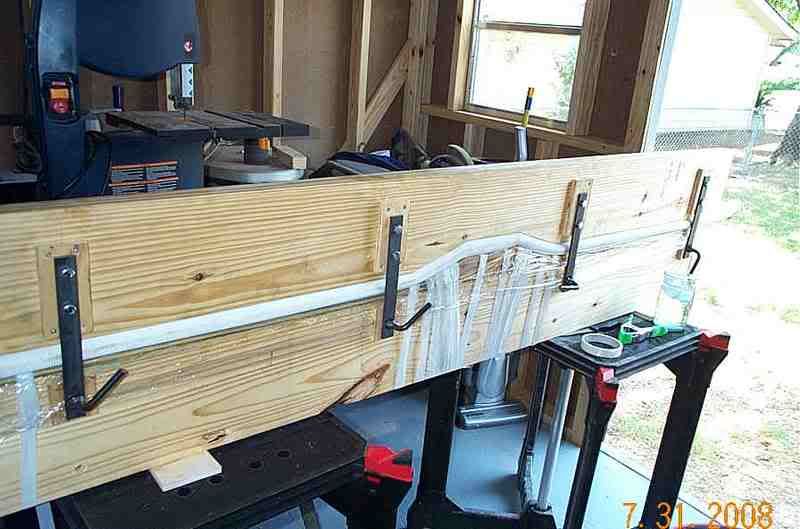
Now the form goes into the heat box for 4 hours or so.
Seeing I still had a lot of epoxy left over I also glued the yellow heart and Leopardwood together for the overlay and put into the heat box as well.
I did not take a pic of them before going into the box but this is what it looks like.
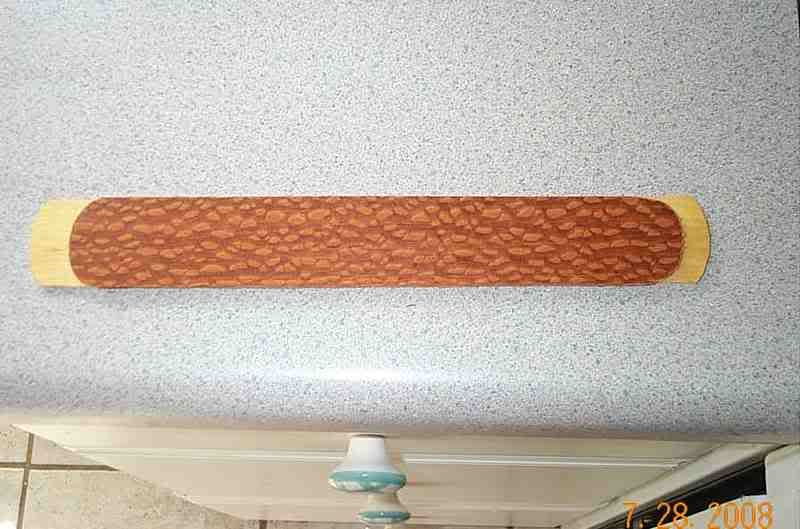
They should look real good on the from of the riser but I guess I will find that out in 4 hours or so
When I got home this morning I done a mock lay up to make sure there was no gap where the fade out and limb lams meet.
Then I put all the lams into the heat box for about an hour then removed them and let them cool to room temp.
Next was to put some plastic wrap on the form as excess glue oozes out and without the plastic the bow will stick to the form giving it a VERY heavy draw weight
Once the lams had been in the heat box for an hour I took them out and layed them in the order I was going to use them.
Now the really fun part starts the glue up
The glue I am using is a 2 part epoxy called smooth on and I will tell ya this it is some slippery crap[8D]
I usually mix way too much and today was no exception
Once everything is glued up and on the form I use filament tape to hold everything together with another layer of plastic wrap on so the air hose does not stick to the pressure strips,then put the top of the form and air hose on then put 60lb of air pressure into the hose.
Now the form goes into the heat box for 4 hours or so.
Seeing I still had a lot of epoxy left over I also glued the yellow heart and Leopardwood together for the overlay and put into the heat box as well.
I did not take a pic of them before going into the box but this is what it looks like.
They should look real good on the from of the riser but I guess I will find that out in 4 hours or so
07-31-2008, 02:41 PM
#8
Giant Nontypical
Thread Starter
Join Date: Feb 2003
Location: Burleson TX USA
Posts: 6,455
ORIGINAL: txjourneyman
Lookin good Russ! I'll see ya tomorrow arvo. I have to stop by Home Depot so it will be around 2:00.
Lookin good Russ! I'll see ya tomorrow arvo. I have to stop by Home Depot so it will be around 2:00.
07-31-2008, 04:25 PM
#9
Giant Nontypical
Thread Starter
Join Date: Feb 2003
Location: Burleson TX USA
Posts: 6,455
Ok so now 4 hours have passed and what is starting to look like a bow is out of the oven, as you can now see the need for the 2 layers of plastic wrap.
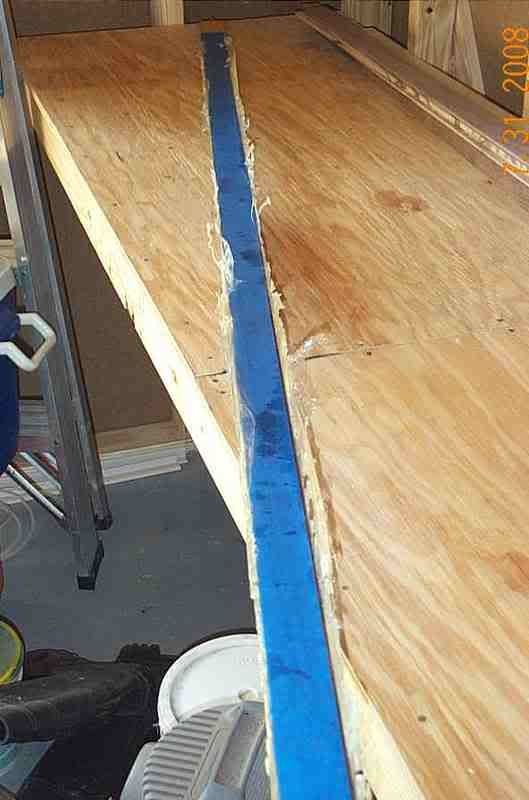
Dont ya just love the sexy blue limbs
here is the overlays all glued up.

Tomorrow I will sand off the excess glue cut out the limb shape, file the string grooves and tiller then I will glue the overlays onto the bow.
Of course I will be taking the tape off to see how everything looks under the glass then putting more tape on before cutting the limbs to shape.
Dont ya just love the sexy blue limbs
here is the overlays all glued up.
Tomorrow I will sand off the excess glue cut out the limb shape, file the string grooves and tiller then I will glue the overlays onto the bow.
Of course I will be taking the tape off to see how everything looks under the glass then putting more tape on before cutting the limbs to shape.