
|
Ruger 10/22 stock build a long
I’ve recently refinished the stocks on a couple of my guns, a Remington 700 BDL and a Mossberg 500 20 gauge. They both came out so well that I thought that I’d tackle my Ruger 10/22. Anybody who’s ever handled these rifles knows how bland the design is and how plain the wood is. So instead of just refinishing the stock I’m going to totally reshape it. I’ve been reading a lot about dyeing the wood instead of staining it. Dye will actually penetrate the wood and change its color, which enhances the grain. Stain on the other hand uses a much larger pigment that gets glued to the wood with a binder; this actually serves to cover the grain. I’m looking to give the gun a “black rifle” look while keeping the original wood stock; I have flash hiders and a fake suppressor that I can put on it. So the plan so far is that I’m going to try dyeing the wood black and enhance the grain with a very dark red. I plan on doing a lot of work so I thought that I’d take pictures along the way and share them here. First I'll post some pics of the gun prior to doing any work.
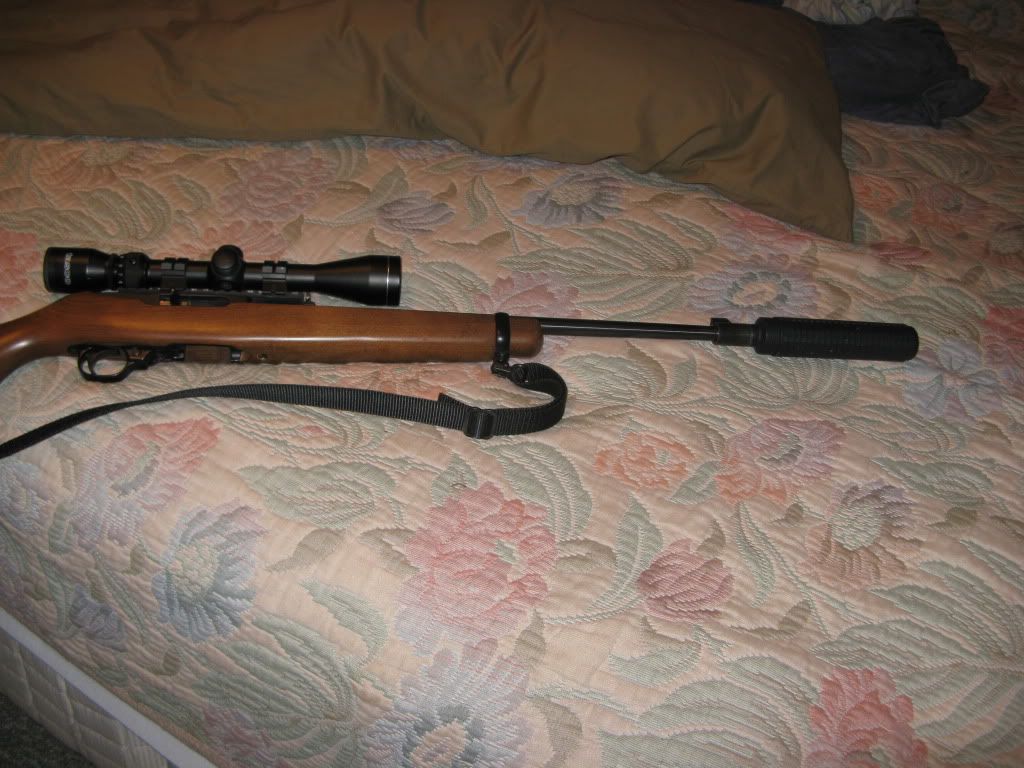 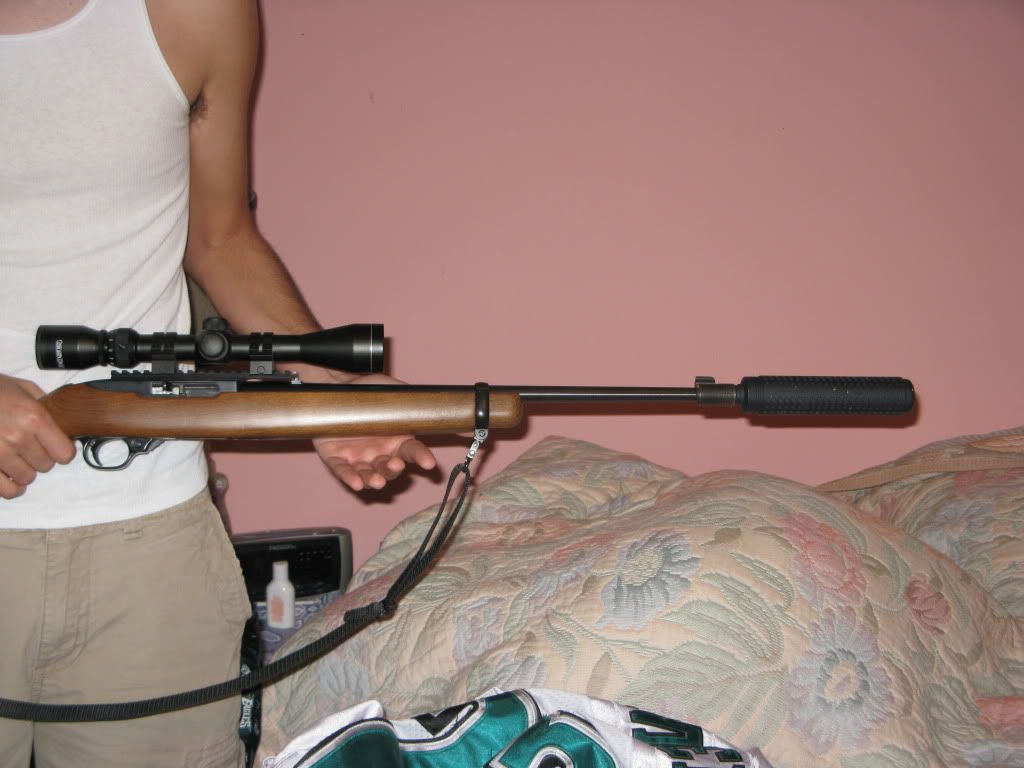 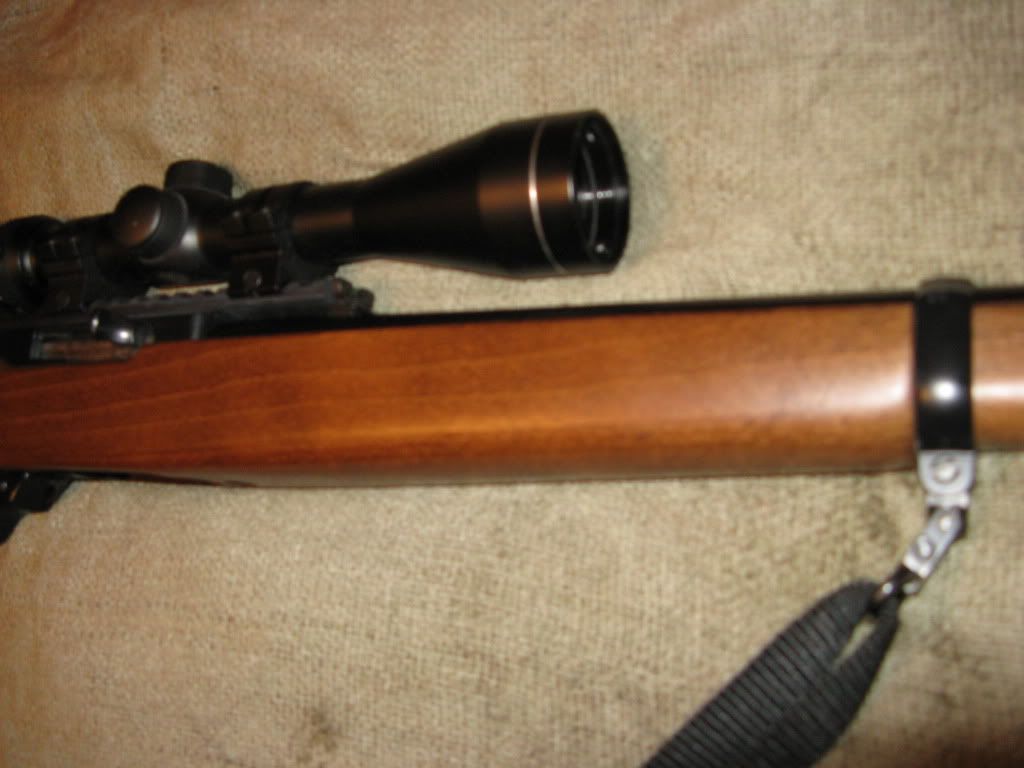 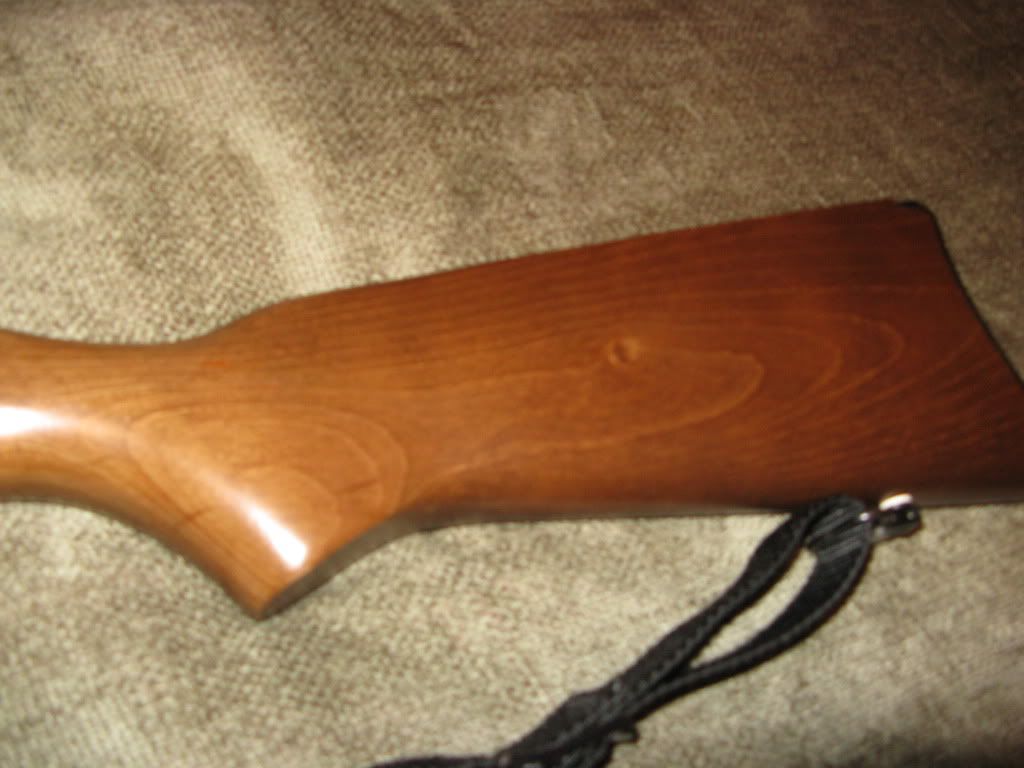 And here's a close up of my fake sound suppressor. 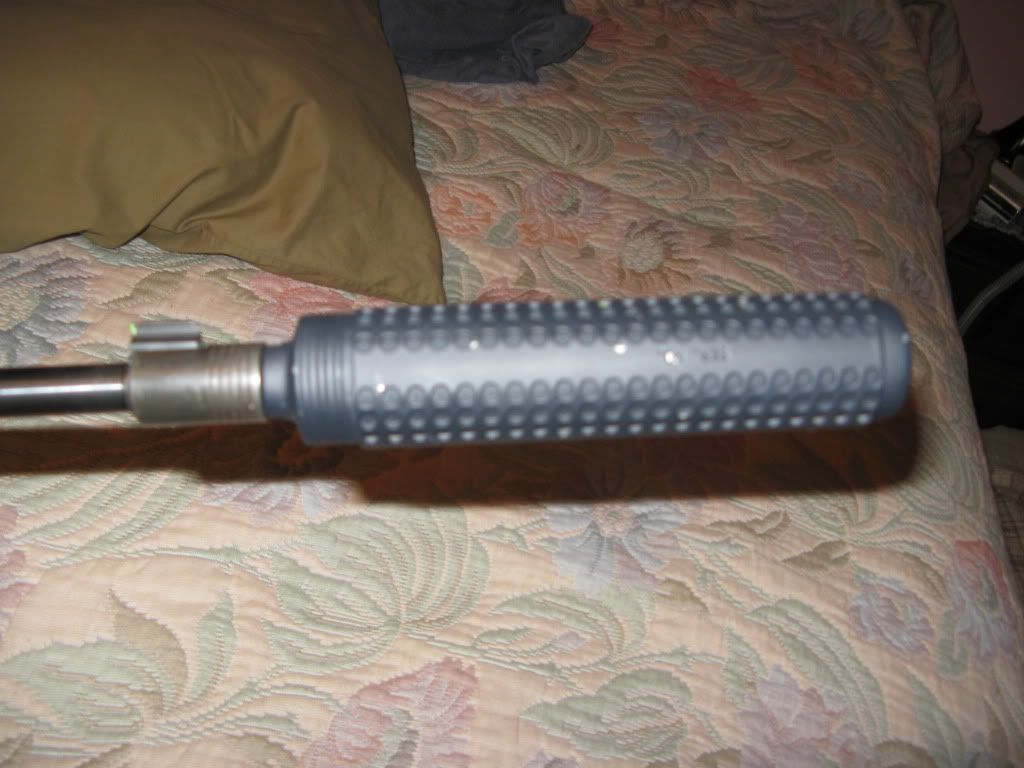 |
Day 1
On day 1 I stripped the old finish and started to do some filing.
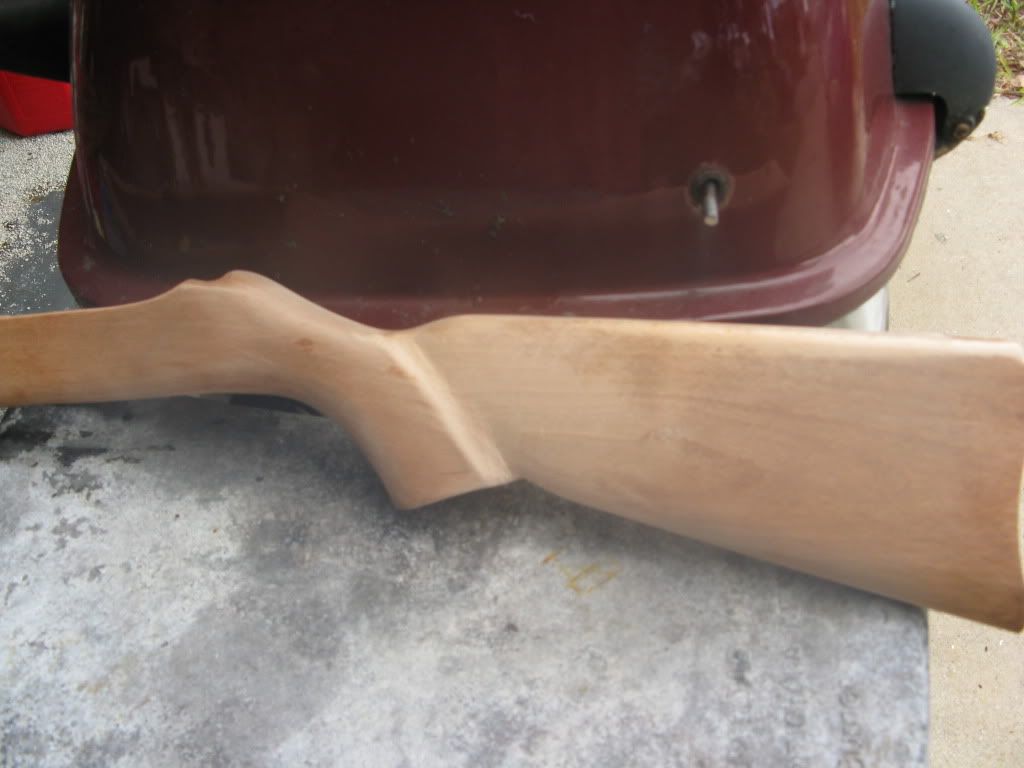 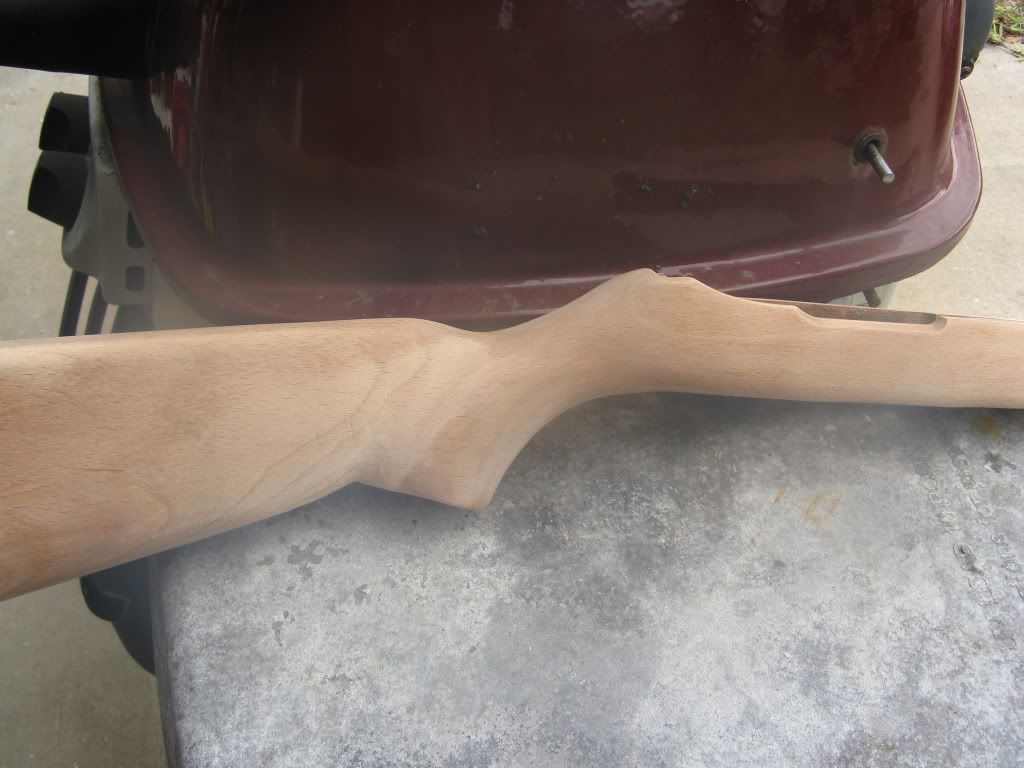 |
Day 2
I wasn't happy with how slow it was going with the file, so I broke out the dremmel with the sanding drum. I reshaped the grip and added some figure to the grip cap area which changed the slope of the bottom edge of the butt. The top of the buttstock is very squared off so I rounded it off and I tapered the stock so it is now thinner at the bottom. If you took a cross section view of the buttstock as it comes from the factory it would be shaped like a 2x4, now it has a tear drop shape. One of the biggest helps so far is a sanding sponge. I found them at Wally World and they're made by 3M. It's basically just a foam sponge but the outside is covered with a layer of grit. They really do a good job of following the contours of the wood.
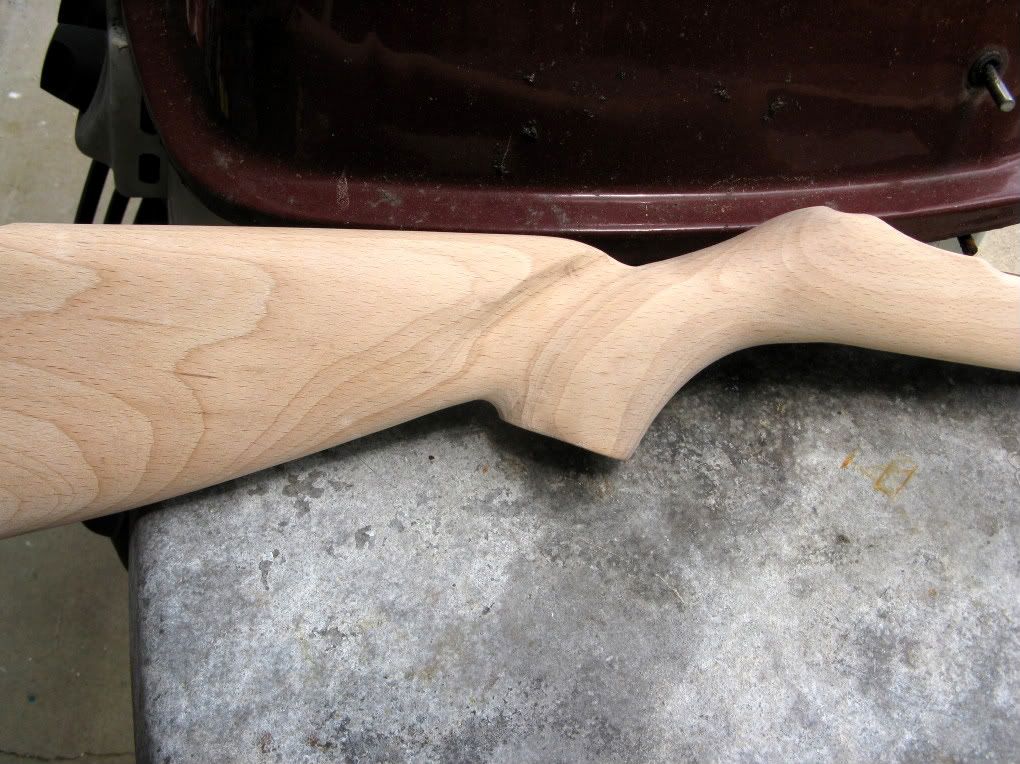 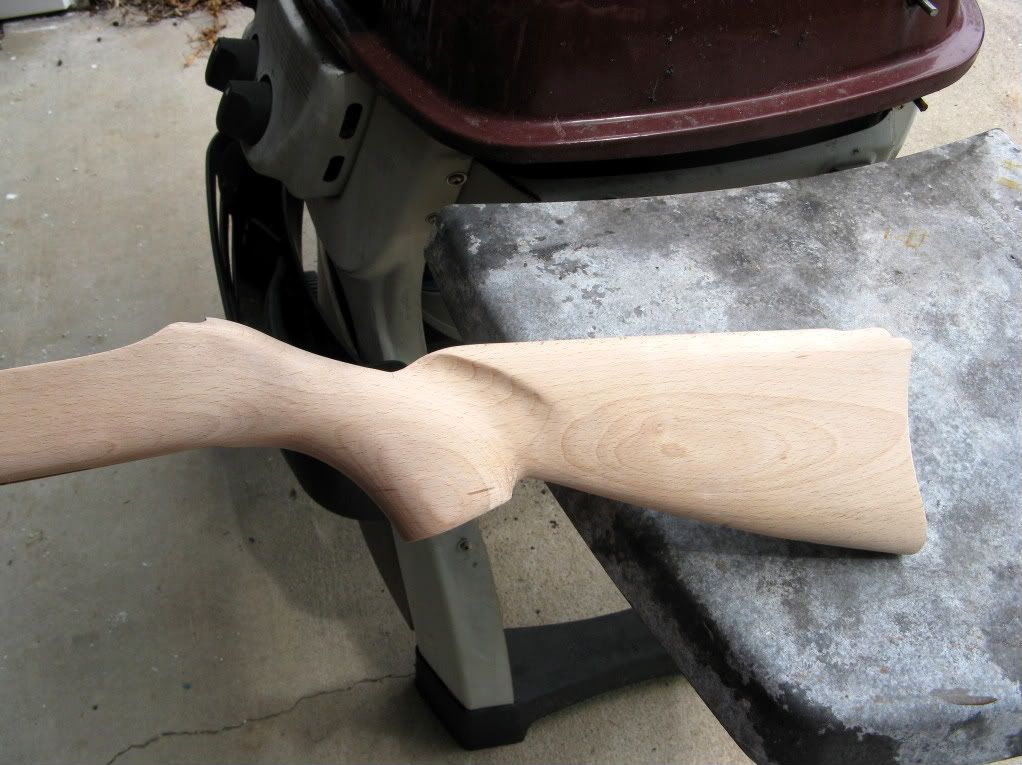 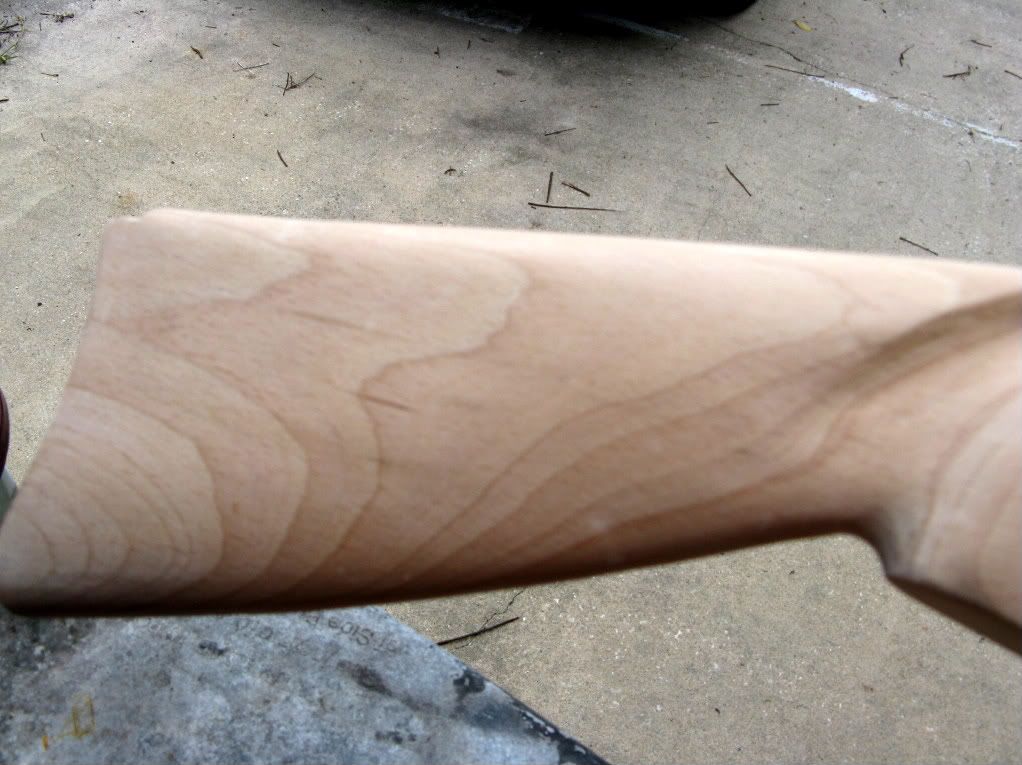 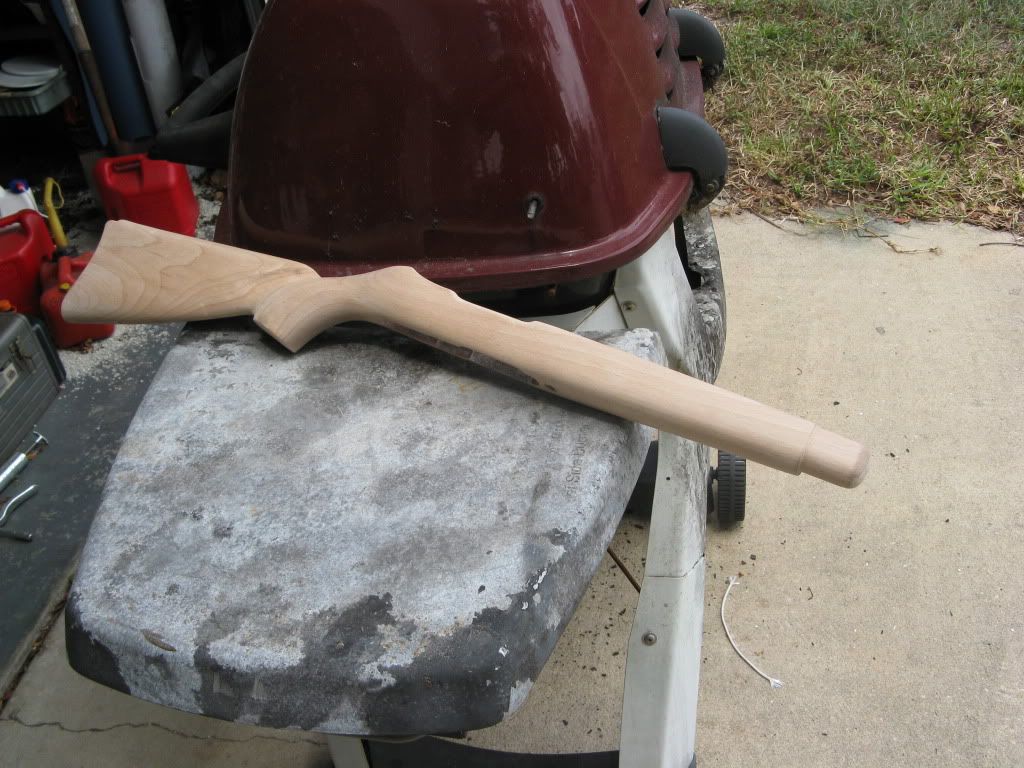 |
that stock has some nice grain patterns, i'd have a hard time dyeing it anything but a nice rich mahogany... keep the pics coming!
|
I didn't notice the rifle. All I saw were the pink walls in your room!!
Just kidding! Looks like it's gonna be a rewarding project. Keep the updates coming. And let us know of any tips you have for the dying after you're done. I'm thinking of doing the same thing. |
Cool project, I just did mine last January.My original stock had some dings , so I stripped mine.I then squared up the front, reshaped the tail stock and added a poplar handgrip.I filled all the dings and molded the area around the new handgrip with Bondo and then painted with Black texture paint.I am still making a light mount and a sling.Have fun thee are great little projects ,that can be done on a budget.Dave
 |
I'm not 100% on what color yet, I'm leaning towards the black because I have the fake suppressor, several different flash hiders and I machined the picatinny rail. The finishing technique that I read about, if done right should almost look like the stock was laminated. The plan is to do the final sanding using my hand instead of a sanding block. This should remove more wood from the softer parts of the grain. Then you dye the whole thing with the black dye, and after it's dry sand again using a sanding block. This should remove the dye from the harder sections of grain; the harder grain theoretically takes less dye than the softer grain, and because the final sanding was by hand the harder grain should be a little higher. Then I plan on mixing a dark red dye with some black dye so that it's very dark, then apply it to the stock. This way the grain that was sanded off will have a reddish tint that accents the grain. I'm going to finish it with danish oil which should help make the grain stand out. I plan on doing some test pieces and I also bought some green dye, so the final color combo is still up in the air.
|
Definitely keep the pictures coming the project looks like it's coming along great.
Tom |
Scrap the FAKE suppressor. Don't be a poseur.
The wood has some nice grain. IMO it would be a shame to not bring it out. I would just rub it with Linseed oil. The more times you rub it in and wipe it off the darker it gets. Once done, any little scratch can be touched up with a rag and some more oil. A quart can will last half a lifetime. |
I agree the grain in that stock is too nice to cover up. Get yourself some Linspeed and put on about 12-15 coats per instructions. The bogus suppressor thing just gets in the way and serves no purpose. It takes a handy carbine and makes it a cumbersome awkward rifle.
|
Originally Posted by DC KNIVES
(Post 3421351)
Cool project, I just did mine last January.My original stock had some dings , so I stripped mine.I then squared up the front, reshaped the tail stock and added a poplar handgrip.I filled all the dings and molded the area around the new handgrip with Bondo and then painted with Black texture paint.I am still making a light mount and a sling.Have fun thee are great little projects ,that can be done on a budget.Dave
http://www.rimfirecentral.com/forums...d.php?t=183031 |
OK, I get the hint, scrap the "fake" suppressor. Actually I'd classify it as non-functioning, everything visible is exactly what our guys are using in the middle east, the inconel baffles were left out of this one.
If I do away with the black rifle idea, what colors would you recomend. I want to give it the two tone look sort of like what the laminated stocks have. What about black/green, grey/green, geen/orange or even black/grey? |
Didn't want to say anything but I'm glad you got away from the black rifle thing. All the work you put into that stock would be wasted had you dyed it black. That little stock as some nice grain.
I like grey/blue combo I saw once. I have no idea how you'd match the pattern of a laminate. Tom |
I sure wish the stock on my 10/22 was figured like that. Mine is straight as it gets with no detail at all. That one you have there is deserving of a nice finish.
This one should have been 'deck lumber'. You gotta love a $450 scope on a rifle that cost me $106.  |
I agree with the others, save that stock, mine was very straight grained and dinged up as well.I think a nice walnut stain would look good.Dave
|
Originally Posted by Centaur 1
(Post 3421655)
DC, those sure are some great looking knives and leatherwork that you have on your website. Any chance that you go by the name Hipshot on RFC? Check out this link.
http://www.rimfirecentral.com/forums...d.php?t=183031 Thank you for the compliment and no I am DC KNIVES there too, but I did use Hipshot's tutorial to do my rifle.Dave:biggrin: |
Originally Posted by statjunk
(Post 3421753)
Didn't want to say anything but I'm glad you got away from the black rifle thing. All the work you put into that stock would be wasted had you dyed it black. That little stock as some nice grain.
I like grey/blue combo I saw once. I have no idea how you'd match the pattern of a laminate. Tom  |
Day 3 update
I did a lot of shaping today. The bottom edge of the butt stock had the general shape, but it wasn't very straight. Now mind you that I don't have a wood shop, all the work is done by hand. I actually used a utility knife to whittle the edge straight. Once it was fairly straight I used my palm sander to smooth the edge. At this point the stock still had more of an oval cross section, so I used coarse sandpaper in the sander and used lots of elbow grease to give it a teardrop cross section. Now I know that you can't expect much precision where it isn't required when the gun only sold for $149 brand new, but the butt plate never fit precisely against the stock. Well that might be acceptable on a production gun, but not on one that I'm putting so much work into. I had to put it on and take it off a dozen or so times before I got it to match up. I would match up one side and then the other would be off, it started to get quite tedious when I got an idea. I broke out the dremel again and I hollowed out the wood so that I only had to sand the edges. It actually worked great and it didn't take me long after that to get the plate to line up with the wood. Then all I had to do was sand the sides of the buttplate to match the new contour of the stock. I think that's enough for today. And now the pics.
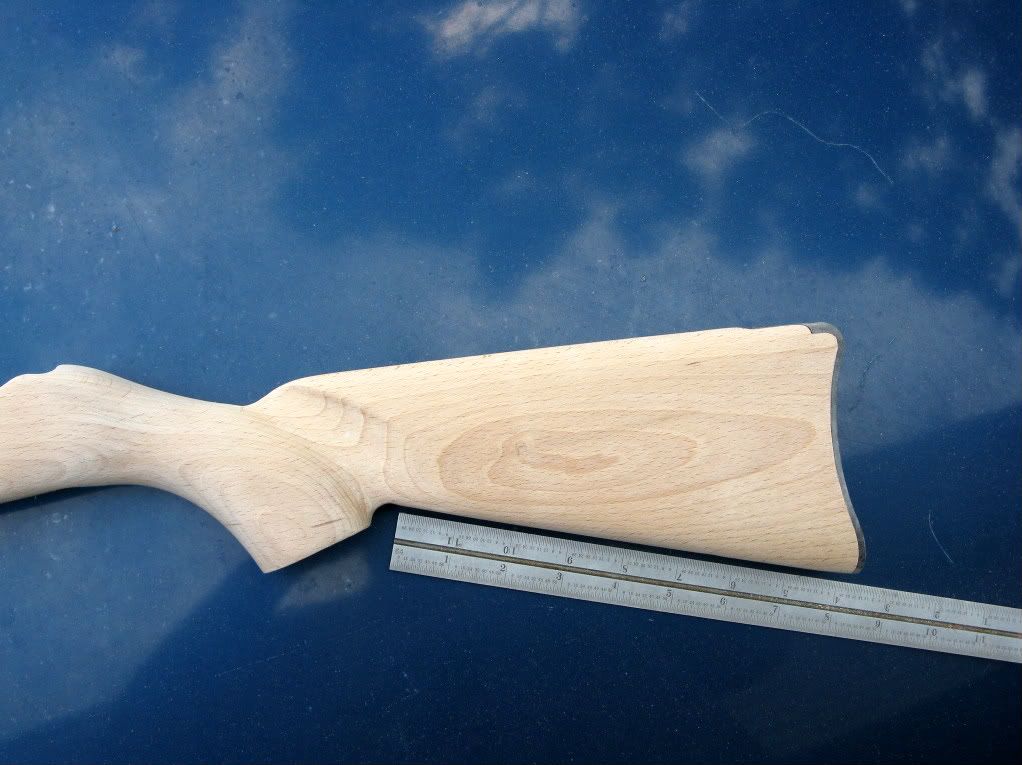 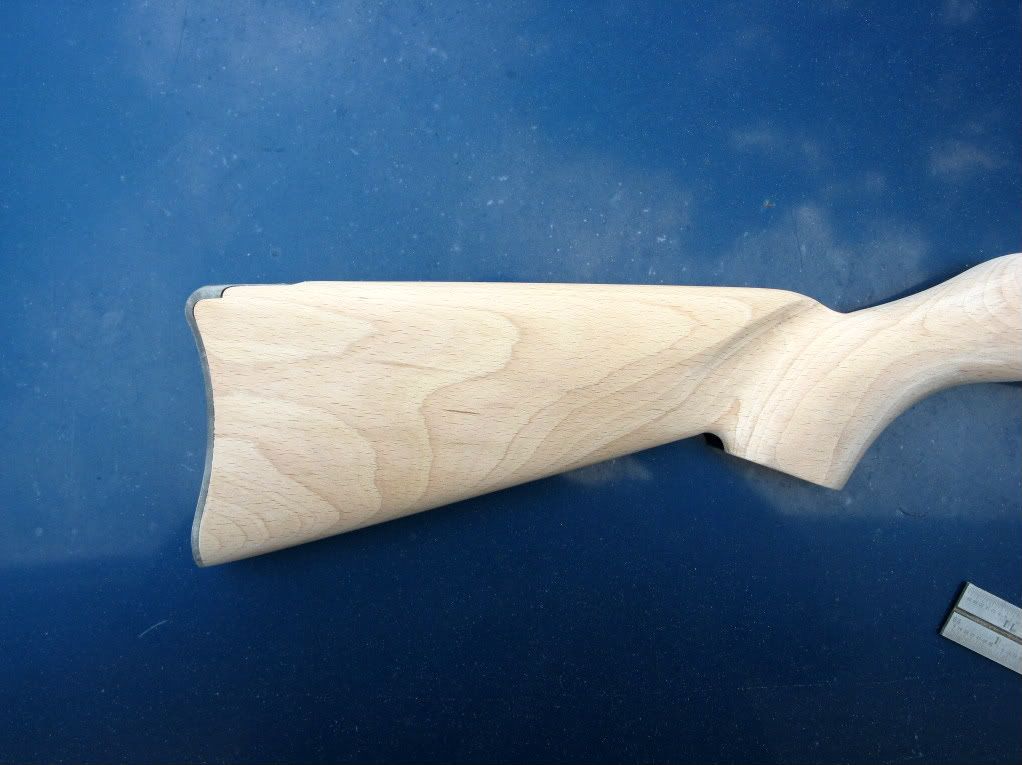 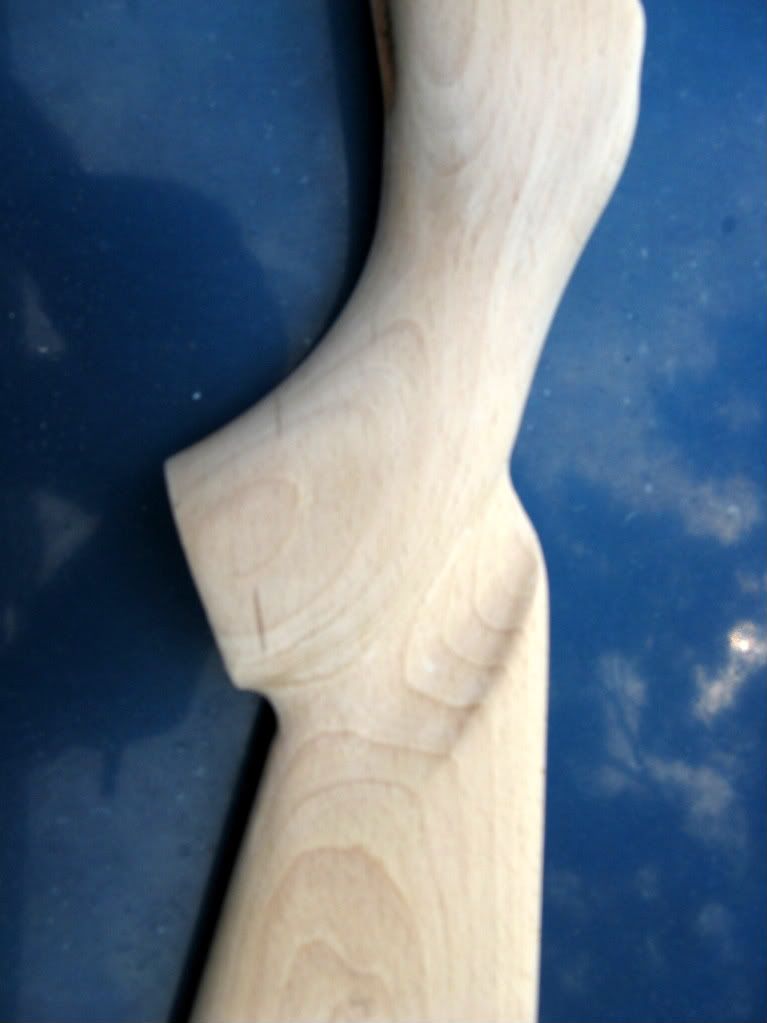 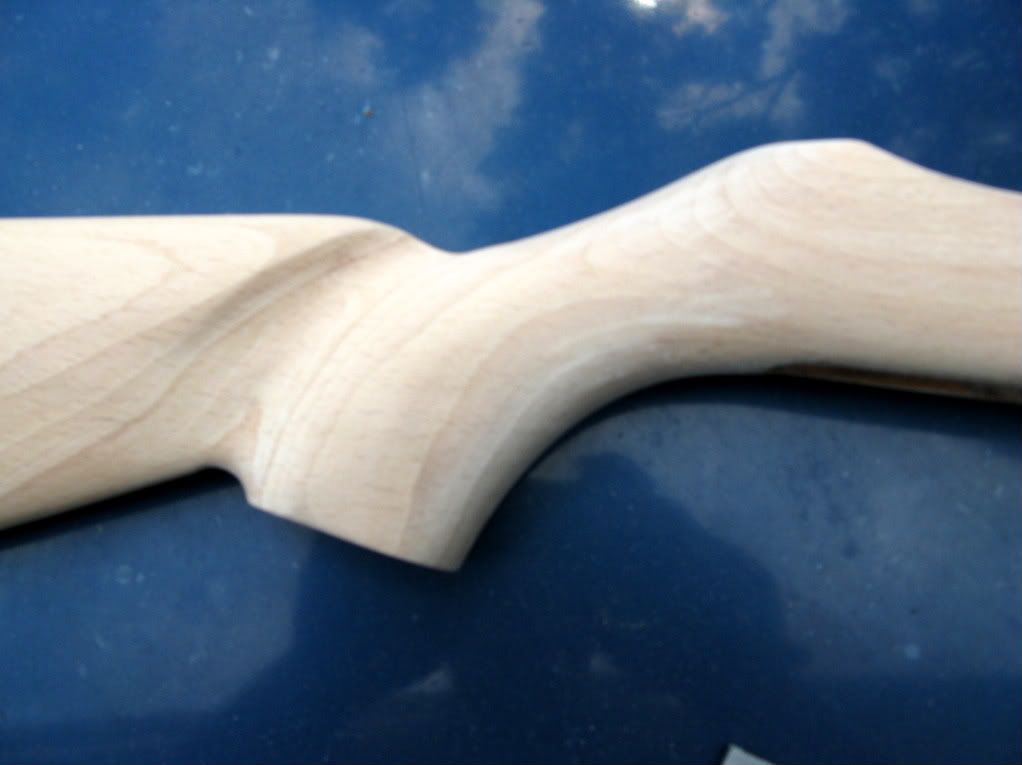  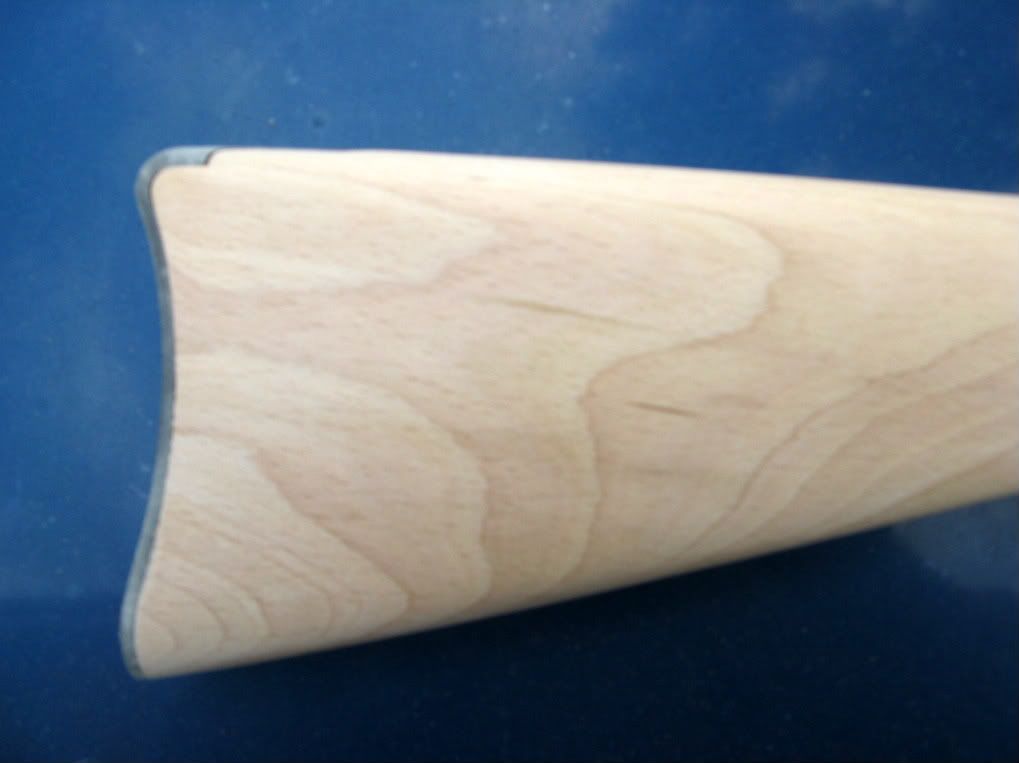 |
I've also been doing a lot of thinking about the final color after reading all of your comments. I guess that I did luck out with a nice piece of wood. I really want to make my first attempt at dyeing versus staining, it's really supposed to bring out the grain. So this is my plan, I'm going to use a dark brown and a medium brown. First dye it with the dark brown, then sand using 400 grit and a sanding block. In theory this will remove the dye from the denser part of the grain, then dye the whole stock with the medium brown. Then finish it with Danish oil. I'm shooting for a look like in this picture from Boyds stocks.
 |
Day 4 update
I had joined a woodworking forum to try and gain some knowledge on wood finishing. I was warned that birch has a tendency to have a blotchy finish when dyeing or staining. When you mix your dye you have a choice between using water or denatured alcohol. Most woodworkers seem to prefer using alcohol, it dries quicker and doesn't raise the grain like water does. Water on the other hand is more colorfast, dries slower, and you have to pre-raise the grain. Most pros also have their own spraying equipment, and when it comes to dyeing wood it's really recommended to spray, I don't have a sprayer.
Today I bought a couple of different dye colors and I made a very small 2 ounce sample of both. I used RIT powdered dye in dark brown and cocoa brown. I didn't have any birch samples to practice on but I had a couple of pieces of poplar. I ruled out using the dark brown because it lacked any warmth, it was almost black. The cocoa brown on the other hand has a very warm reddish tone to it, and it looks good, so cocoa brown it is. Lets just say that what happened next was the reason for not having any pictures today. The alcohol dye dries so quickly that some people have trouble blending overlapping areas, that should have set off a warning in my head when I read that, but I was just anxious to get started, and I used the wipe on method. Well it's getting late and my arms are really tired from all the sanding that I've done this evening. Tomorrow I'm going to buy a preval sprayer and mix some dye with distilled water. It's nice to know that my original plan to use black dye is still in my back pocket, hopefully I won't have to use it. |
Make 100% sure you don't let your post die. I'm really looking forward to seeing the next step of your project.
I do have one question for you. Does the size of the current stock work for you? If not do you need to cut it or lengthen it? Now might be the time to do that. Tom |
Just curious but I have to ask. Why would you want to use a "dye" as opposed to a stain, oil finish or polyurethane. Ritz dye is generally sold as a cloth or material dye and IMO would produce results similar to ink. Before you hit the stock with a whole bunch of that I'd suggest trying it on something for a test.
Also since wood almost always darkens when you add any kind of liquid start with something lighter than you think you might want. You can always make wood darker but it is very difficult to make it lighter. If you start too dark you may end up with something nearly black. |
Here`s mine......A walnut Boyd`s Blaster stock I got on sale. All the innards have been swapped out. Clerk 16.5" heavy bbl. Nice 3lb trigger pull now. Just shopping for a scope and sunshade now plus a few more coats of finish and she`s finished.
 Ron:biggrin: |
Originally Posted by skb2706
(Post 3425120)
Just curious but I have to ask. Why would you want to use a "dye" as opposed to a stain, oil finish or polyurethane. Ritz dye is generally sold as a cloth or material dye and IMO would produce results similar to ink. Before you hit the stock with a whole bunch of that I'd suggest trying it on something for a test.
Also since wood almost always darkens when you add any kind of liquid start with something lighter than you think you might want. You can always make wood darker but it is very difficult to make it lighter. If you start too dark you may end up with something nearly black. |
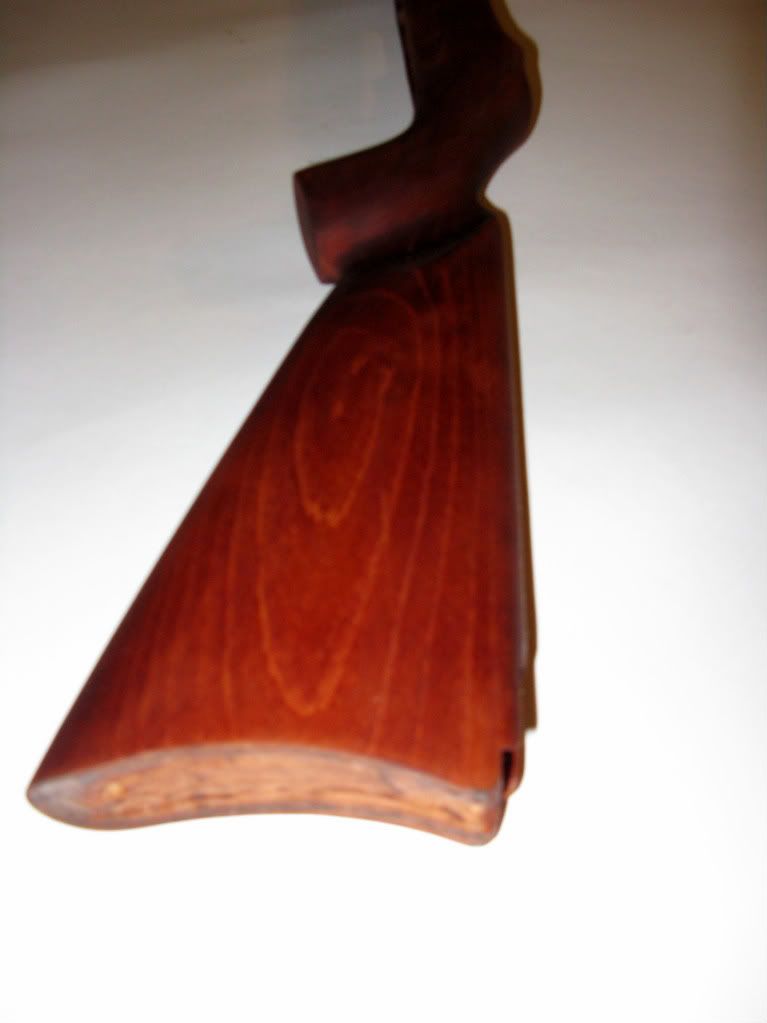
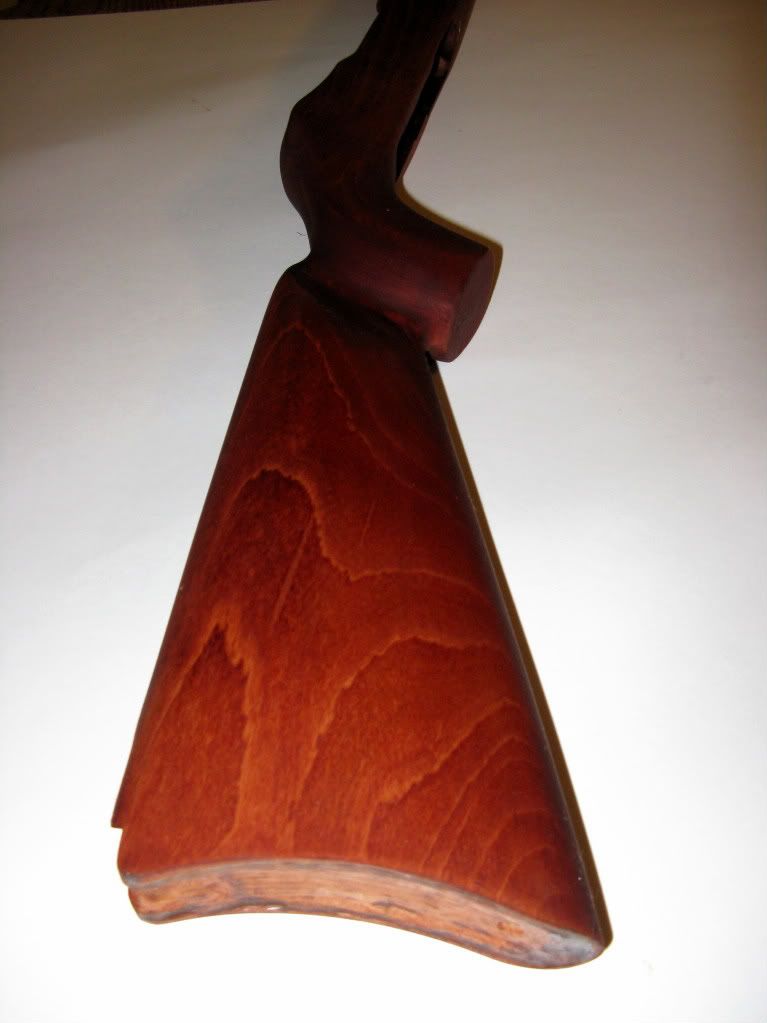
Day 5 pics
Here are a couple of pics that I just took after the first coat of danish oil was applied. Between coats of oil I'll be rubbing the stock with 0000 steel wool. Since the oil soaks in it locks in the dye that penetrates the deepest, the steel wool will help to even out the color of the finish since the oil is in the wood versus coating the wood like poly does.
  |
Are you going to try to get the grain lines to go dark, like the picture that showed of what you're trying to get to?
Tom |
Originally Posted by statjunk
(Post 3425409)
Are you going to try to get the grain lines to go dark, like the picture that showed of what you're trying to get to?
Tom |
Learn something new everyday. I was curious and I get it now.
I just finished a gun stock for a friend done entirely in Linspeed oil. Following thorough instructions it turned out very nice as a highly figured walnut stock. |
It's Finished
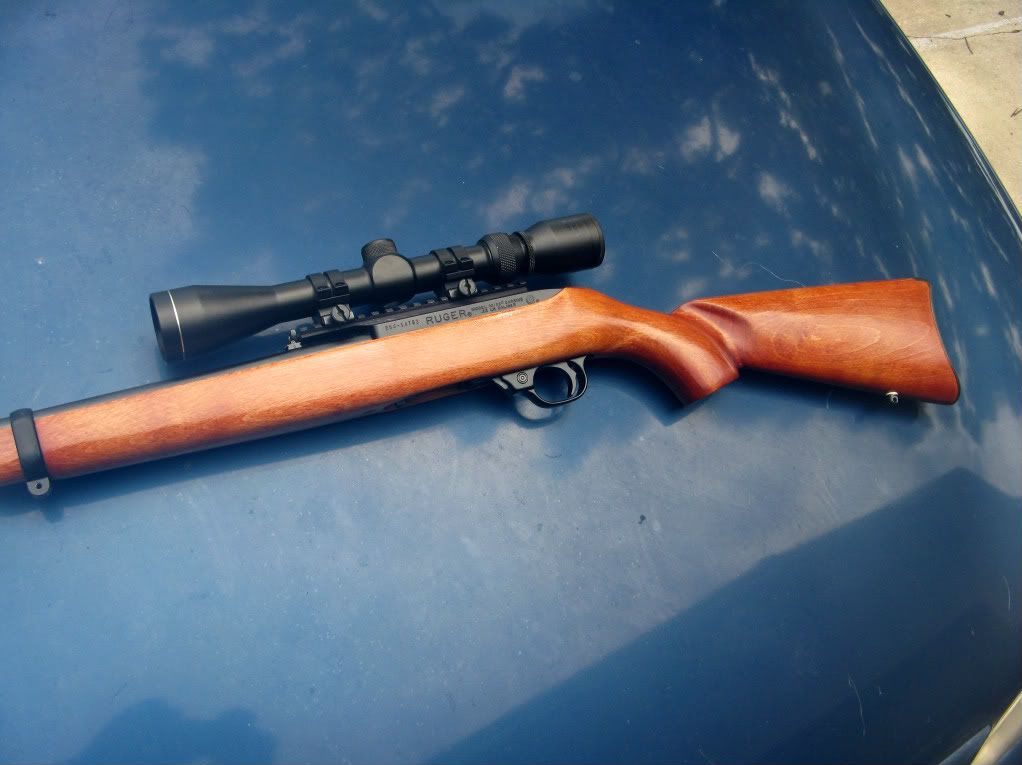
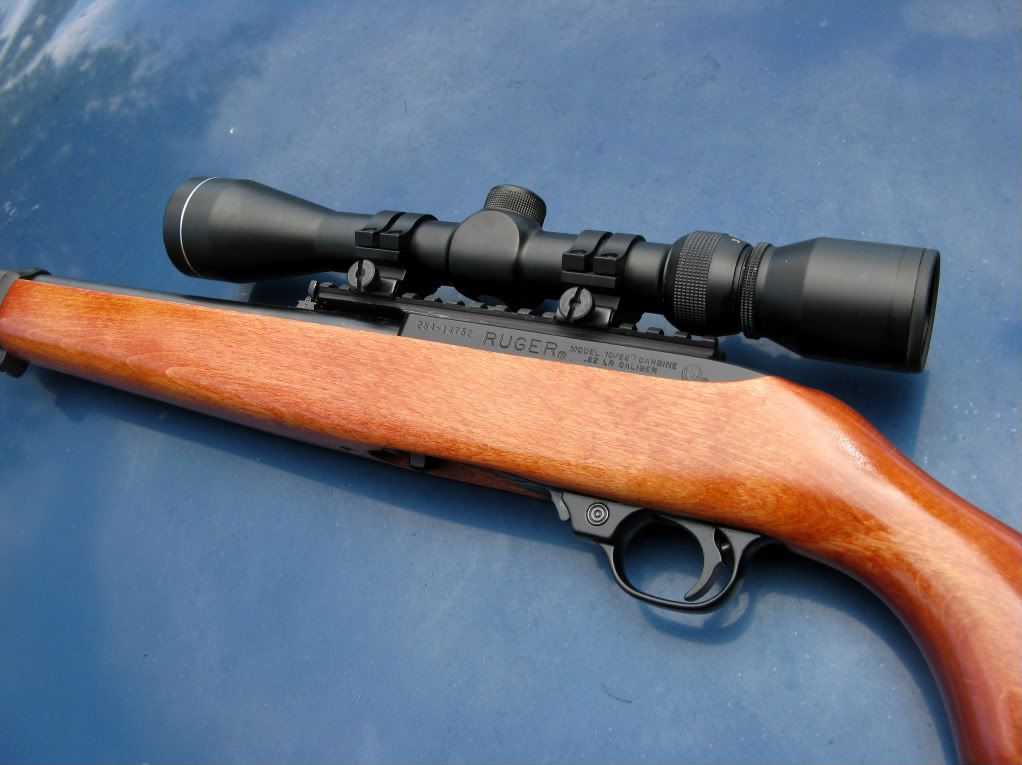
It took quite a while to finish since only one coat a day is all that you can do. It's so humid here that I had to do the finish work inside. I didn't like how the Danish oil was turning out, so I switched to Formsby's low gloss tung oil finish. It's still pretty shiny so I can't imagine what the high gloss looks like.
  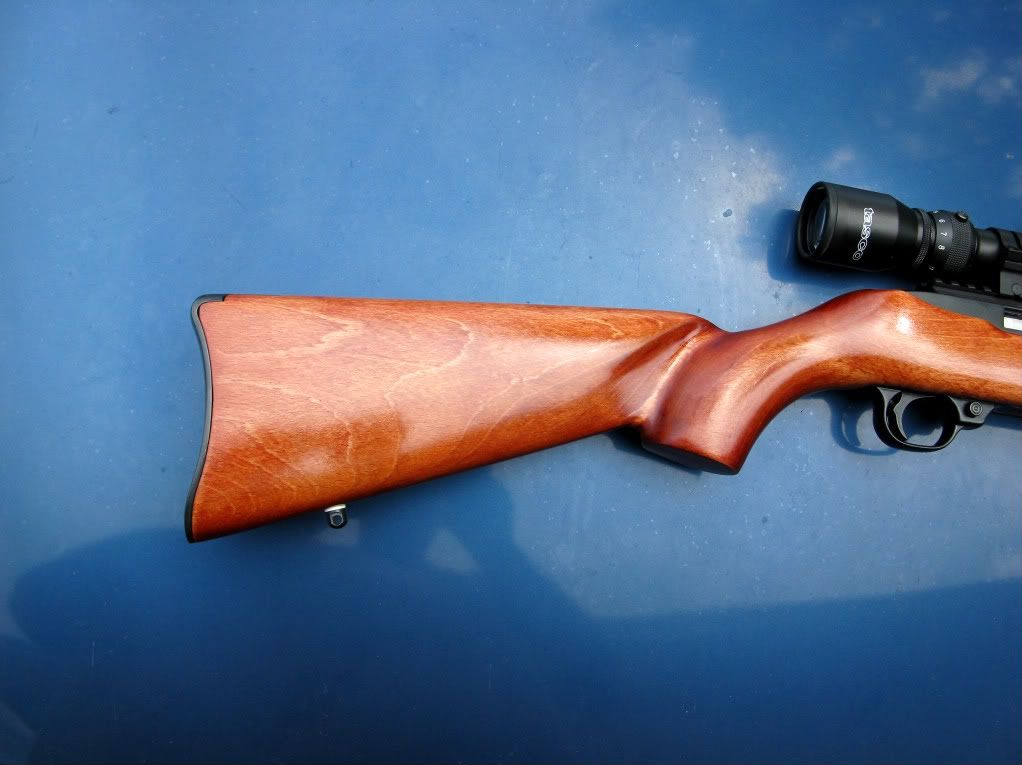 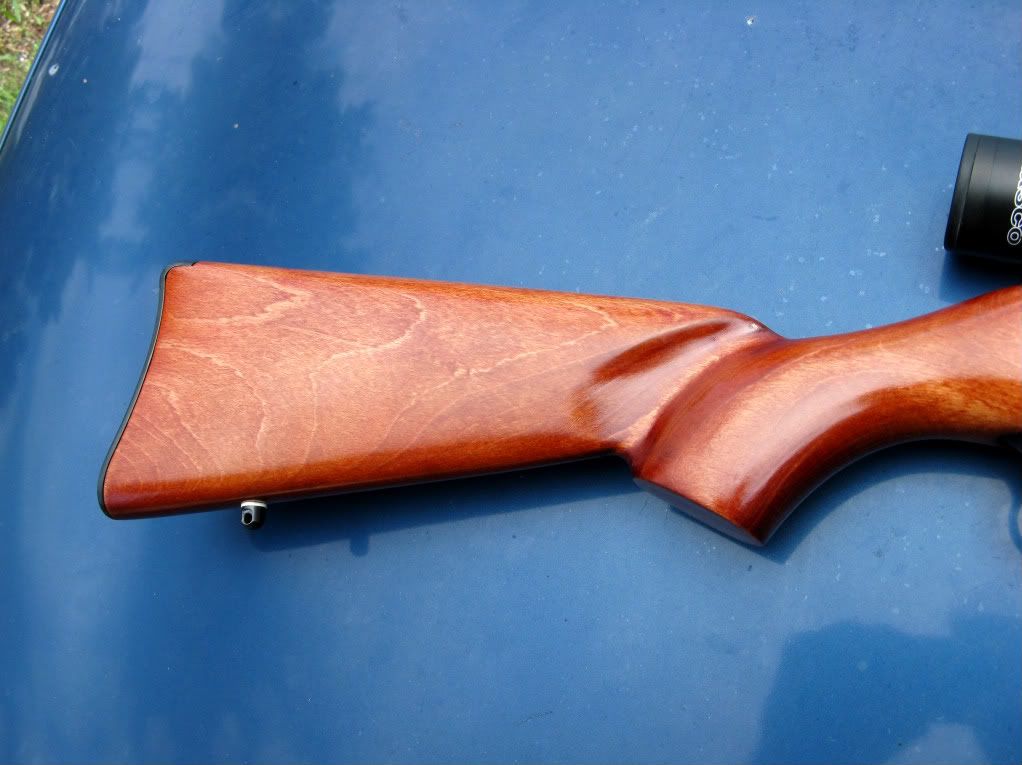 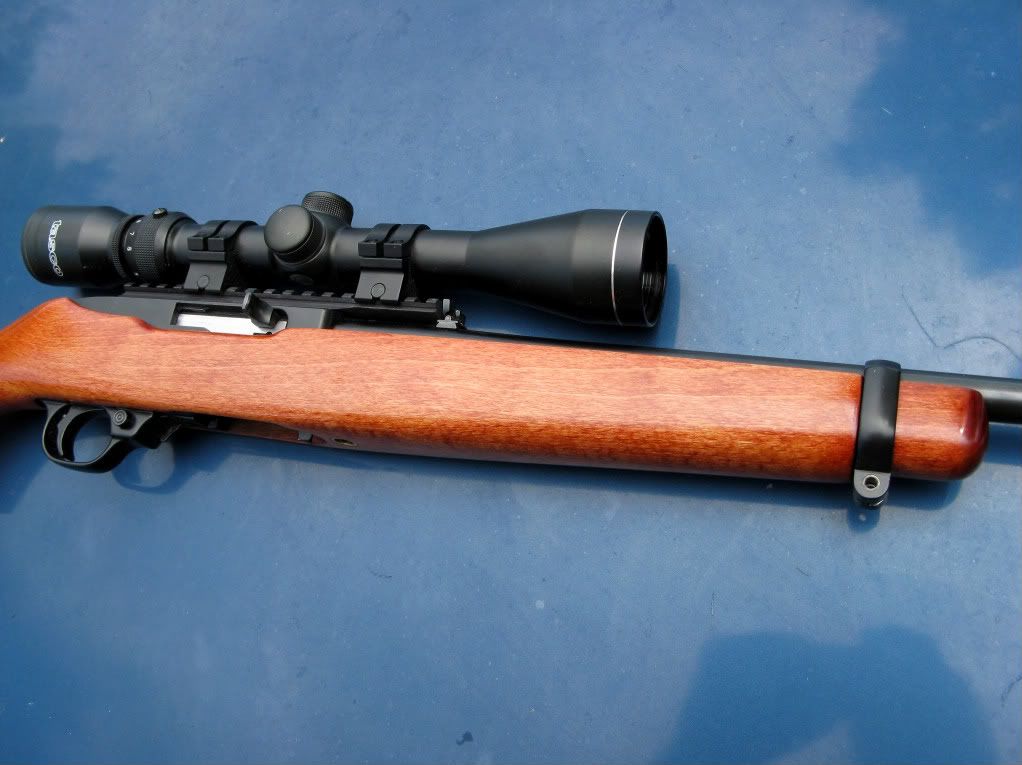 |
You did a great job,i wish my 10-22 stock looked half that good!
|
That is one heck of a nice stock! You did a great job.
Tom |
I have it back in pieces now, all of them. I'm going to do all of the little tricks that are posted over on rimfire central to fine tune the action. I'm stripping all of the paint from all the pieces, I have a bake on dry film lube that I'll be coating the inside with, and the outside will be painted with duracoat.
|
Nice job,
Where can a guy pick up one of those fake sound suppressors? It looks cool. Is it legal??? |
paint just sits on top of wood, stain penetrates the wood grain, there are differences in stains though where one can be either a semi transparent, solid, or semi solid, solid stain looks like paint but has actually soaked into it, sealing it up, though most gun stocks are finished with other types of stain, or tung/danish oil. idk wth "dyeing" wood is but my guess is some boob just wants to make staining sound cooler....just my input....i work at a hardware store so this stuff gets me up in the morning haha
|
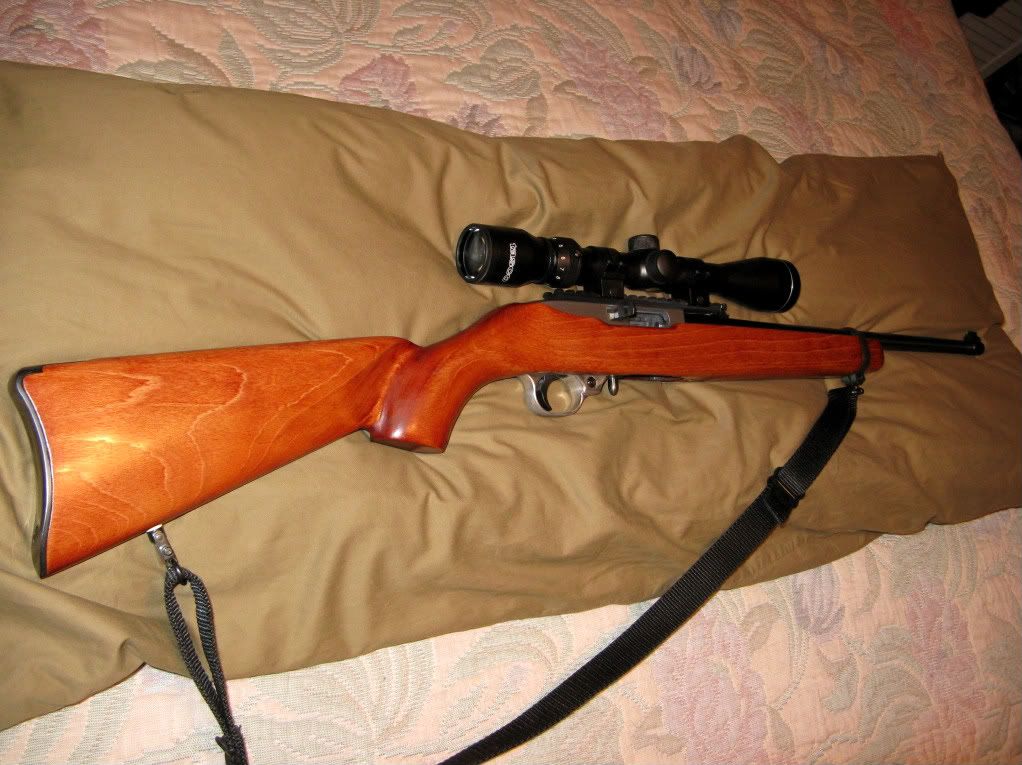
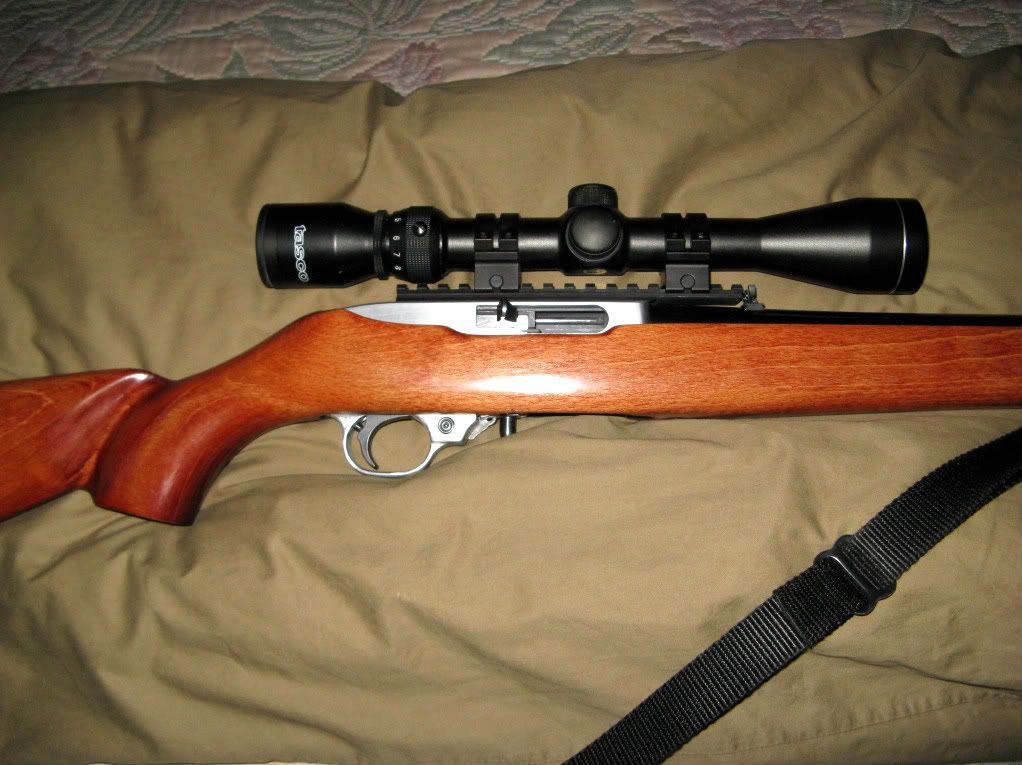
Here are the pictures of the finished gun. I still need to take it back apart so that I can have the trigger housing, and the receiver by the mag well painted. I'm going to leave the top part of the receiver bare aluminum and just keep it waxed. If you look at the stock you can see how much work I put into reshaping, dyeing, and refinishing it. I machined the picatinny rail myself when I worked at a gun manufacturer and the extended magazine release is an arrow target point. I drilled and tapped the mag release for a 10-32 then I shortened the threaded part of the arrow tip and rethreaded it. I filed and polished the head in an electric drill, then I blued it. The guys over at rimfirecentral.com are .22 fanatics and I learned every trick and tip that one could possibly do to a Ruger 10/22. I did so much grinding and polishing that its not funny. I learned how to change to modify the bolt release to make it an auto bolt release. I even changed the headspacing to a more acceptable number, instead of the factory slop. The trigger pull is a smooth crisp 4 pounds, when I take it back apart for painting I hope to polish the trigger assembly down to a 2 1/2 to 3 pound pull. All that I can say if you own a 10/22, they make one heck of a winter project that cost nothing to do. At least check out the website. :fighting0007:
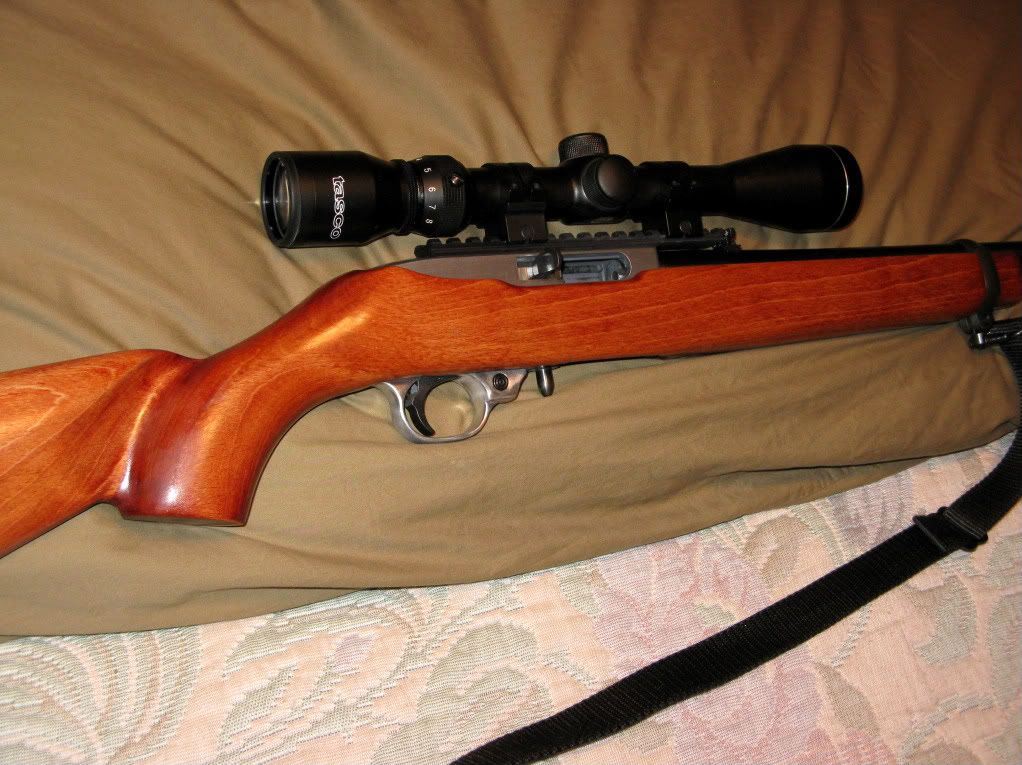   |
| All times are GMT -8. The time now is 03:41 PM. |
Copyright © 2026 MH Sub I, LLC dba Internet Brands. All rights reserved. Use of this site indicates your consent to the Terms of Use.