
|
Euromount: pics and instructions
Hey fellas, I see people asking in here all the time about how to do your own euromounts. I just finished both of mine from this year, so I figured I'd give you step-by-step instructions on how to do it as cheaply, and as easily as possible.
Skinning: Saw the head off, being careful not to damage the skull - cut it back behind the first cervical vertebrae. Now, skin the head - I make an incision up the back of the neck, and a "T" at the antlers, just like a taxidermist taking a cape. Work the hide loose all the way to the nose, and slice it off. Just nip the ears right off as close to the skull as you can. Pay special attention to the pedicles - make sure you get all the hide pulled out around the bases, no hair left. Watch for ticks. Get the hide off and get rid of it. TIP #1: It helps to have a whitetail skull handy, so that you can use it as a reference. You'll want to be careful not to break any bones. The next step is removing the eyes, vertebrae and the bottom jaw. Using your knife, just keep cutting away at the meat and connective tissues. Eventually - you'll be able to pop the C1 vertebrae off the back of the skull. Don't force the jaw, it will come out when it's ready. If you force it, you could crack the skull. Keep cutting and working it. Patience here is vital. Removing the eyes is easy - just cut around the edges and keep working them out. Eventually, you can get behind the eyeball and cut off the connective tissues. Now - Put on your chef's hat, b/c you're ready to cook. Boiling: Send your wife away for the day, and pirate her electric roaster. If that's not an option, just go buy one at Walmart (you can return it when you're done - just say it's broken). If your wife catches you boiling dead animal heads in her good roaster,she might boil your... you know.... So,be careful how you play this one.  TIP #2: Do this outside or in the shed, b/c it's pretty smelly. Boiled brains isn't exactly potpourri. Place the skull in the roaster and add water until the skull is covered. TIP #3: Keep the antlers out of the water as much as possible, b/c it can discolor the bases if you leave them submerged. Add 2-3 cups of 20 Mule Team Borax to the water, and turn it on maybe 3/4 heat (med/hi). 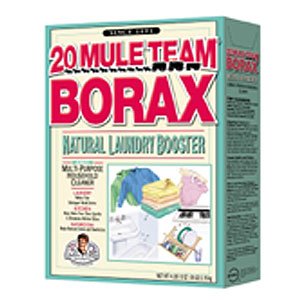 Go golfing or watch football for the next 4 hours. If you want, you can keep an eye on it and make sure the water level stays up - add H20 as needed. If it's steaming heavily, you'll lose some water. Now, it's ready to pick. You'll need a coat hanger, a sharp knife, a dull knife and a pair of needle-nosed pliers. This is the Hannibal Lechter stage of the game. Pull up a stool, and set the roaster on MAX. It will be a steaming mess. Just start peeling off the tissues. Most of it will come off pretty easy, other pieces might take a little coercion. This is where your reference skull will come in REALLY handy. Just keep picking and dipping. Progress will be slow and steady. You should have it pretty clean within 2 hrs. Use the coat hanger to pull the brains out (this is the worst part of the entire operation). To whatever extent possible, try to remove the rubbery coating on the inside of the brain cavity. Once you're happy with it, wash the whole thing in palmolive to degrease. The whole picking/washing process should be less than 3 hrs. Pour salt all over it (and in the brain cavity)and let it dry for a couple days. Watch more football. Go back over it and pick off the dried up pieces that you missed. Clean off the salt. Takes a few minutes, max. Spray Painting: Easiest step in the whole process - just keep the antlers out of the line of fire, and give the whole skull a heavy coat of high-gloss White. Once that dries, run a little sandpaper over the rough spots, then add a second coat of FLAT white. The high-gloss fills in all the crevices, and gives it a glassy finish. The flat paint covers the gloss and gives it a smooth, bony look.I thinkit looks fantastic. I don't even tape mine off anymore- just cover the pedicles with my hand and keep theaerosol sprayclose to the skull and under control. This whole process might take an hour, total (not including drying time). Make sure to paint the inside of the brain cavity and the sinuses. That way, if you missed anything in there, the driedpaint will cover it up. TIP #4: If the boiling process causes a tooth to come loose - I just leave it alone. If it falls out, you can just glue it right back in. Here's the finished products: 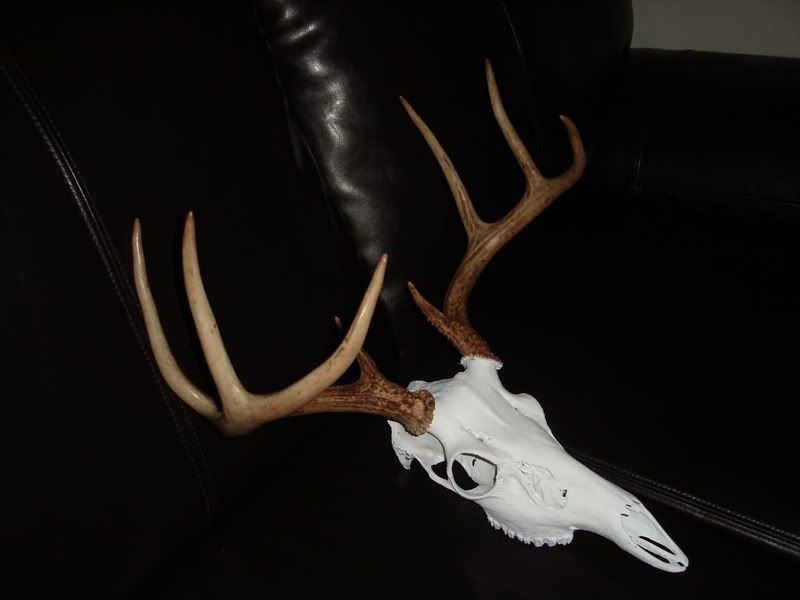 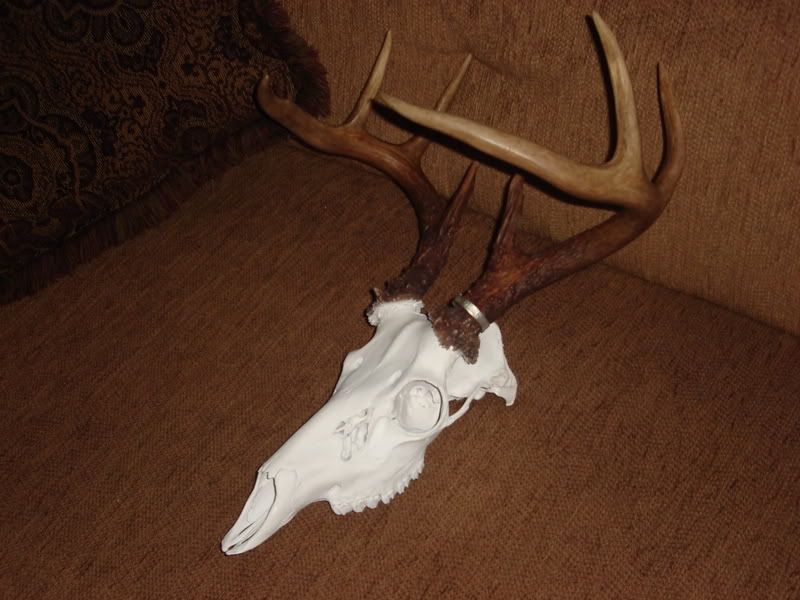 Note: There are more elaborate processes (involving bleaches, peroxides, pastes, beetles, maggots, ant hills, compost piles, etc...), but this is as simple a system as I've found. Just clean, boil and spray paint. Very easy to do, evenfor a first-timer. |
RE: Euromount: pics and instructions
Looks great! I am going to try some painting on my first buck that I shot which I turned into a euro mount. Thanks for the post!
|
RE: Euromount: pics and instructions
Great post there quick. I have been needing some good instructions on how to do that. :D
|
RE: Euromount: pics and instructions
Dude, that is really cool! I've often wondered how to do that....Thanks for taking the time!
|
RE: Euromount: pics and instructions
One thing that I did after mine boiled was took it to the car wash and power washed any extra tissue and blew the brains out. I got some funny looks, but it was quick!
|
RE: Euromount: pics and instructions
thanks for the info Fran. They look awesome. I just may have to try that sometime. I kinda wish I had done a euro on my buck from this year.
|
RE: Euromount: pics and instructions
ORIGINAL: quiksilver
|
RE: Euromount: pics and instructions
Very nice Quick!
|
RE: Euromount: pics and instructions
One suggestion that ive found that gets brains and nose stuff out. Use a gardan hose and squirt it out. If it wont come lose, boil a little longer.
Another suggestion; If some meat is hard to pull off, dont force it, boil it a little longer. Ive seen many people try to force off pieces of meat and damage the bones, especially the ones on the bottom of the skull. Another; When you dump your water, check for teeth. |
RE: Euromount: pics and instructions
One more suggestion; Kilz seals the skull better and doesnt give it a paint gloss. It looks just like bleached bone.
|
| All times are GMT -8. The time now is 11:34 AM. |
Copyright © 2024 MH Sub I, LLC dba Internet Brands. All rights reserved. Use of this site indicates your consent to the Terms of Use.