sometimes simple and crud beats out overthinking
 12-21-2014, 03:51 PM
#1
Nontypical Buck
Thread Starter
Join Date: Aug 2007
Location: Staunton,Va
Posts: 3,713
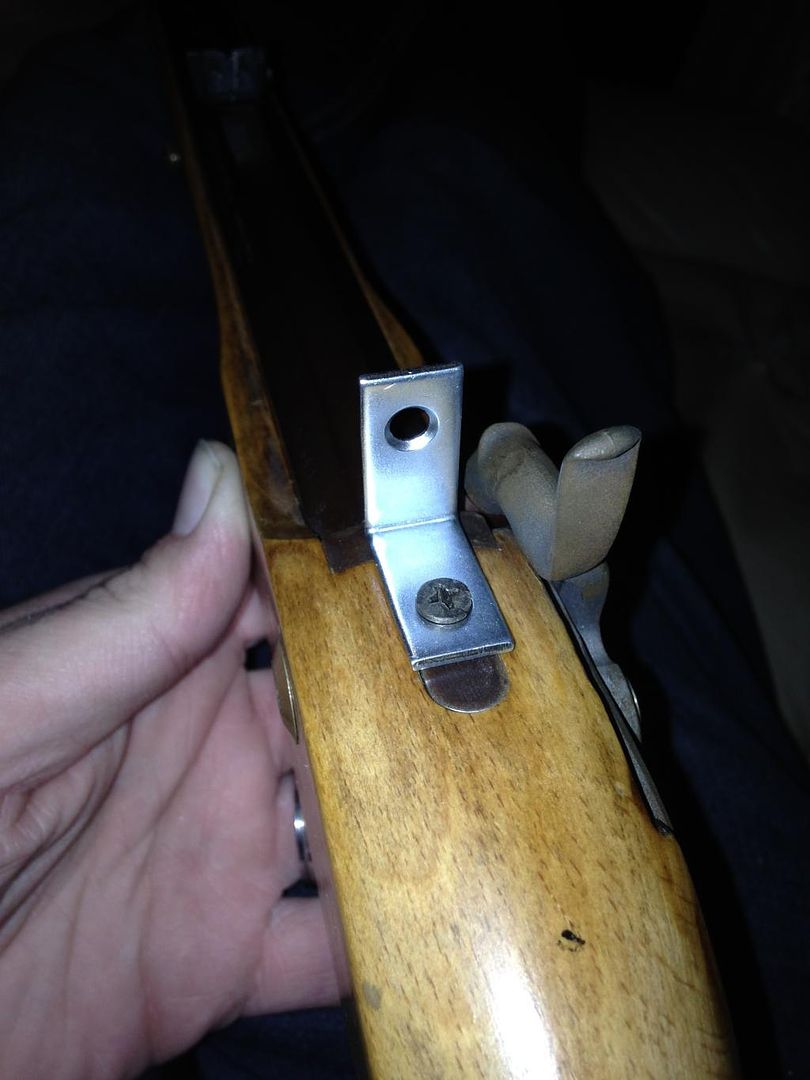
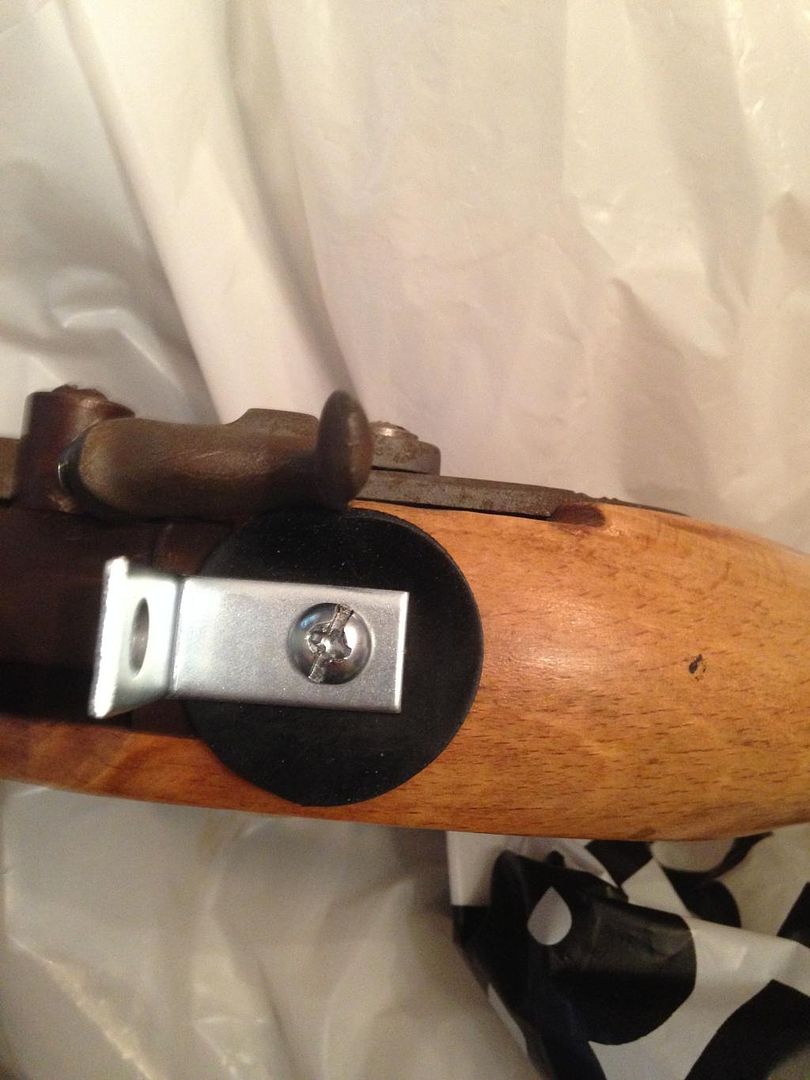
someone posted on my last thread that about drill and tapping the tang, I over thought the last post greatly.
plan and simple
drill and tap and 1/4 nut to take an 10/32 screw/rod, i soldered it into place. removed the back tang screw, put it into that hole (nice and tight) crud peep sight.

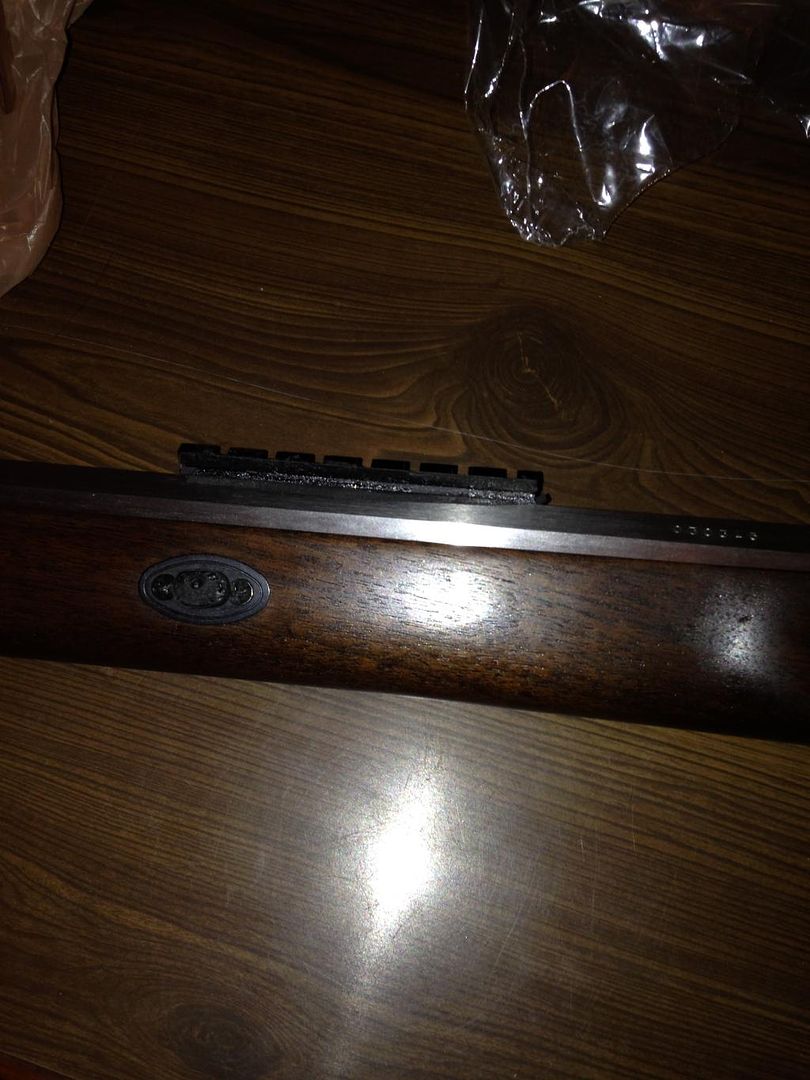
side note, found with the gmb, with a little filing to the screw mount holes and a little bit of crafting foam , an 10/22 base will fit good for a long eye re-leaf scope or a red dot scope.
plan and simple
drill and tap and 1/4 nut to take an 10/32 screw/rod, i soldered it into place. removed the back tang screw, put it into that hole (nice and tight) crud peep sight.
side note, found with the gmb, with a little filing to the screw mount holes and a little bit of crafting foam , an 10/22 base will fit good for a long eye re-leaf scope or a red dot scope.
 12-21-2014, 04:17 PM
#3
Nontypical Buck
Thread Starter
Join Date: Aug 2007
Location: Staunton,Va
Posts: 3,713
thinking about drilling and retapping the nut and make apertures for it. have to clean up the sight and do some type of finish on it. thinking about powercoating, have the stuff do to it with.
12-21-2014, 05:01 PM
#4
Boone & Crockett
Join Date: Jan 2004
Location: Eastern PA
Posts: 12,745
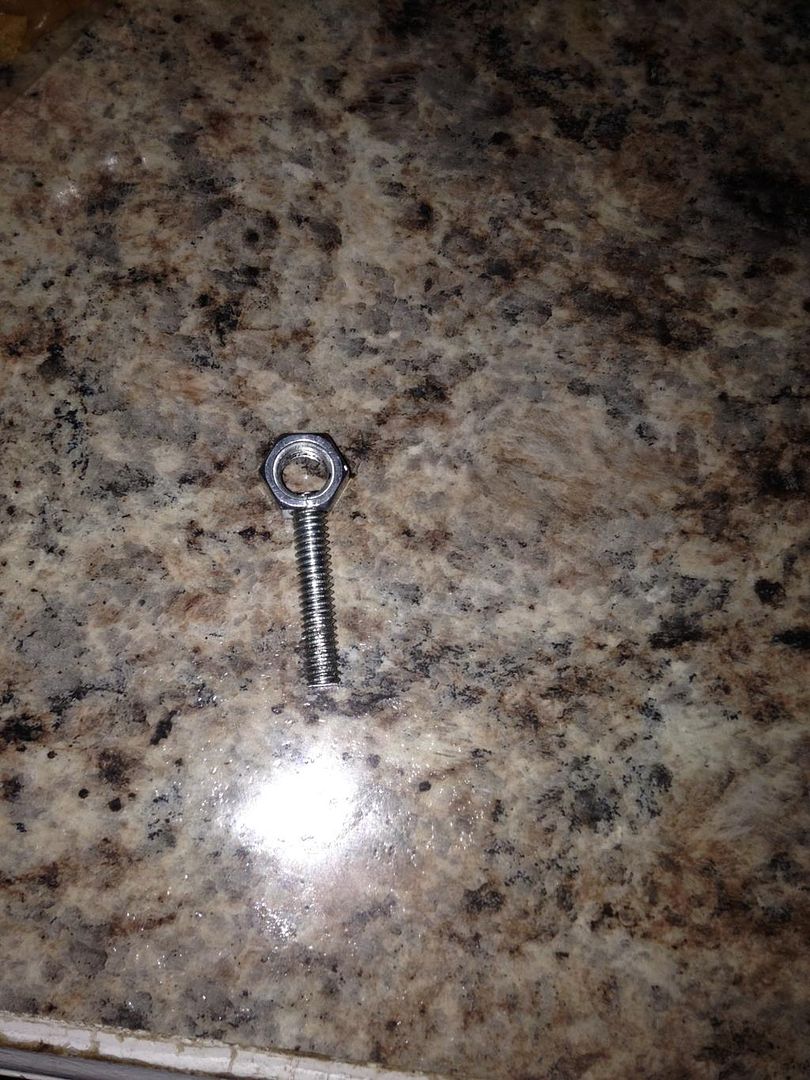
Corey - Not too sure how soldering is going to hold up on a steel nut/bolt. I'm surprised it 'stuck' at all. You may be better of using epoxy on your homemade sight. Spot welding would be even better.
12-22-2014, 12:20 PM
#6
Spike

Join Date: Oct 2010
Location: Winnipeg, Canada
Posts: 52
Corey, I can't think why a solder joint wouldn't hold. Some barrel lugs are soldered on.
If the nut & the bolt are plated, you will need to remove the plating on the mating surfaces. Then rather then trying to solder them together in one operation, tin each of the surfaces separately by first fluxing, then heating each until you can melt on a thin layer of solder on the mating surfaces. Heat each piece so you can melt the solder on by touching it to the hot surface. Do not try to melt the solder with the torch. Properly done, the solder will flow on to the surface & not be a glob that is kind of stuck there. After both surfaces are tinned, they need to be held together so they can be reheated so that the solder on the 2 mating surfaces can melt together. It would be best if I could show a sketch of how to hold them together, but I'll have to try to make due with a short description.
Drill a hole, part way through in a scrap of wood, that the bolt will just fit in to. Bend an eye in the end of a 6" piece of steel wire (coat hanger) that can be used to screw it to that scrap of wood. Bend the wire up & then over so when it is screwed down, it will just rest on top of the head of the bolt with a bit of spring pressure. Now, slip the nut over the end of the wire & adjust everything so the tinned surface of the nut fits evenly on the tinned head of the bolt. Heat both the nut & the bolt & when the solder remelts, you are done. You should not have to add any more solder and you may see a bit of movement when the nut settles against the bolt when the solder melts. Allow to cool before moving. It will take a lot more then recoil to knock them apart.
Paul
Last edited by Moosehuntersupreme; 12-22-2014 at 12:25 PM.
12-22-2014, 01:07 PM
#7
Nontypical Buck
Thread Starter
Join Date: Aug 2007
Location: Staunton,Va
Posts: 3,713
went an bought a oxy mapp touch, with money I was saving for vegas. seems to help. but I think i am going to do another one and use jb weld to bond.
do have a pressure fitted on I did as a test
may go done on step in drill bit size and do that with jb weld.
do have a pressure fitted on I did as a test
may go done on step in drill bit size and do that with jb weld.